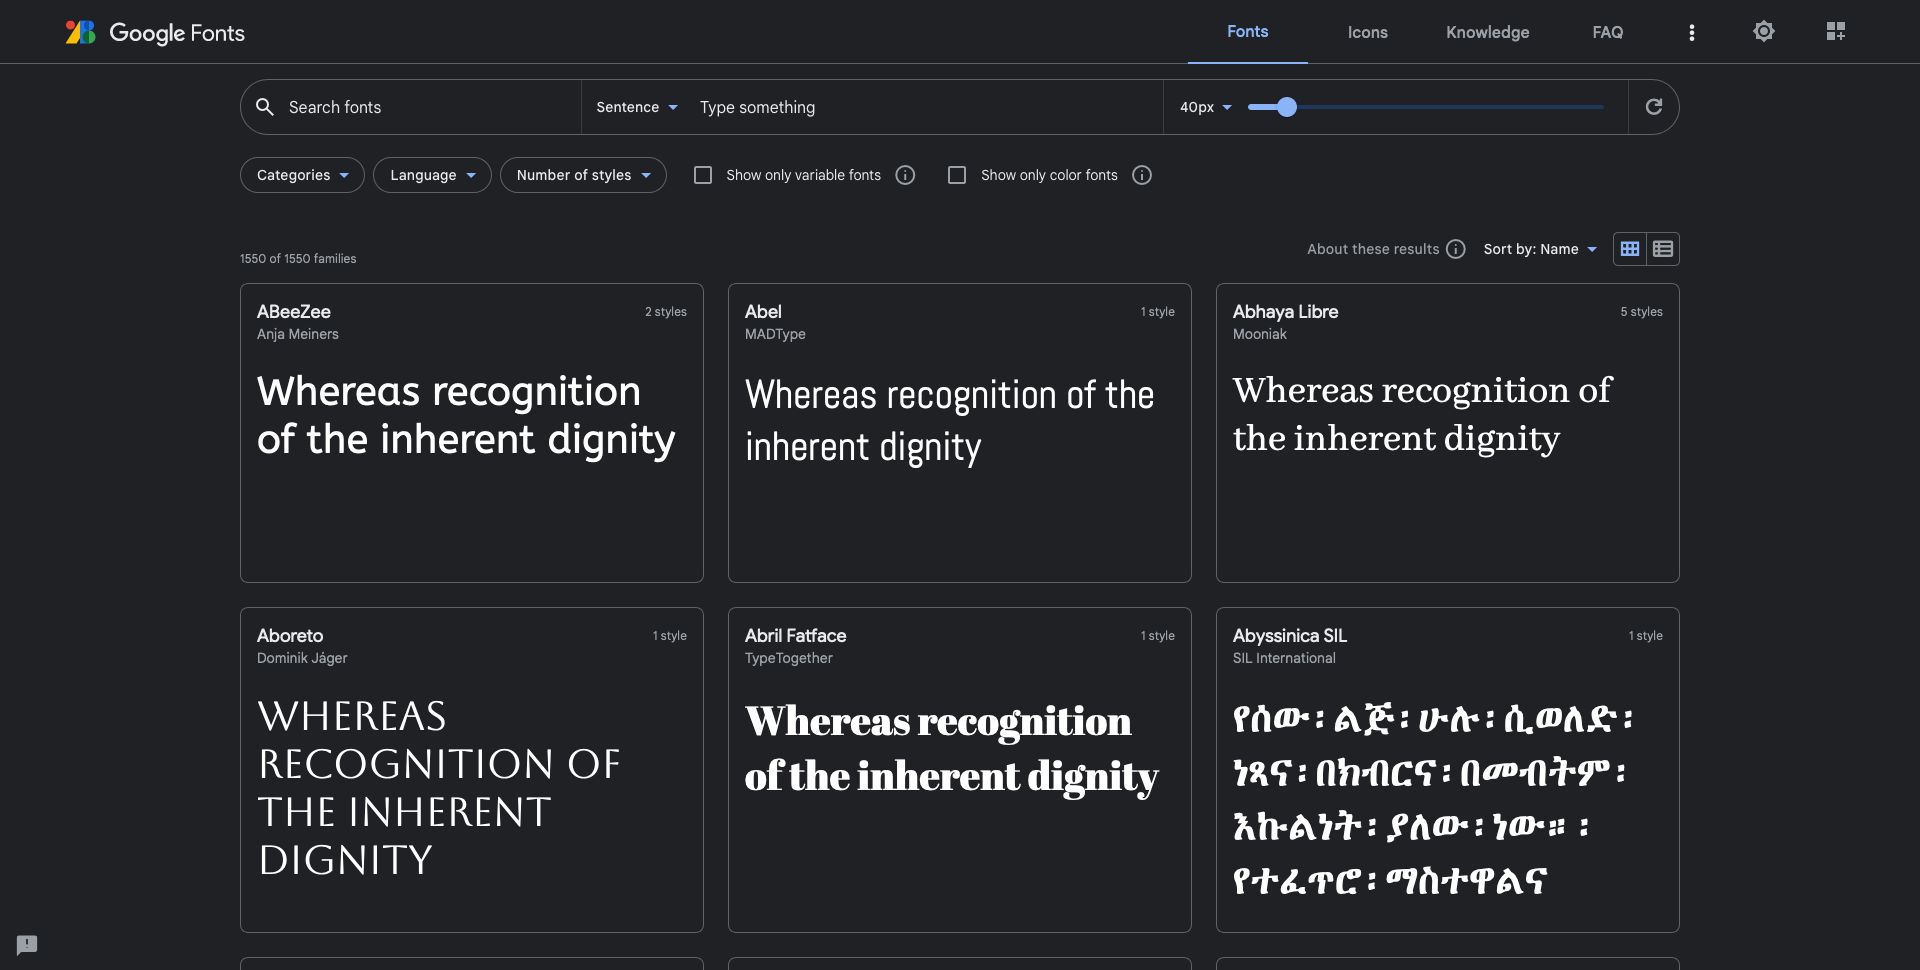
To add a Google Web font, we can go to Google Fonts and browse for a font we want to use in our project.
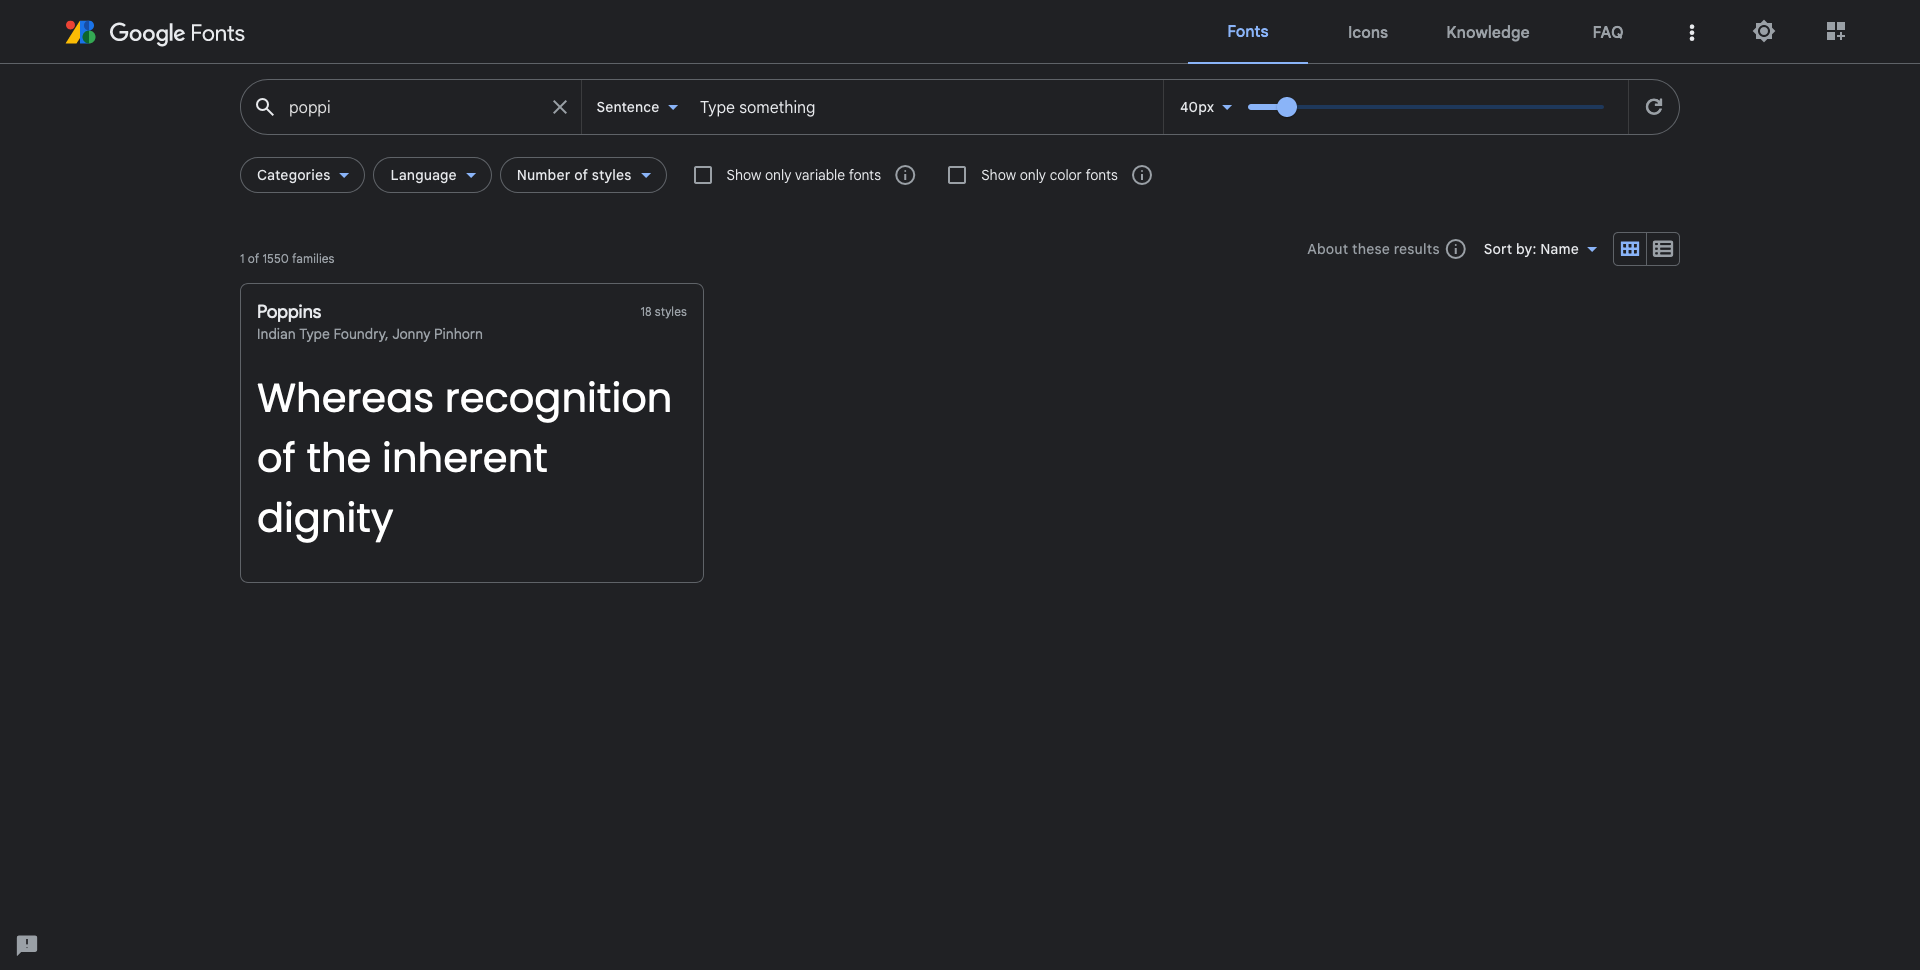
When you have found the font you're looking for. It's time to select the different styles or font-weights you want to use.
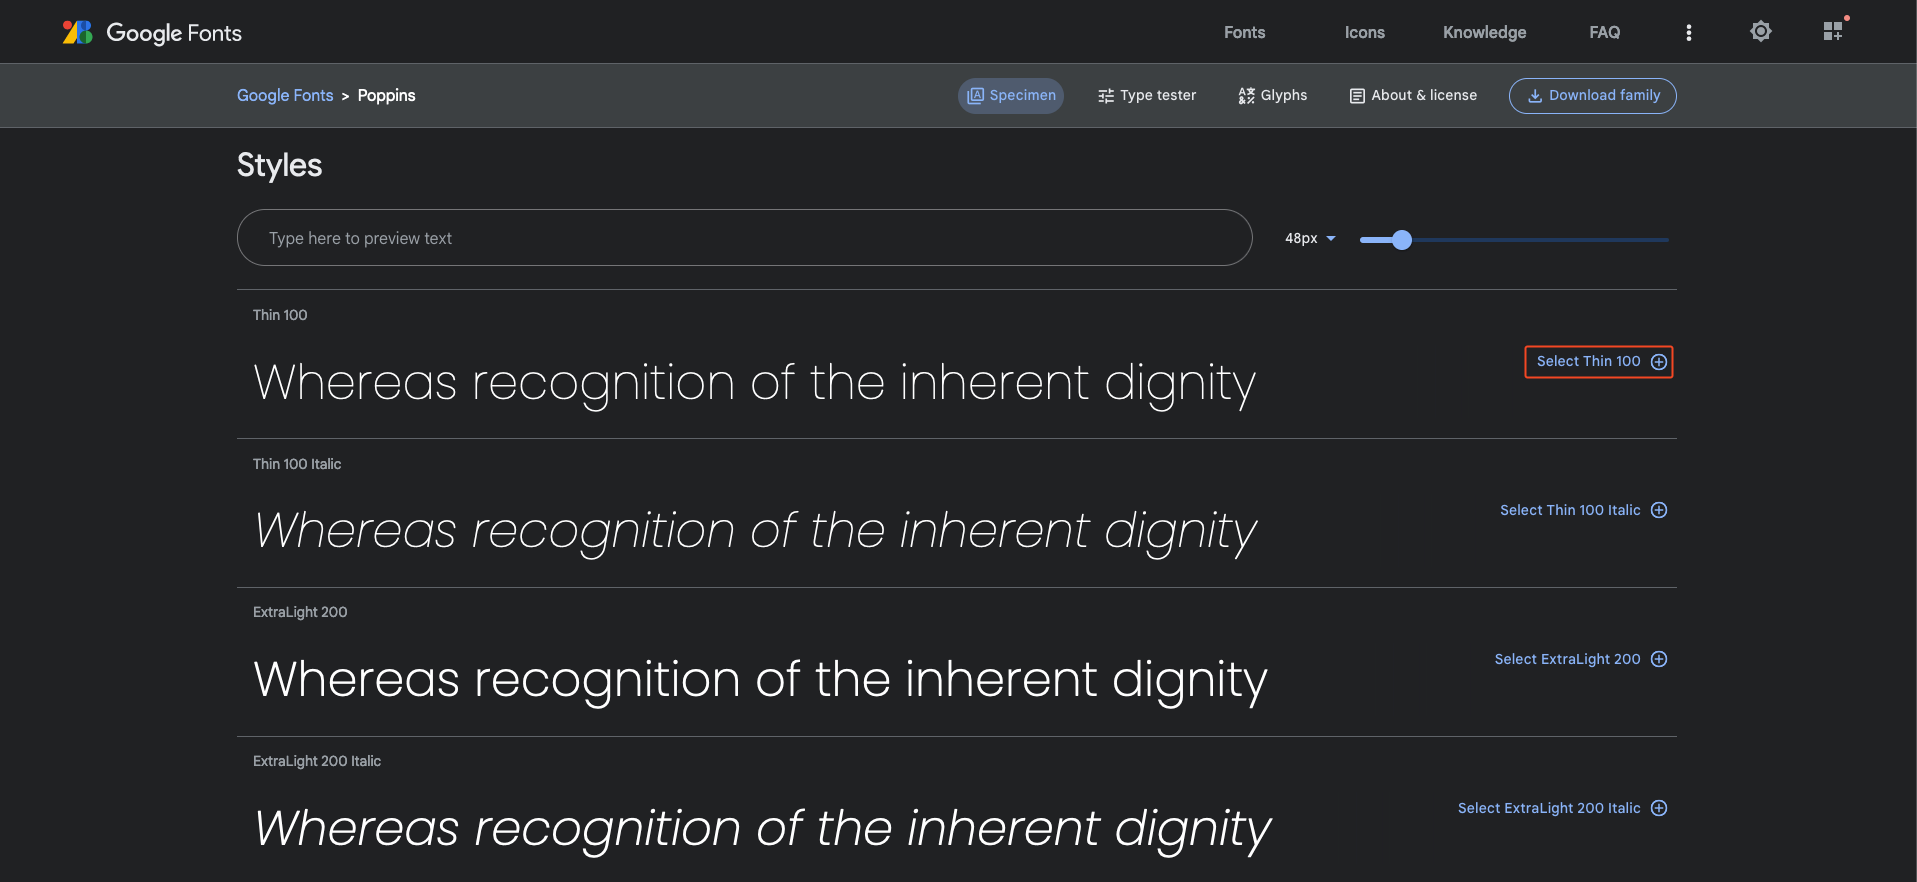
The more styles we select, the longer our browser will need to load the font. So it is advised not to select styles we're not going to use.
After selecting all the styles we want, we need to copy the link into SiteManager.
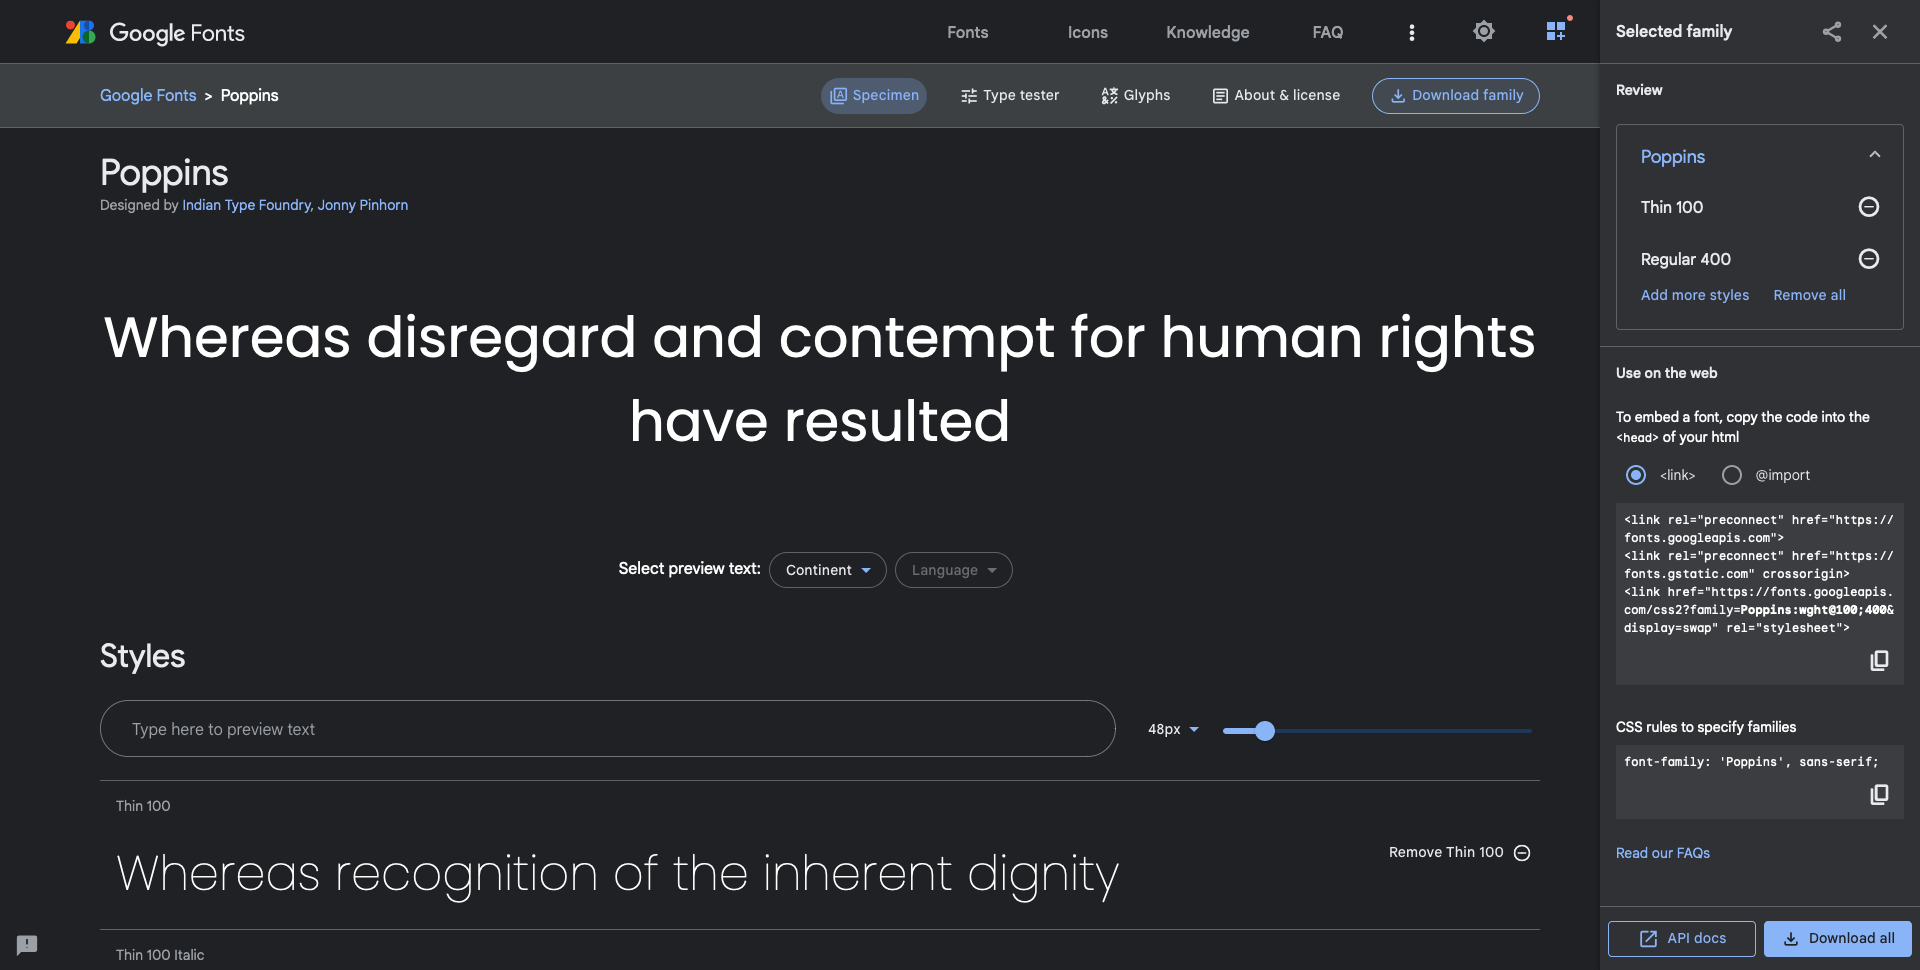
Google will give you some code that looks like this;
<link rel="preconnect" href="https://fonts.googleapis.com">
<link rel="preconnect" href="https://fonts.gstatic.com" crossorigin>
<link href="https://fonts.googleapis.com/css2?family=Poppins&display=swap" rel="stylesheet">
However, note that we only need one of those;
<link href="https://fonts.googleapis.com/css2?family=Poppins&display=swap" rel="stylesheet">
In SiteManager
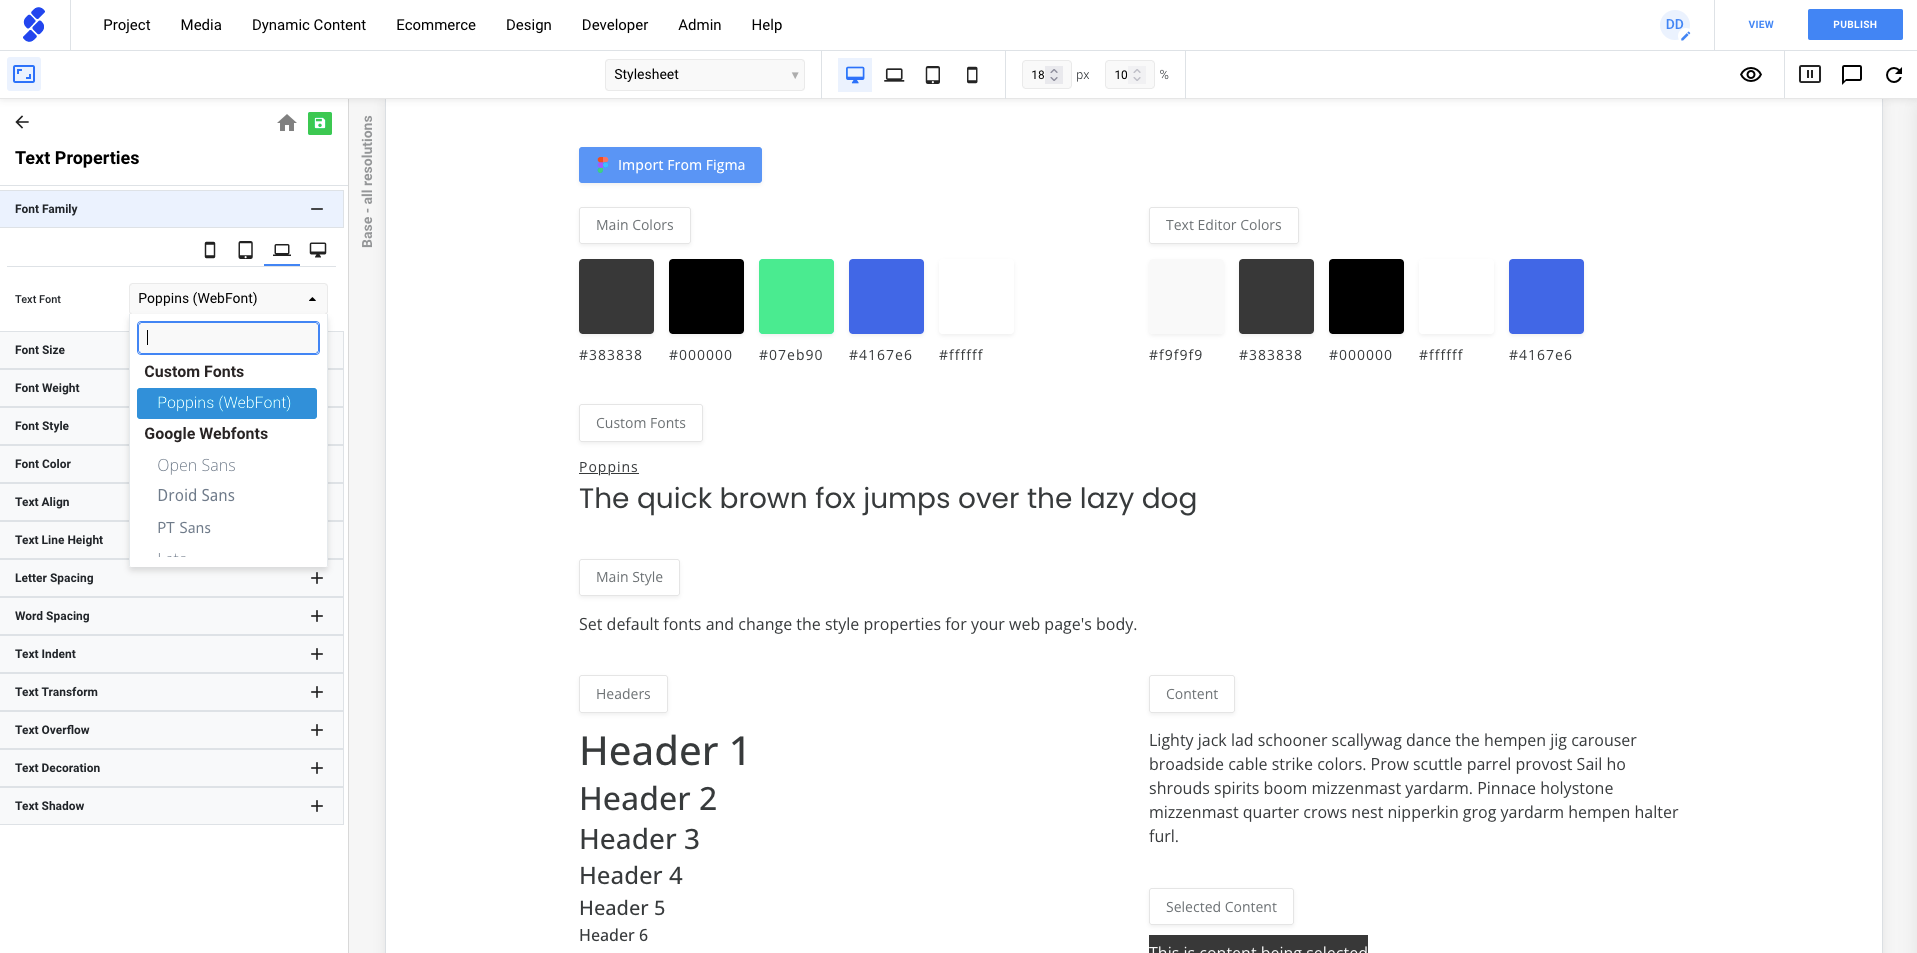
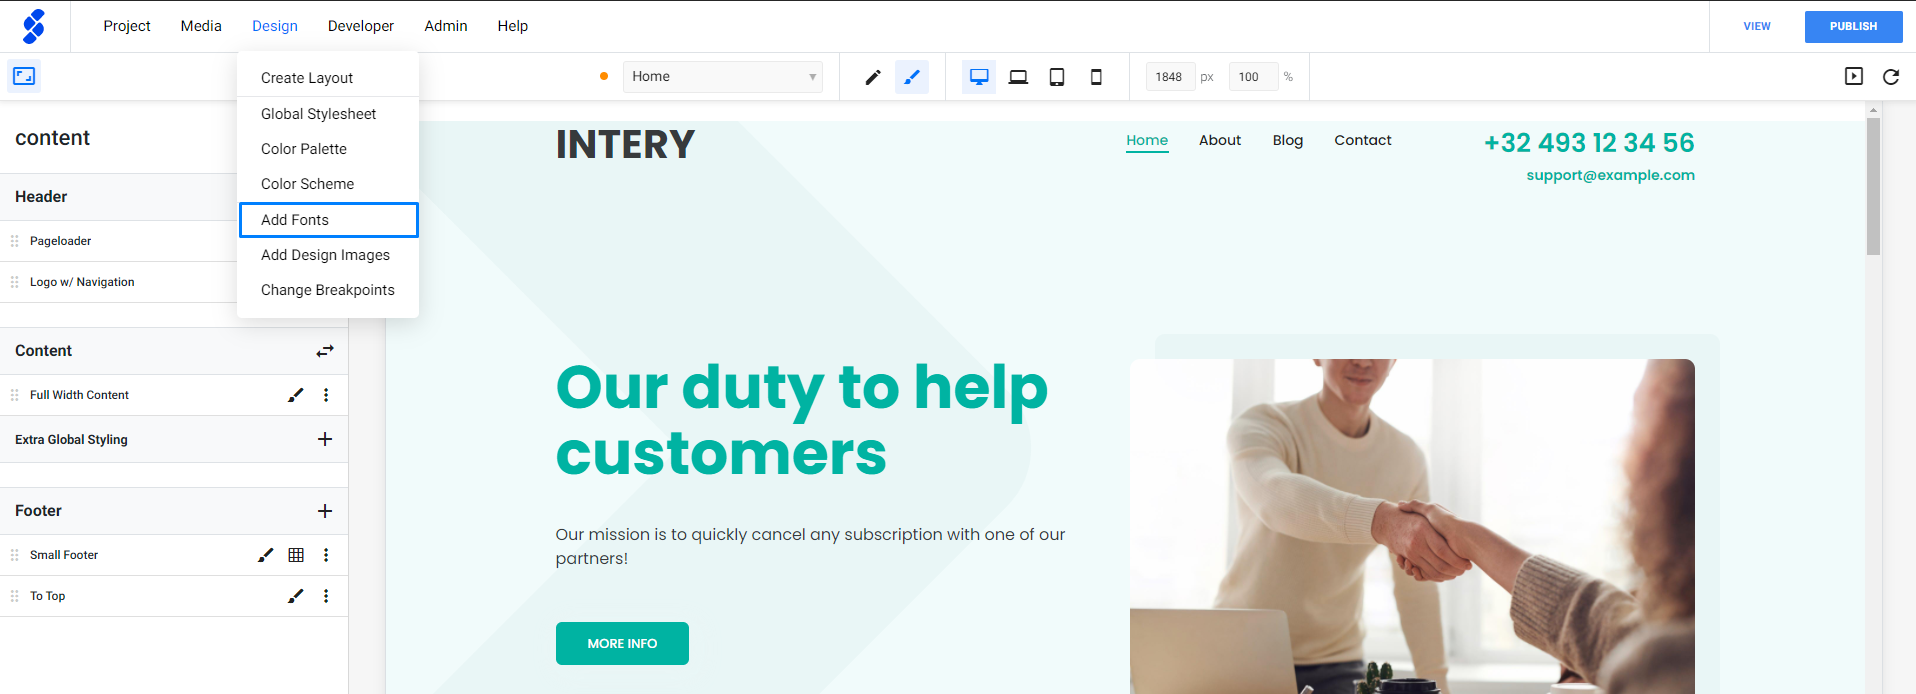
In SiteManager, navigate to Design > Add Fonts in the topbar navigation.
In the Web Fonts section we need to fill in the name of our font and the link we just copied from Google as follows and click Add Font.
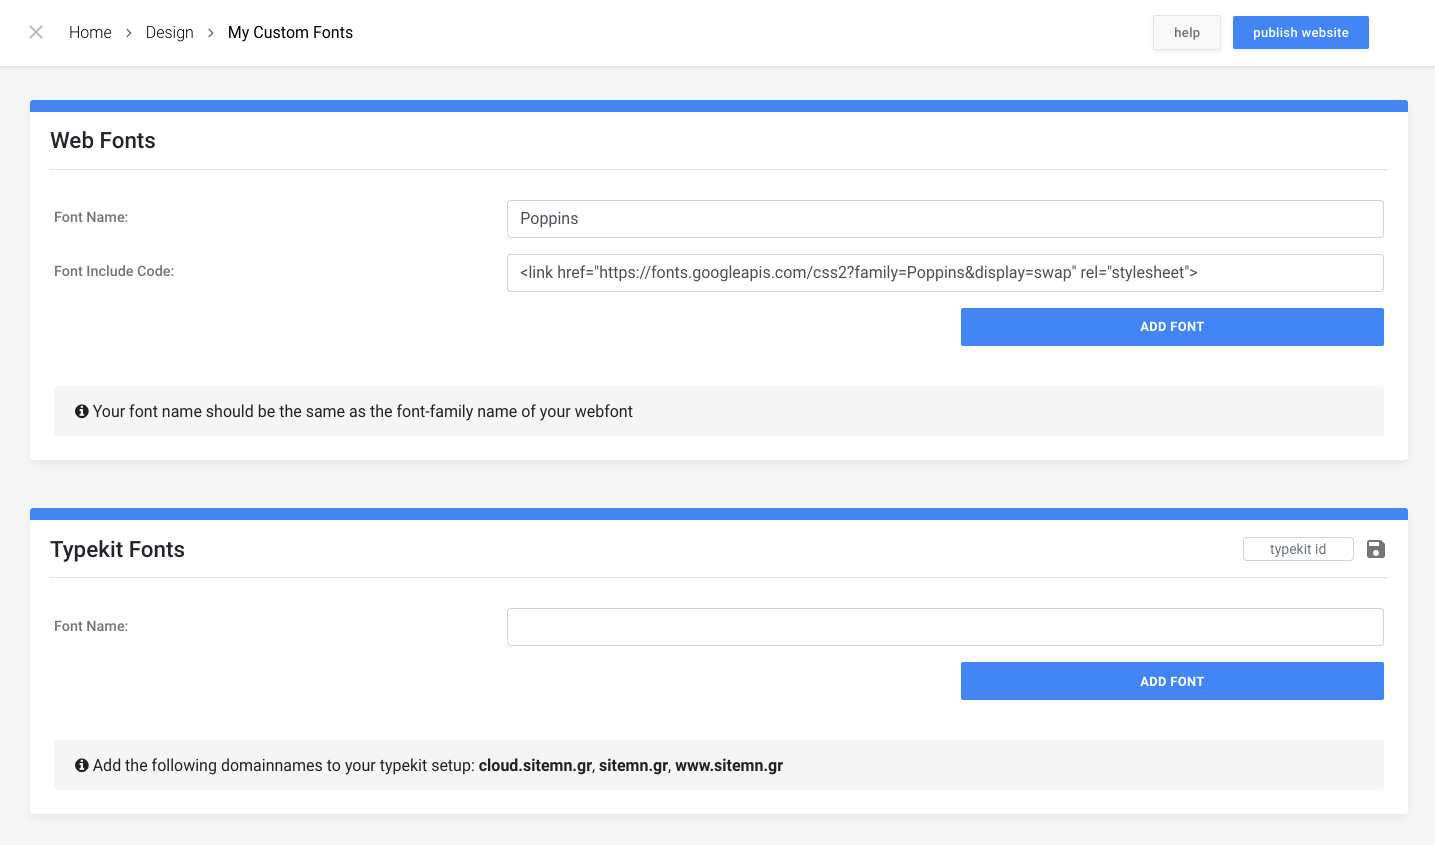
Once the Google Font has been added, you can use it throughout your project!