StoryChief Integration with SiteManager
StoryChief lets you distribute content from one place to different marketing channels. Create highly engaging stories which match the look and feel of your channels.
Visit StoryChief to setup your account for this guide.
Step 1: Install premium module 'StoryChief'
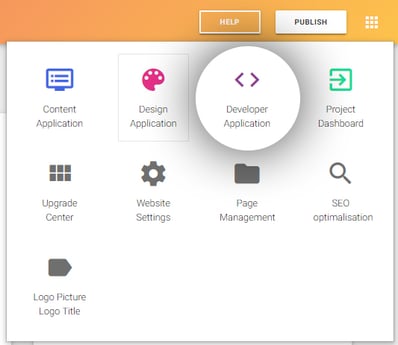
- Login to your dashboard, go to the settings page1 of your project.
- First you need to install 'Database' module2 as this will be needed to push your article of StoryChief into your project.
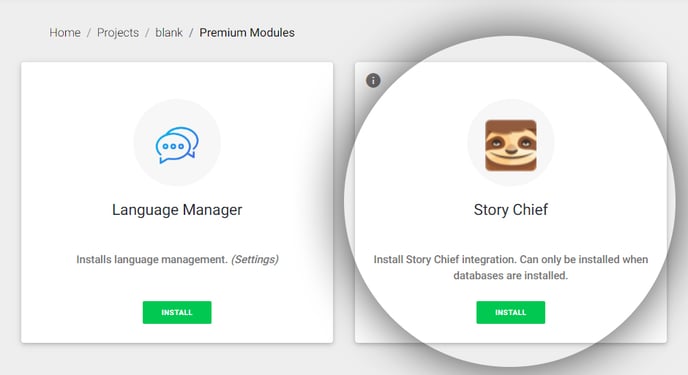
- Next 'StoryChief' module3 will be available to install.
Image1
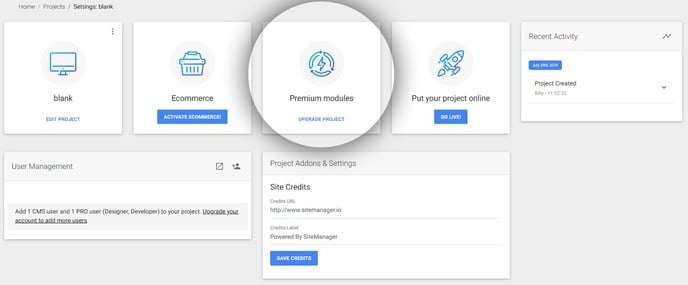
Image2
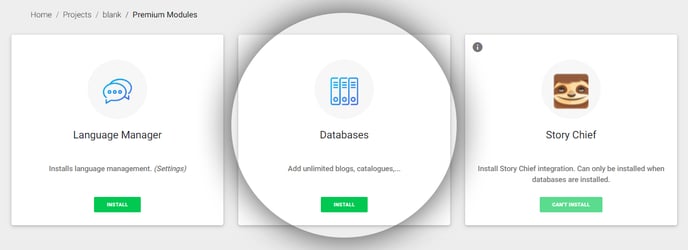
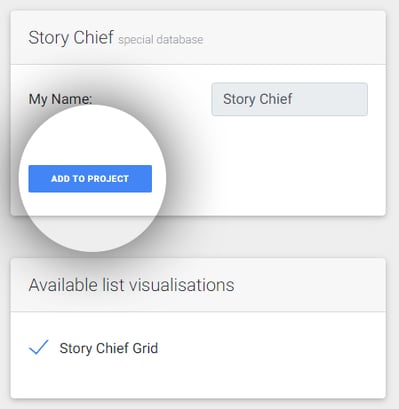
Image3
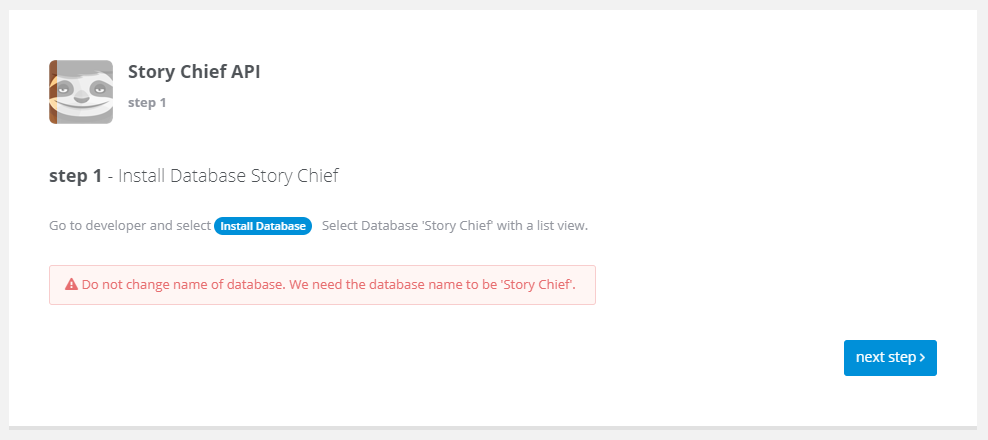
Step 2: Install 'StoryChief' database in project
- Login to your project and go to the Developer
- Go to 'Install Databases'4 and install the first database StoryChief (special database)5
Image4
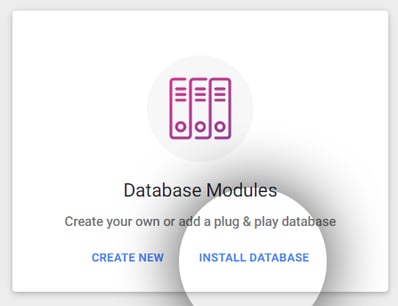
Image5
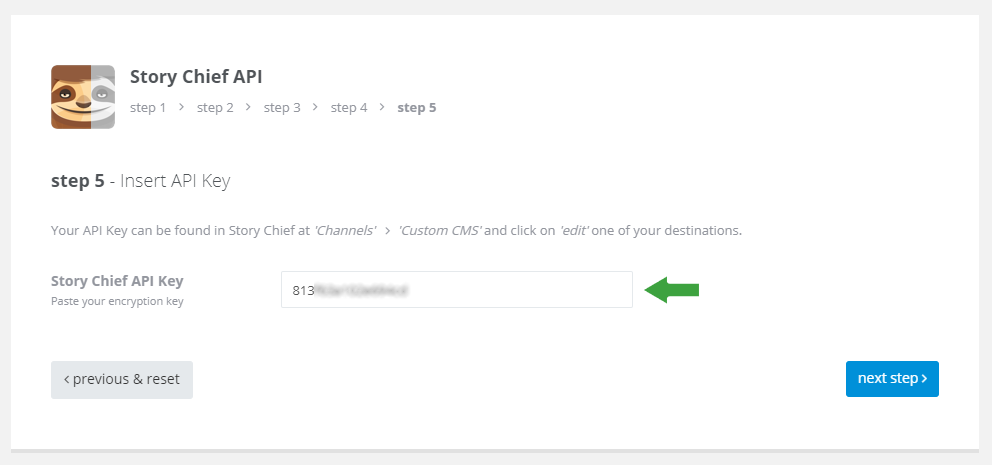
Step 3: Create API Key in your StoryChief platform
- Login to your StoryChief account
- On the right upper hand side hover over your name to see the settings, select Channels
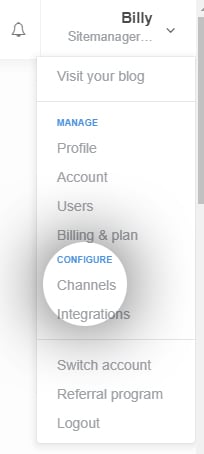
- In Channels , select 'Personal websites'6
- Add a new destination7
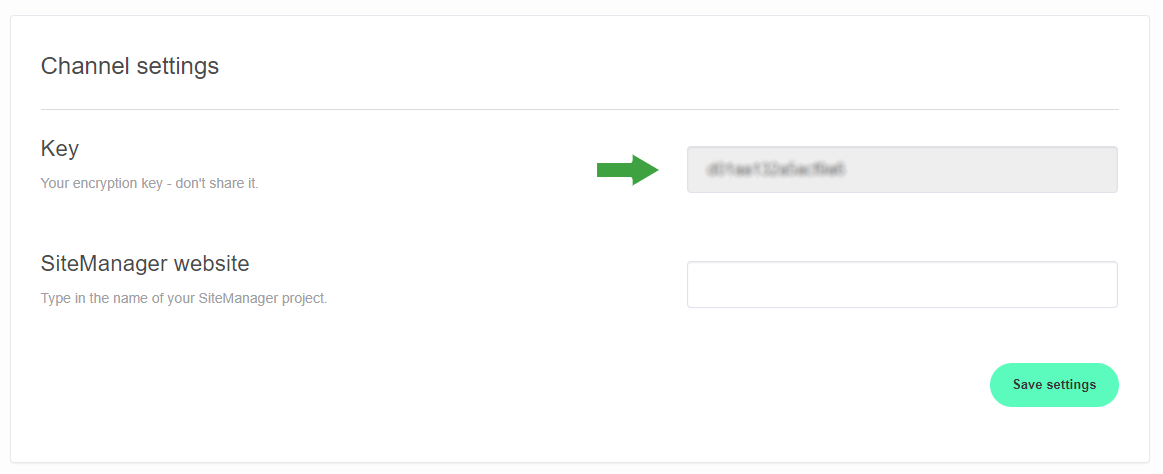
- Copy your new API Key8
- Important Don't select 'save settings' yet. We will do this step later. Keep this page open in a separate tab.
Image6
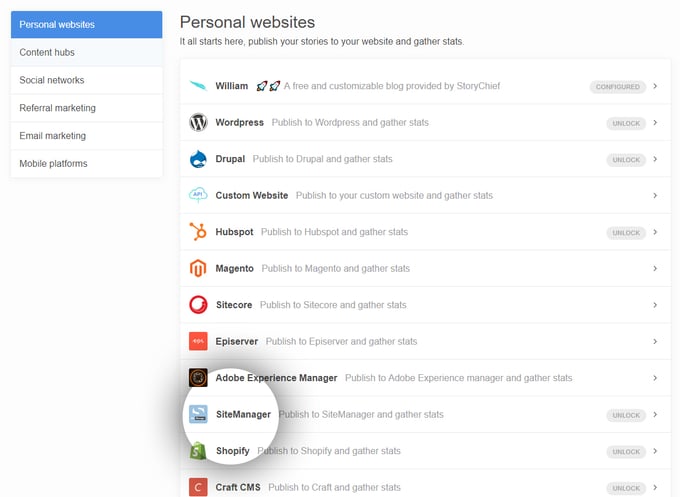
Image7
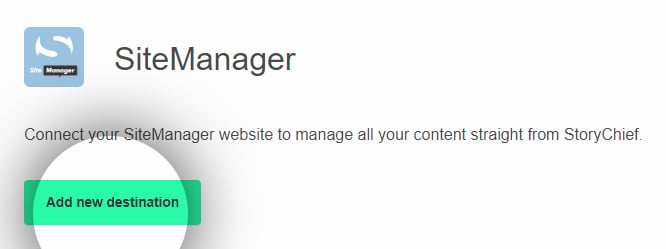
Image8
Step 4: 'StoryChief' module Setup
- Go to the Settings

page in your project
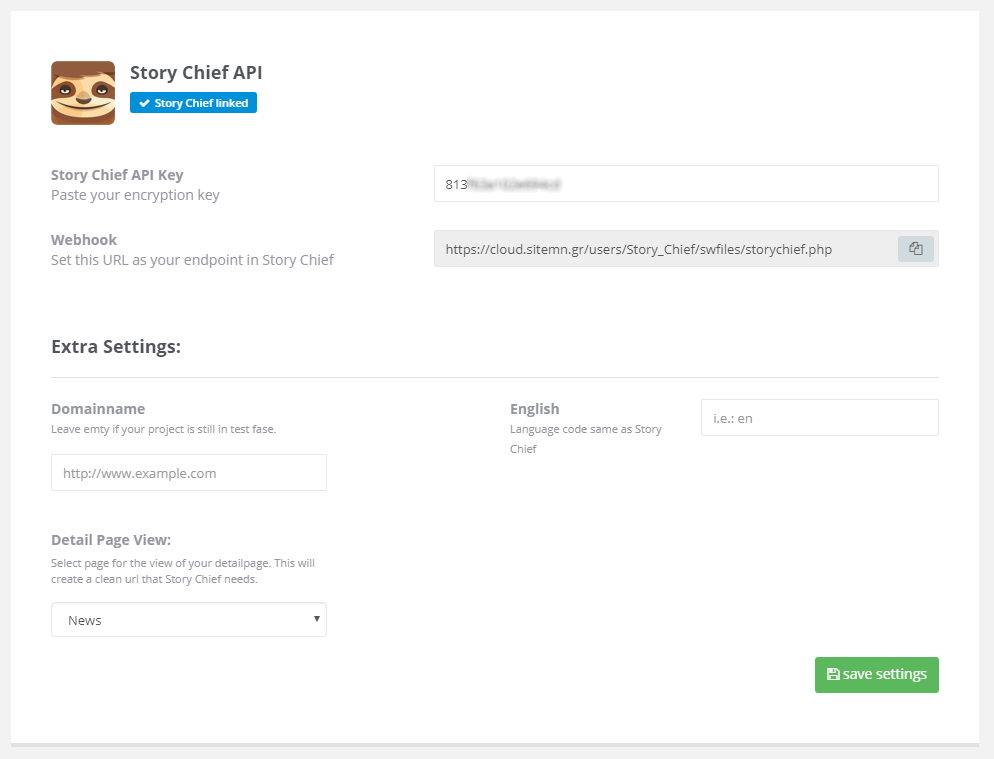
- Select 'StoryChief Settings'9
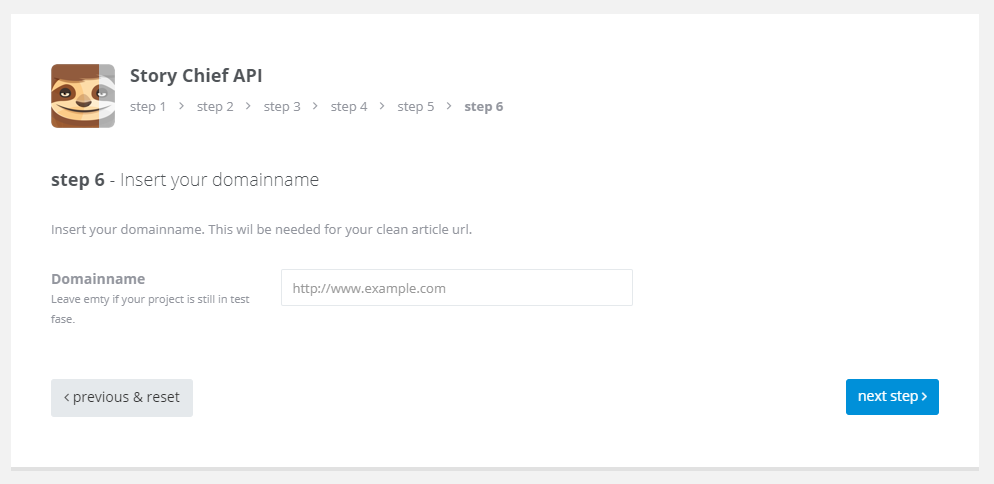
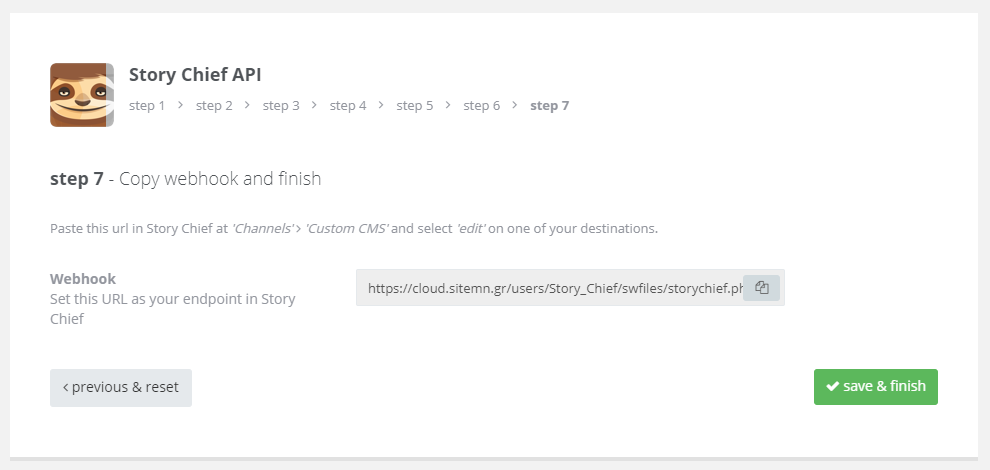
- Got through all of the 7 steps10-17
Image9
Image10-17

Step 5: Insert webhook and save settings in StoryChief platform
- Head back to your StoryChief account
- Now paste your webhook link that you copied in step 7 of the setup
- Select 'save settings'
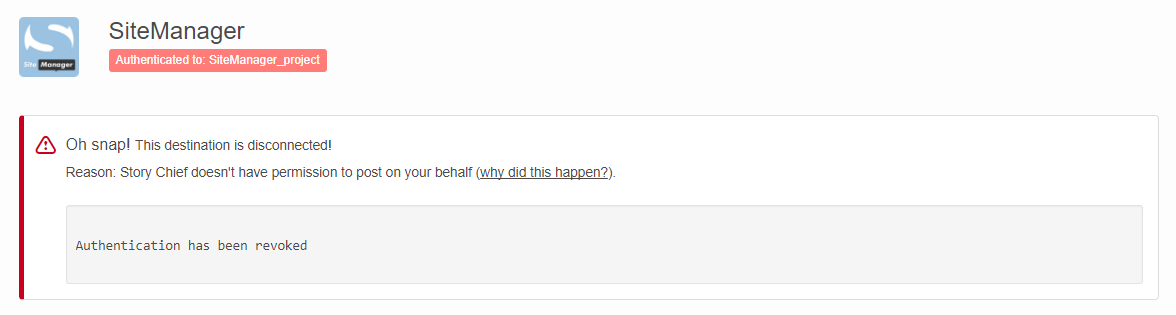
- Once your webhook is set in StoryChief, you should see it has been authenticated18
- If you see an error19, please contact us support@sitemanager.io
Image18 - success
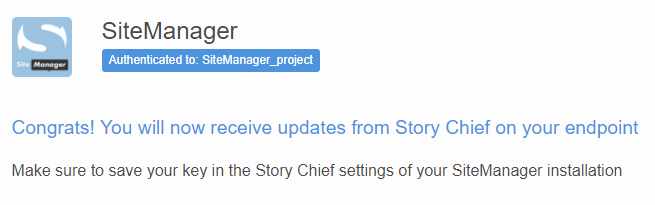
Image19 - fail
Step 6: Set everything correct in SiteManager CMS
- Add the page component 'StoryChief Grid'20 to a page in your project
- Important Set the setup of both page component and database21-22
- Important Publish your project in SiteManager
Image20
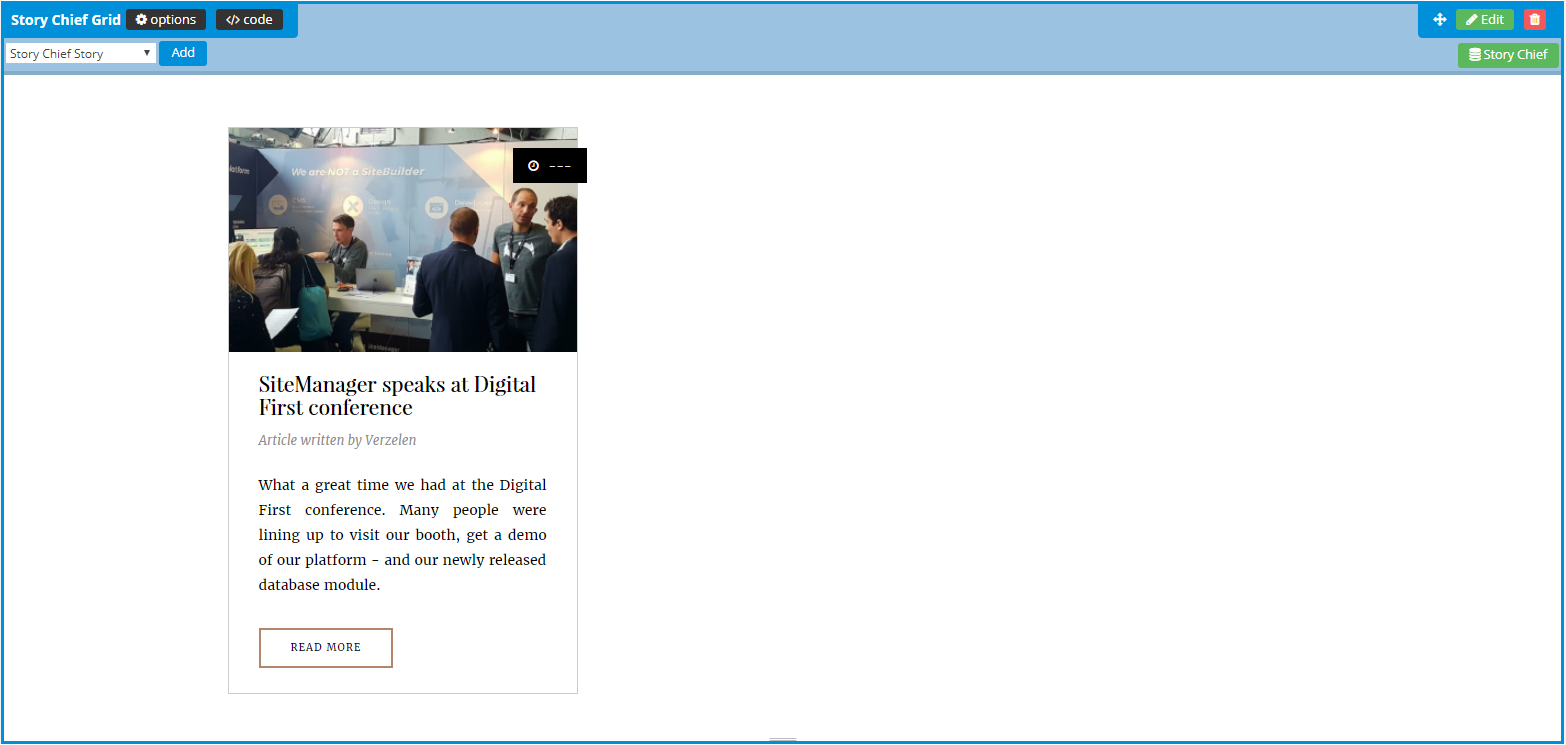
Image21
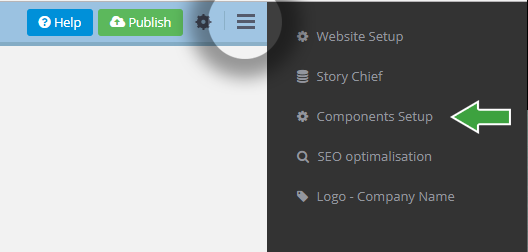
Image22

Step 7: Create a test story in StoryChief platform
- Create a test story in StoryChief
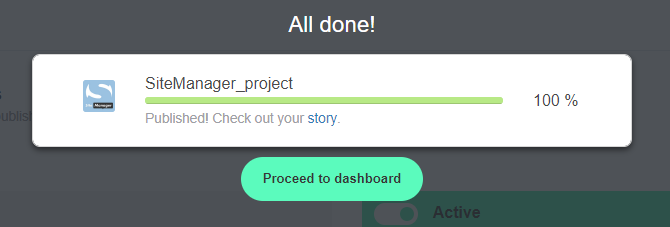
- Publish23-24 your story
- Visit25 your test story live at your project site
Image23
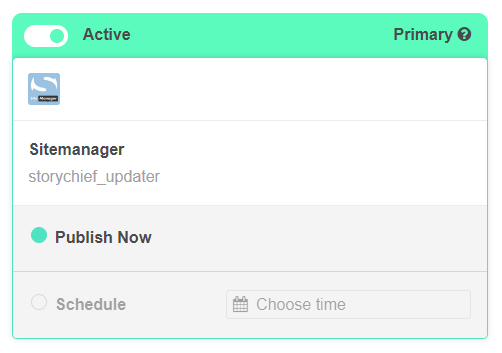
Image24
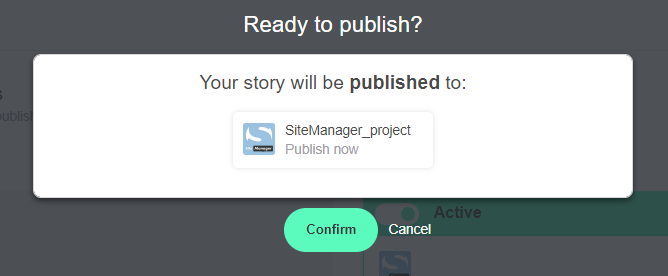
Image25
Now all your future stories will be automatically added to your project. There is no need to republish your project in SiteManager.
Extra Steps
- You can restyle your story in SiteManager with the Design App
- Translate your story in StoryChief if you using a multilanguage project in SiteManager
Any questions about this integration? Please contact us at support@sitemanager.io