Management
Manage your private library components.
Open Private Lib Management
Open the main menu and click Add-Ons (1)
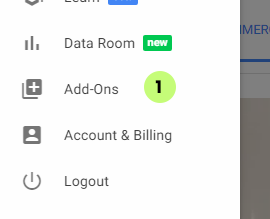
The Private Library add-on is pre-installed and always visible.
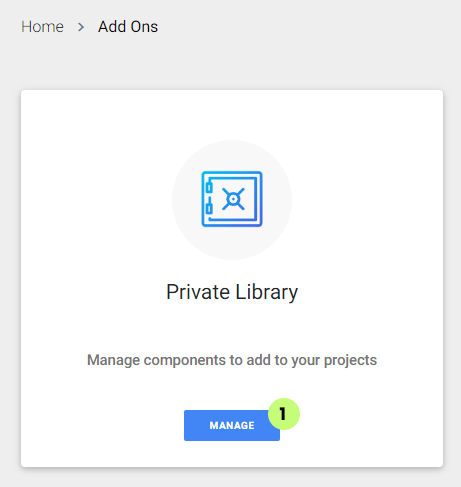
Click manage (1). If you are a company member you will be redirected to a company overview page.
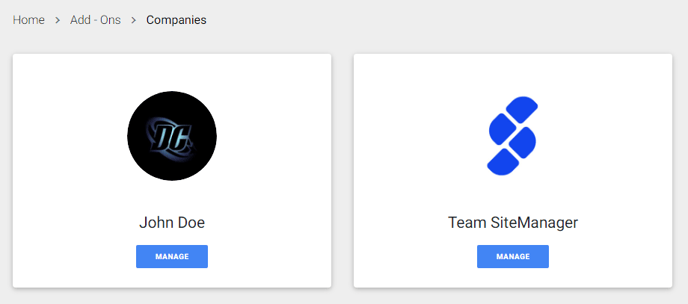
Otherwise, you will open your private library management page.
Overview
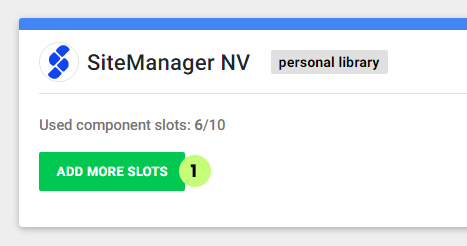
The first thing you see is how many slots are available for this personal library.
You can always add more slots to your account (1).
Below is a table with all the components in your library.

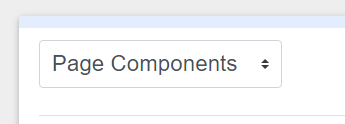
The private library has multiple categories. You can select the category on top of the overview table.
At the right side of a component row, you get the following buttons:
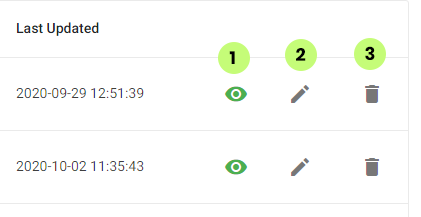
(1) This icon indicates if the component is visible and usable for the non-admin team members of the company. If you don't have a company this has no effect, as all your components are always visible to you.
(2) Click this button to change the properties of the component (see Edit Private Lib below).
(3) Delete this component from your library. Once deleted you can not restore this component unless you publish it again from a project where it is used.
Edit Private Lib
Make changes to the properties of your component.
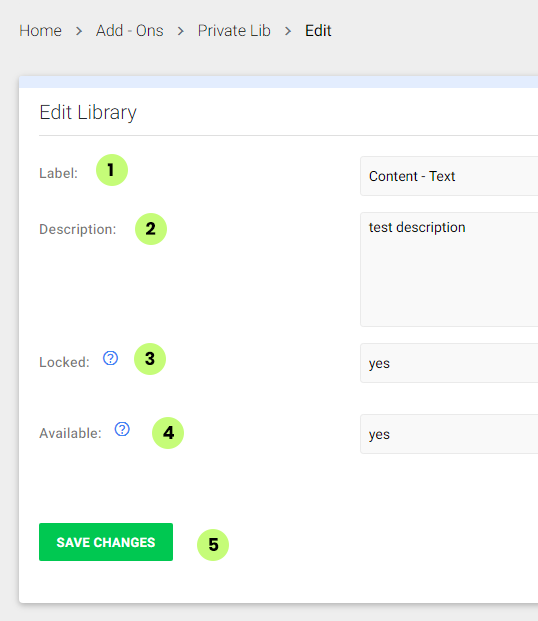
(1) Label: Change the name of the component
(2) Description: A short description of the component (optional)
(3) Locked: This option makes sure other team members (except admins) can not overwrite your component
(4) Available: If set to no, other team members (except admins) can not add this component to a project.