ToolStack Management
Change ToolStack settings, add apps
When you activated ToolStack for the project you will be able to configure the general settings and add different apps.
Settings
You can set the name for the ToolStack button in the CMS. You can also choose to not show ToolStack inside the CMS.

Add A New Link (app)
On the right of the settings page you can add a new link to ToolStack
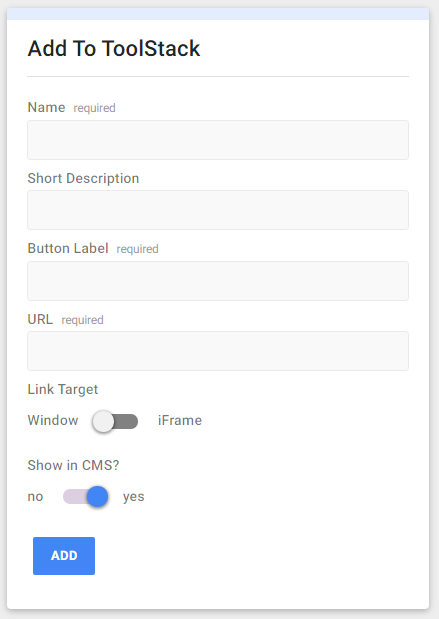
Fill in a name, short description and button label.
In the URL you can add special parameters:
Tokens & API Keys or [:swprojectname:] variable.
For every link you can choose if the link is shown in the CMS or not.
Depending on the link target you have two types of links:
1. Integrated in SiteManager
If you want to render the link inside the SiteManager platform set the Link Target to iFrame. This will give the end-client a seamingless integrated experience.
2. New Window
Some apps do not allow to be loaded in an iFrame. Select Window as Link Target for these types of links.
Edit a new link (app)
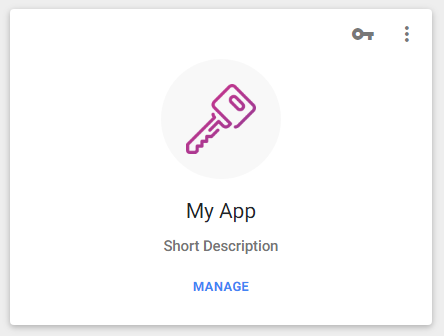
For every link you add, a card will be shown that you can edit.
This is the same type of card that will be shown in the CMS
(without the options to change it).
Options
Click the ⁝ icon to open the options menu.
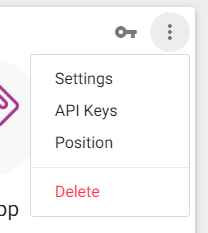
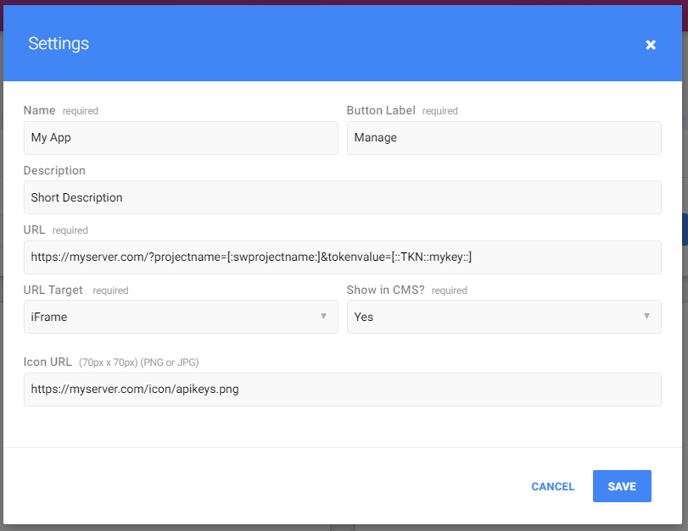
Settings: edit the properties of the card.
API Keys: attach API Keys & Tokens to this card. Doing so will show a key icon on the card. The CMS user will be able to change the values of the keys attached to this card.
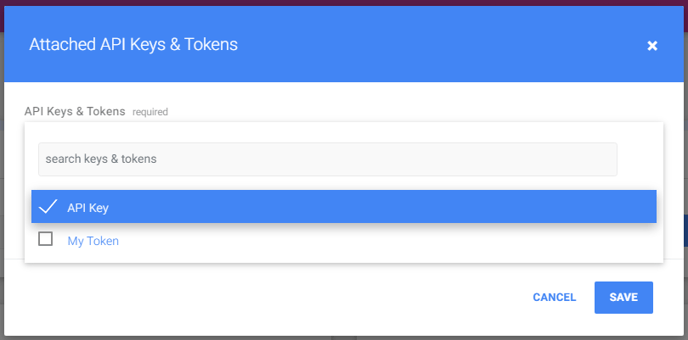
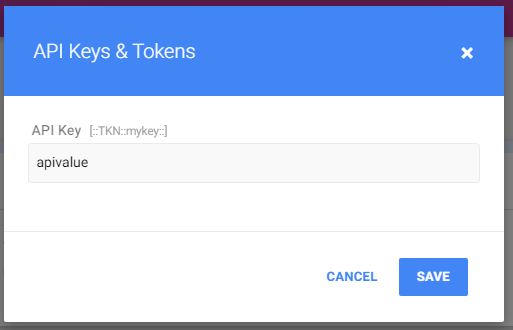
When you click the key icon you will be able to add the values to the attached API Keys & Tokens.
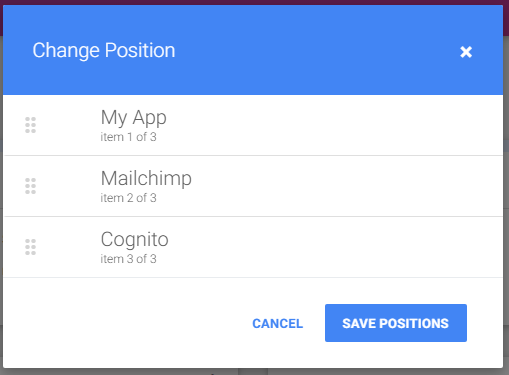
Position: if you have multiple links (apps) you can change the position of the card.
Delete: remove the card from ToolStack.
Edit Icon
You can add a url to your app icon using the options > settings link shown above.
You can also choose to upload an icon to the project.
![]()
Hover over the placeholder icon and click the upload icon button.
This icon will be uploaded to the project files folder.
If you want to remove the icon simply hover over the icon and click the unlink button.
![]()