Import / Export Collection items
Use a CSV file to import Collection into your SiteManager project. Or save time by updating multiple items at once instead of editing them one by one.
In this article
Import Collection Items
1. How to upload a CSV file
To upload your CSV to your designated Collection in SiteManager:
- Open the Dynamic Content menu in the top navigation
- Select your Collection
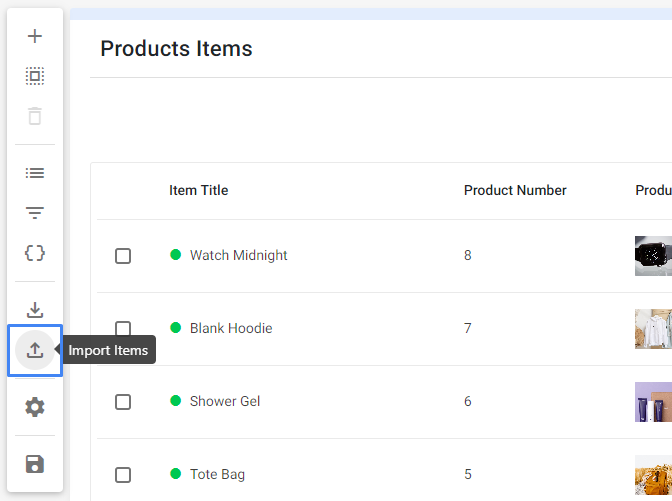
- Click Import in the toolbar
- Drag in your CSV file (or click to browse your computer)
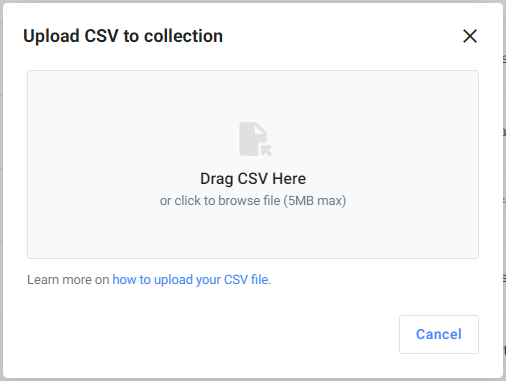
The maximum file size of a CSV file is 5MB.
If you have matching items, you can choose to:
- Update matching items and import remaining as new, which matches existing items in your Collection to items in your CSV file. Unmatched items will be imported as new.
- Import all as new items, which imports all items in your CSV file as new items in your Collection.
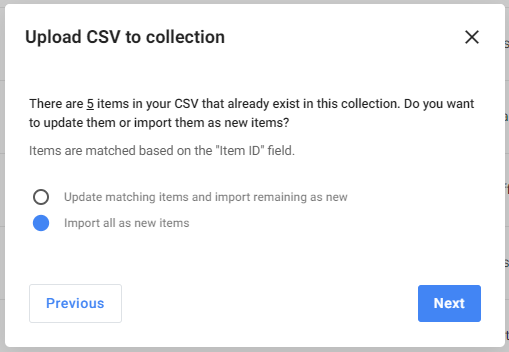
Collection items are matched based on the “Item ID” field, which is included in the CSV export from a Collection.
When your Collection has Templates, you can choose to:
- Auto-connect matching items and connect remaining with chosen template, which matches existing templates in your Collection to the Template ID in your CSV file. Unmatched items will be import as new.
- Connect all items to the chosen template, which imports all items in your CSV file connected to the Template you have chosen.
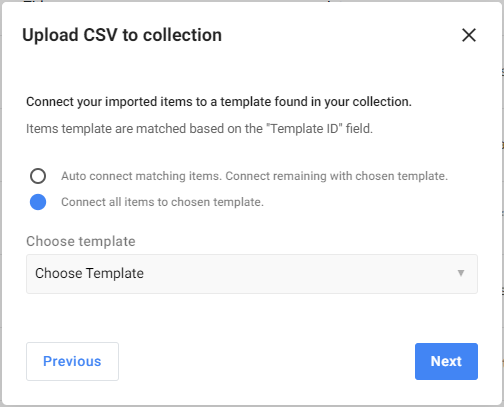
Templates are matched based on the “Template ID” field, which is included in the CSV export from a Collection.
2. How to configure fields
After you’ve uploaded your CSV file, its columns will be available as fields that you can configure in the Map columns to fields pane. If specified, column headers will appear as field labels.
The values in the input fields will be pulled from the first row. Of course the values will not be the header row if selected.
In this step, you’ll configure the fields by choosing which columns to map and which to leave out.
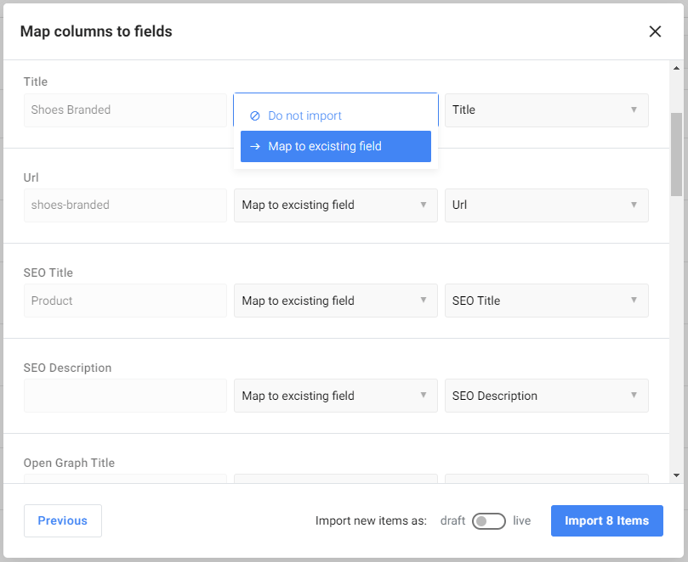
Don’t map field
If there are columns in your CSV that you don’t want to import, choose do not import from the dropdown.
Map to an existing field
You can map each column to an existing field in the Collection.
If your CSV header names match your existing field names, they will automatically map to each other, saving you time to configure.
3. Import the mapped data
After you have fully configured your CMS fields and CSV data, click the Import button on the top right to add your data to your Collection and wait until all items are imported.
You can choose to import new items as draft or live.
Live items will be shown on your site.

If some of your items weren't imported correctly into your Collection, you’ll see a list of the causes, linked to the row of the item.
4. Publish your new items
After the import is done, you can publish the detailpage of your items.
This will update the detailpage of your items with all its new content.
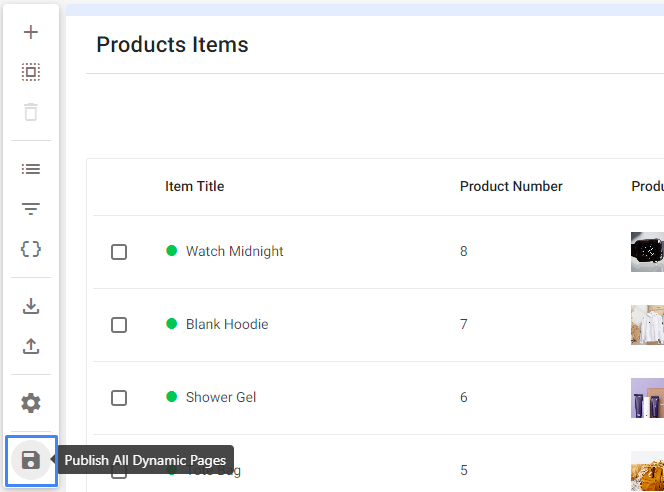
Export Collection Items
1. How to export your CSV file
- Open the Dynamic Content menu in the top navigation
- Select your Collection
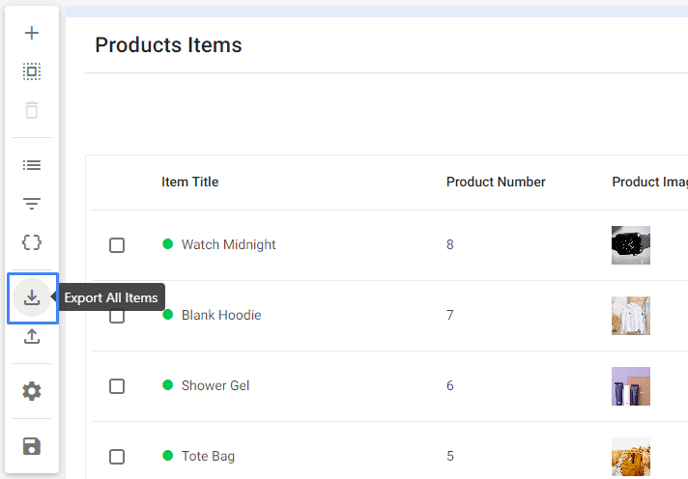
- Click Export in the toolbar
- Open the CSV file
2. Add your items to the CSV file
You can use Google Sheets, MS Excel, or Airtable to create a spreadsheet with columns representing fields and rows representing items and their values. Once the spreadsheet is ready, you can save it as a CSV file.
When saving a CSV file in Excel, be sure to select the CSV type “Comma Separated Values.” Other CSV extensions may not render correctly when uploaded to SiteManager.
3. Supported data types
When you upload a CSV file, SiteManager will usually understand your content just fine. However, some formats, such as those for media, icons, dates and numbers, may not be recognized.
Exported SiteManager Collection items will be properly formatted for importing. So moving Collection items from one SiteManager project to another will work using the exported CSV file.
To ensure that your data is formatted correctly and can be mapped to the right field type, follow the guidelines below when creating your own CSV file:
| Field | What is it? | Instructions |
| Item ID | ID of existing item in collection | Not required, must be unique |
| Title | The title you gave your item | Required Type: plain text |
| Url | The url for your item | Required Type: plain text |
| SEO Title | Your item title for SEO | Type: plain text 35 - 65 characters |
| SEO Description | Your item description for SEO | Type: plain text 70 - 155 characters |
| Open Graph Title | Your item title for Open Graph | Type: plain text |
| Open Graph Description | Your item description for Open Graph | Type: plain text |
| Open Graph Url | Your item url for Open Graph | Type: plain text |
| Open Graph Image | Your item image for Open Graph |
Type: Url The accepted file formats are .jpg, png, .svg and gif. |
| No Index | Tell search engines not to index the detailpage | Type: Boolean: 0 or 1 (True = 1, False = 0) |
| No Follow | Tell search engines not to follow links on the detailpage | Type: Boolean: 0 or 1 (True = 1, False = 0) |
| Canonical Page ID | Define a canonical page for your slug | Type: Page ID |
| Structured Data | Providing extra information about your item | Type: JSON-LD format |
| Broadcast From | Time when item is live | Type: Date/Time format |
| Broadcast Until | Time when item is gone (not deleted) | Type: Date/Time format |
| Category ID | Selected category of your item | Type: Boolean: 0 or 1 (True = 1, False = 0) |
| Filter ID | Filter connected to your item |
Multiple Types:
|
| Field ID | Every item has input fields with data. |
Multiple Types:
|