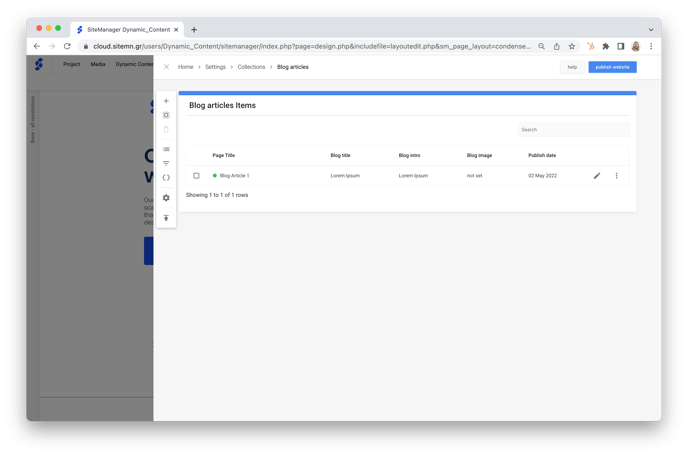
How to add and populate a collection
Want to add (bulk) content - such as a blog, team, news, portfolio, etc.? Collect and store your content in a collection, allowing you to render it dynamically on your webpage.
In this article
Step 4: Add content to the collection items
Step 1: Create a collection
- Navigate to the Dynamic Content tab in the dashboard upper navigation bar.
- Select Create New Collection.
- Complete the field below:
- Name: Give your collection a recognizable name.
-
Main Category: is the default category all collection items will be listed under. You can add subcategories later. LINK
- Dynamic Page: Toggle Yes/No, depending on whether you would like a dynamic (detail) page
- Slug: Set your collection URL (yourdomainname.com/collection-name/collection-item)
- New Version: Toggle Yes
- Click Add Collection.
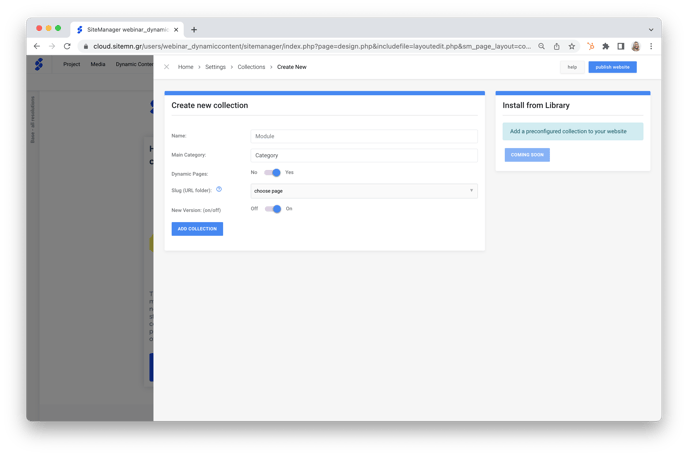
Once you've installed your collection, it will be visible in the Dynamic Content drop-down menu from the dashboard upper navigation bar.
Step 2: Create data fields
- Navigate to the Dynamic Content tab in the dashboard upper navigation bar.
- Select the collection that you just created.
- Click the curly brackets in the left menu to create the data fields.
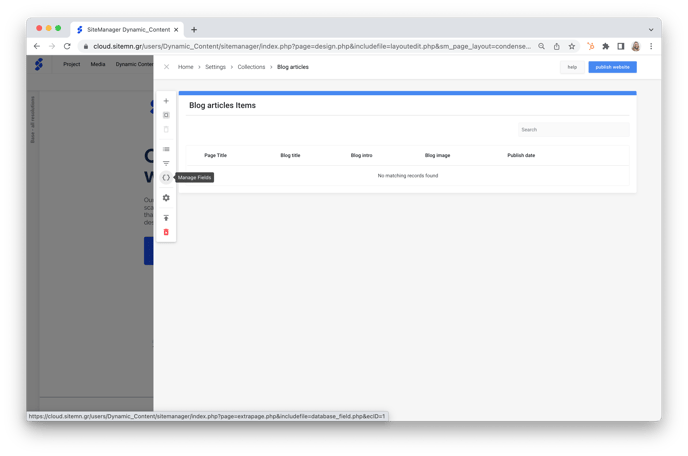
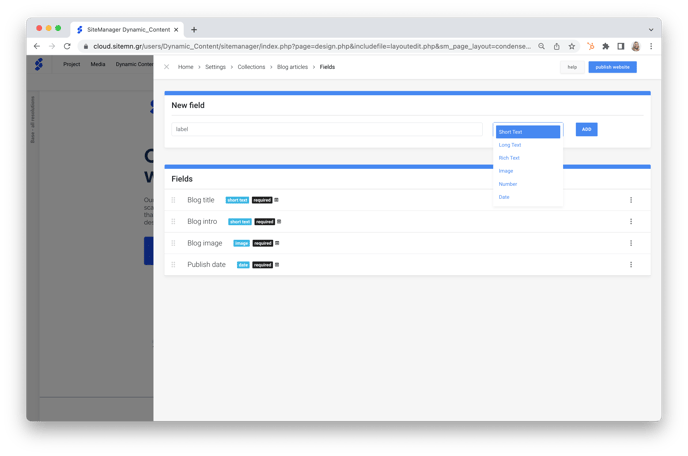
- Add data field names. These fields correspond to the data you want to render later on.
- Select a corresponding data type from the drop-down menu.
Step 3: Add collection items
- Navigate to the collection overview, using the bread crumb.
- Add your first collection item by clicking the plus icon.
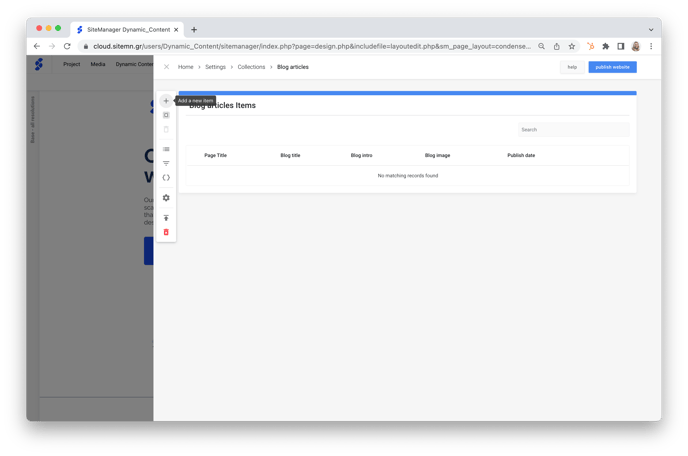
- Complete the required fields in the page settings.
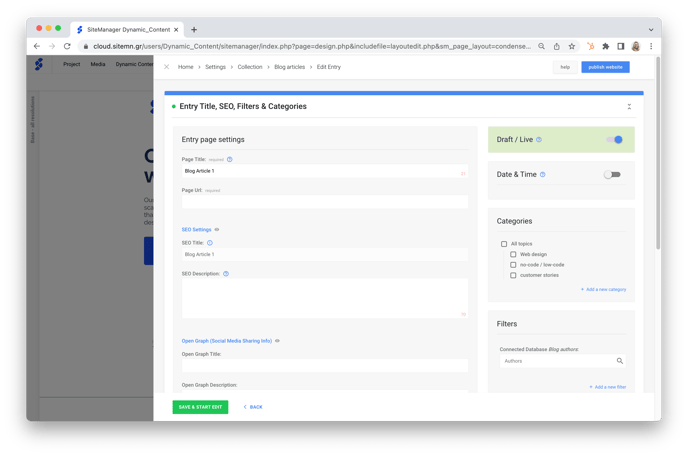
- Click Save and Edit
Caution: To ensure your collection item is rendered on your freshly created page, always check the Main Category, which is called All Topics here.
Step 4: Add content to the collection items
- Complete the data fields with your content.
- Click the Save button.
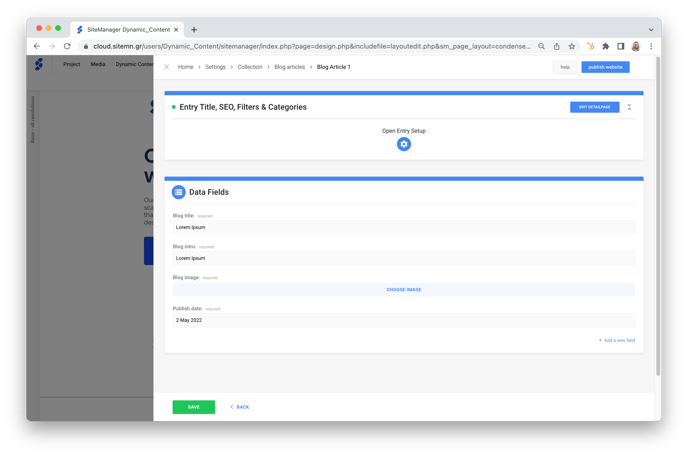
- Navigate to the collection overview, using the bread crumb.
