Out of the box, there are three ways to enhance your dynamic list; with a load more button, with a load more on scroll, or with pagination. Using one of these three methods, will provide for a better user experience if your dataset is pretty large.
Sometimes, however, it could be beneficial to offer more advanced ways of filtering the collection. This is why we have created a whole new range of filter snippets to use together with your dynamic list.
The filterbar works based on the categories of a collection. It is not yet possible to filter based on a specific field, but this functionality will be added in the future.
Filtering only works on a subset of categories. This means that you always need a clear hierarchy to be able to filter correctly. The subcategories of your selected category will be used to actually filter the overview. Don't put your main category and your subcategories on the same level, but create actual subcategories, so you can render the categories based on the main category.
Set-up
You can find the filterbar among the other basic structure snippets. Be sure to also add a dynamic list. Your dynamic list and filterbar don't have to be added to the same component, but it is necessary to add your dynamic list first somewhere on the page, before configuring the filterbar.
Connecting the filterbar to the dynamic list
Out of the box, your filterbar won't be connected to the dynamic list. It is entirely possible to have more than one list on a page, hence why you need to specify which list will be filtered.
You can connect the filterbar by opening the context menu of the filterbar inside the visual editor, and by editing the Render ID through the manage input fields option.
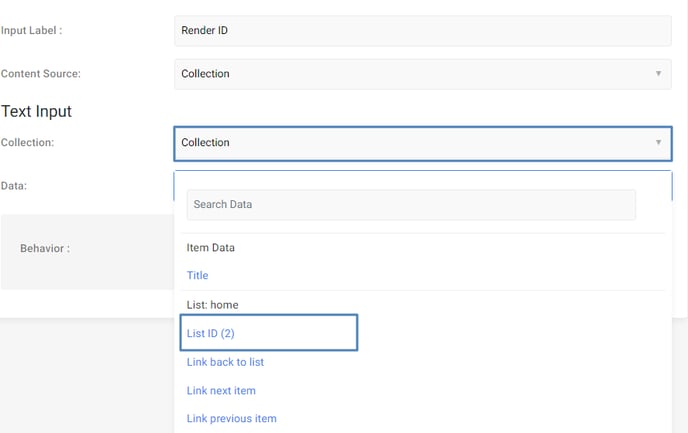
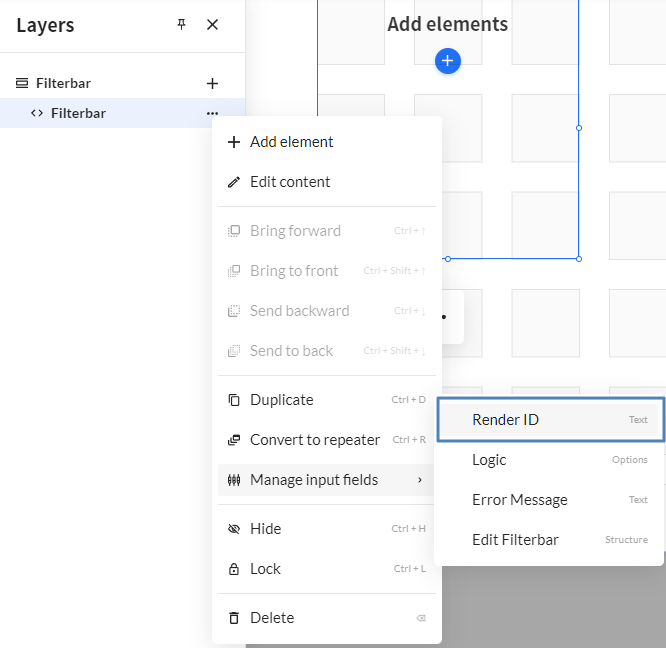 In this next window, it is important to change your content source from CMS to collection. Now you can choose your collection you want to filter, followed by the List ID of the list you want to connect to. All the lists added to one of your pages, will be visible in this dropdown, so be sure to pick the right one!
You will only be able to select the list ID, if you have added a dynamic list to your page. Be sure to add the list first, before you configure your filterbar!
Adding elements
A filterbar on its own, won't do much damage. It's time to append your preferred filter elements to your newly created filterbar. You can locate the individual filter elements in their own tab, when adding a new snippet.
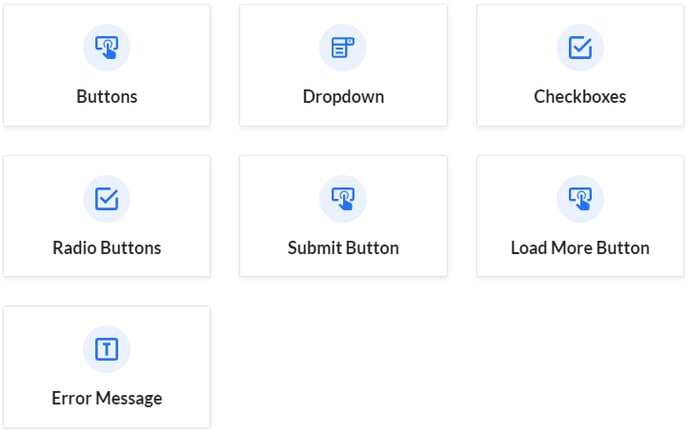
The following elements are currently available:
- Buttons
- Dropdown
- Checkboxes
- Radio Buttons
Each of these snippets can generate a unique way to filter your list. You can add multiple of these snippets, if you have more than one category level in your collection.
The following special elements are also available:
- Submit button - You can add a submit button to the filterbar. If no button is present, the filtering will happen when a filter has been selected.
- Load More Button - You can add a custom load more button to the component. Note that this button doesn't need to be added inside the filterbar, but can be added anywhere on the page.
- Error Message - You can add a custom error message to the component. Note that this button doesn't need to be added inside the filterbar, but can be added anywhere on the page.
Just like the filterbar, the load more button and the error message need to be connected to the corresponding dynamic list. This can be done in the same way as you connect the filterbar.
CMS Set-up
When editing the filterbar in the CMS, first, you have to decide which logic to apply to the filterbar. This is the logic being used between multiple filter elements. This means that this option won't affect you if you're only adding one filter element to the filterbar.
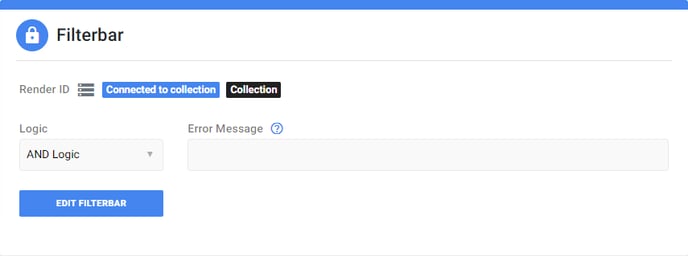
- AND Logic - All selected filters need to be valid.
- OR Logic - One of the selected filters need to be valid.
Let's demonstrate this with an example. Suppose you have added some buttons for one category section, and a dropdown for another section. With AND logic enabled, both the selected button(s) and the selected option in the dropdown need to be valid for an entry to show. With OR logic, the entry will show when one of the filters is valid, even if your entry doesn't contain the other value.
It is also possible to insert an error message here. However, it is strongly recommended, to use the custom snippet, since you can't choose freely where to position the default message.
Filter elements
The filter elements are much alike their counterparts that can be used inside a normal form, with the exception that you don't populate the values yourself. All options get automatically generated bases on the categories of your collection.
Most configuration options will be self-explanatory, but there are two options that need some further clarification.
Category ID
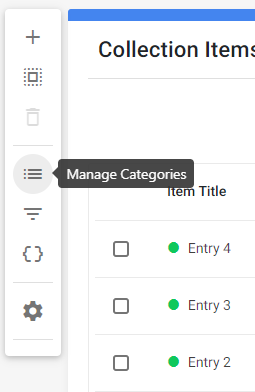
You can choose which subset of categories you would like to render. To view your categories, open your collection and locate the categories in the smart toolbar on the left of your window.
Here, you can view (or create) the categories of your collection. Categories can be nested as deeply as you like, so it is possible to create a nicely hierarchized structure.
The ID of the category will always be shown next to the name. It is this ID that you need to use in your filter element. All directly accessible children will be rendered when you do so.
Active category ID
It is possible to start with a category activated by default. You can add one (or multiple in case of an element which allows multiple selected) category ID, which will be active when the page loads. This way, you can further highlight a single category, without limiting the visitor.
Your CMS dynamic list settings will always override these category settings. If you set up your dynamic list to display a specific category, then this category will always need to be valid, even if you also render this category through a filter element, without activating it.
In most cases, you'd never want to set up your dynamic list with a category that will also be rendered. Instead, you'd pick a category on a higher level than the categories you're rendering.