Creating a Calendly
To get started, the first thing you need to do is create an account on calendly.com. Simply follow the registration process, and once completed, you will be logged in to your personal dashboard.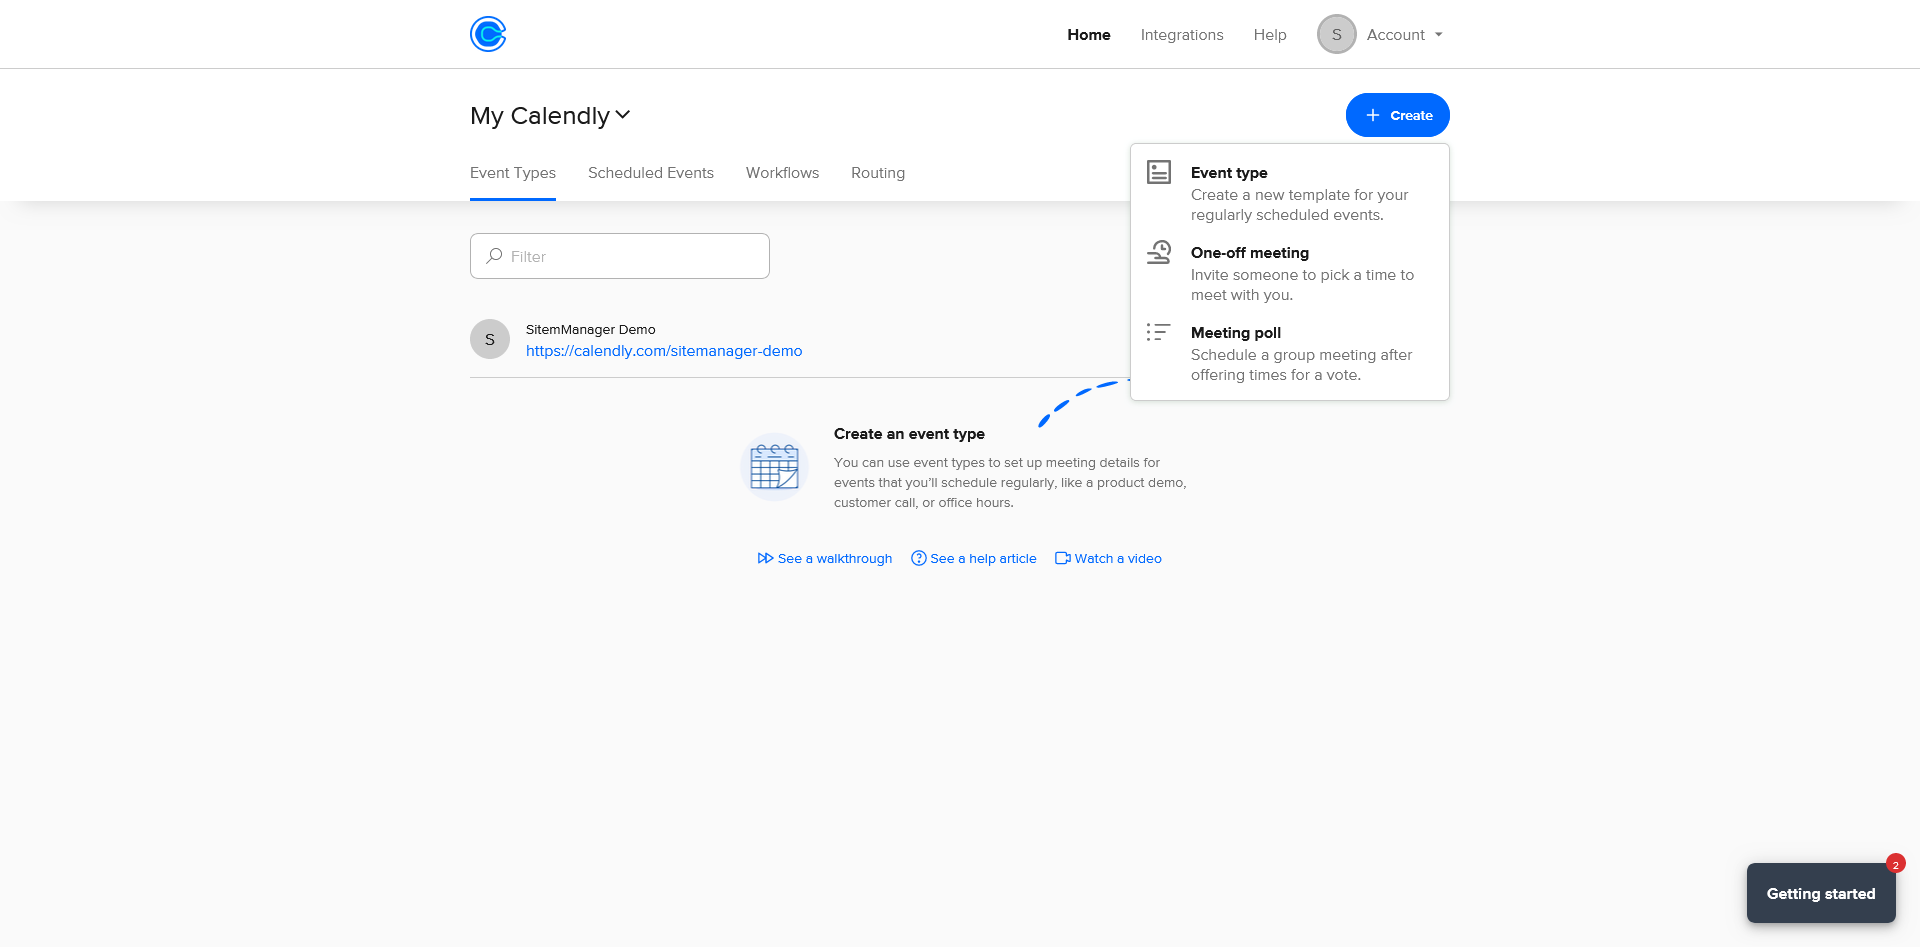
To begin, we must create an Event Type. These Event Types can be thought of as different types of appointments, such as a meeting, demo, or call...
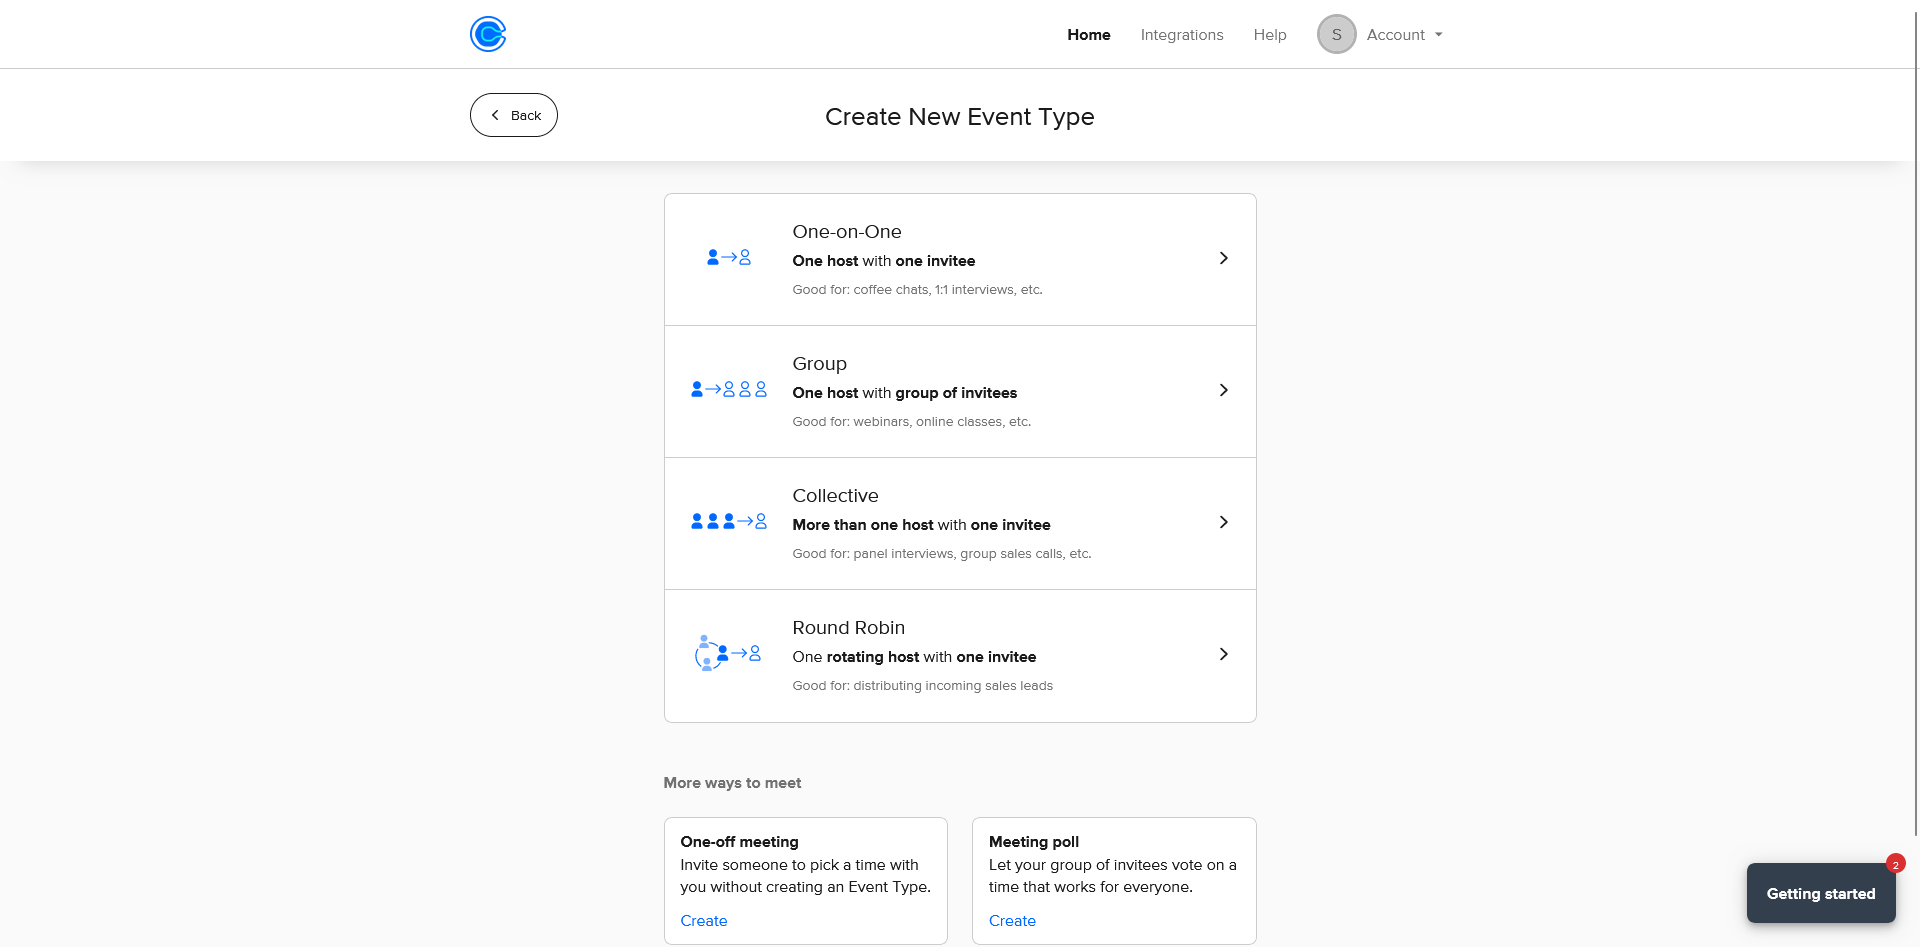
We can create an Event Type by clicking the Create button. Let's say we want to create a Demo, we are going to create a One-on One Event Type.
Next up, fill in all the required fields for this event.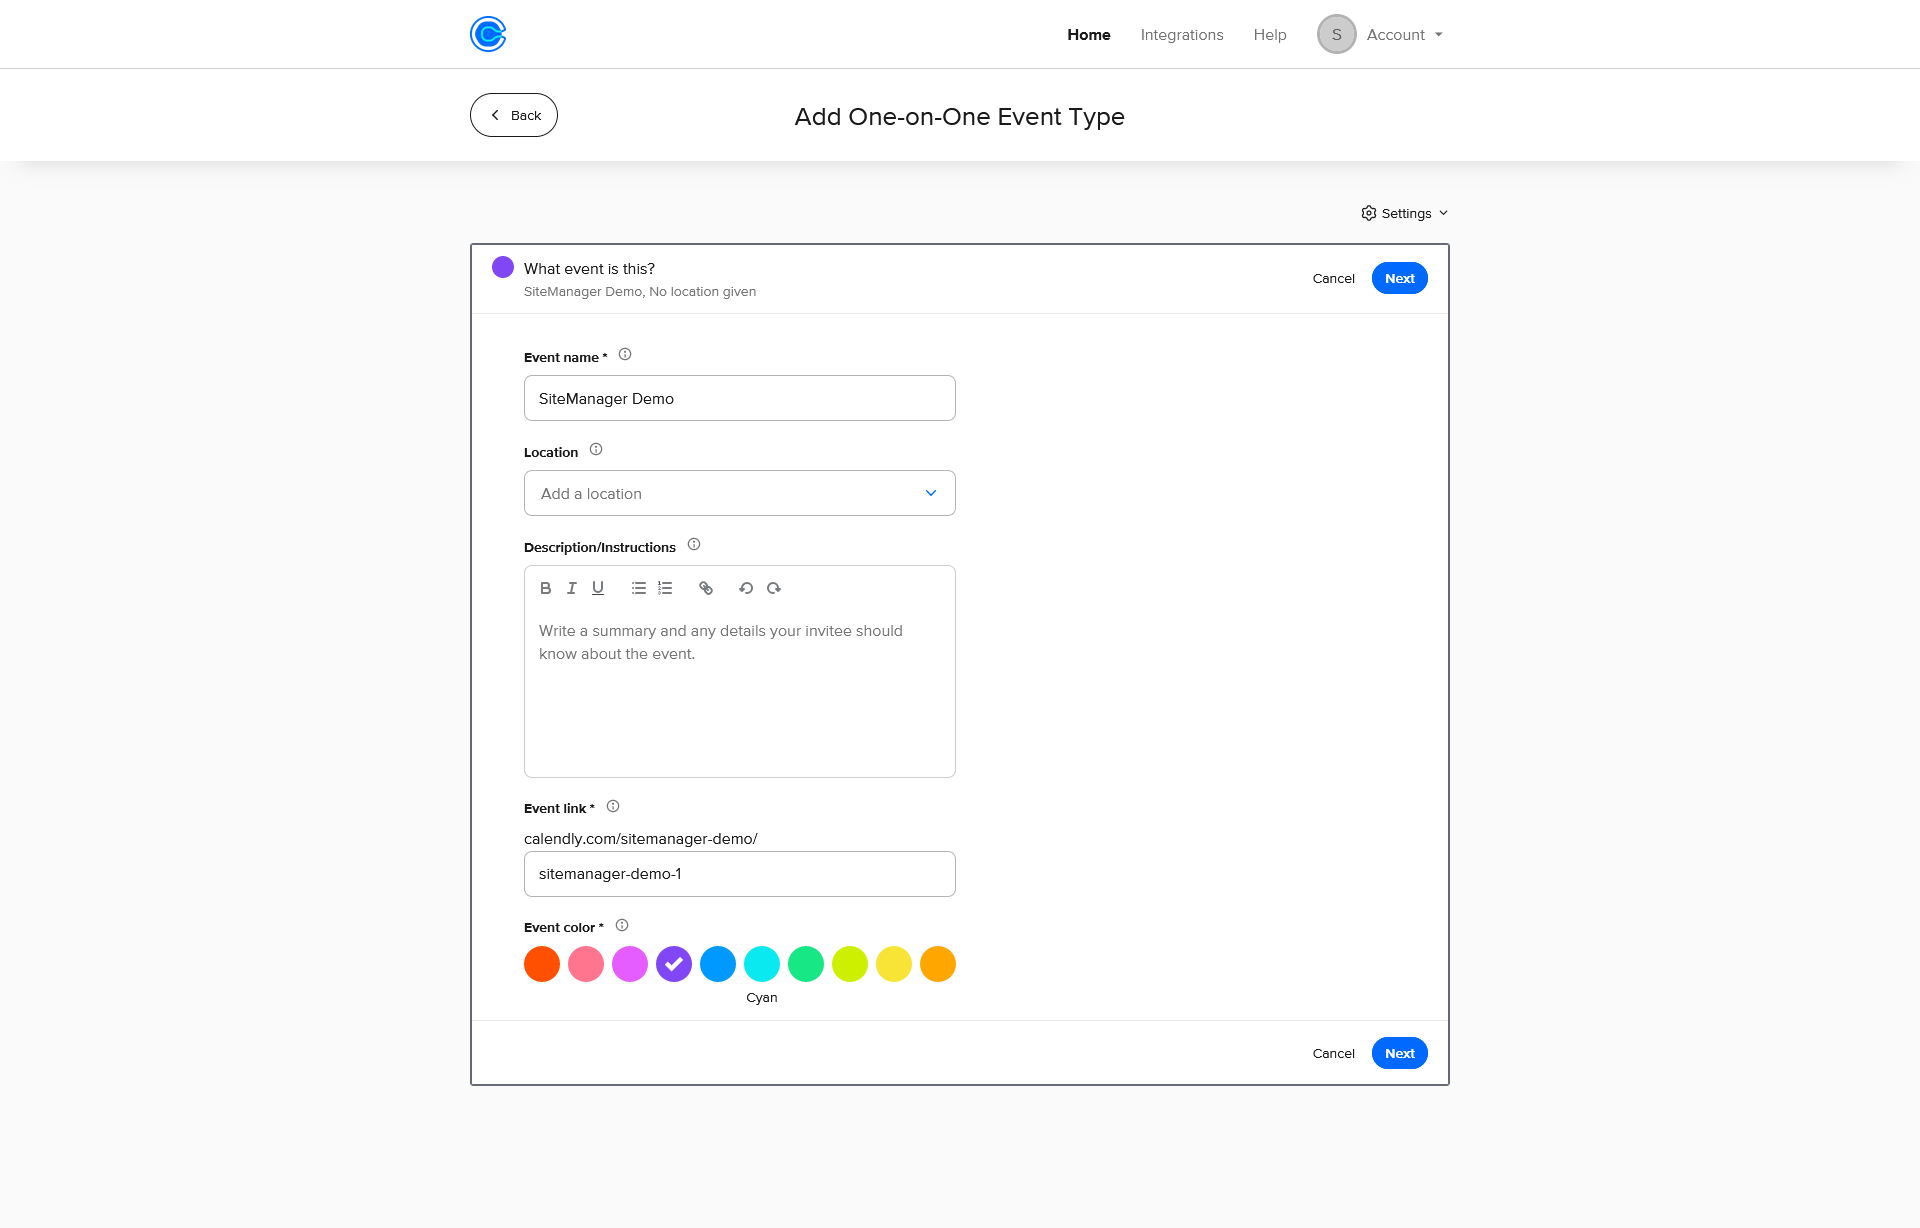
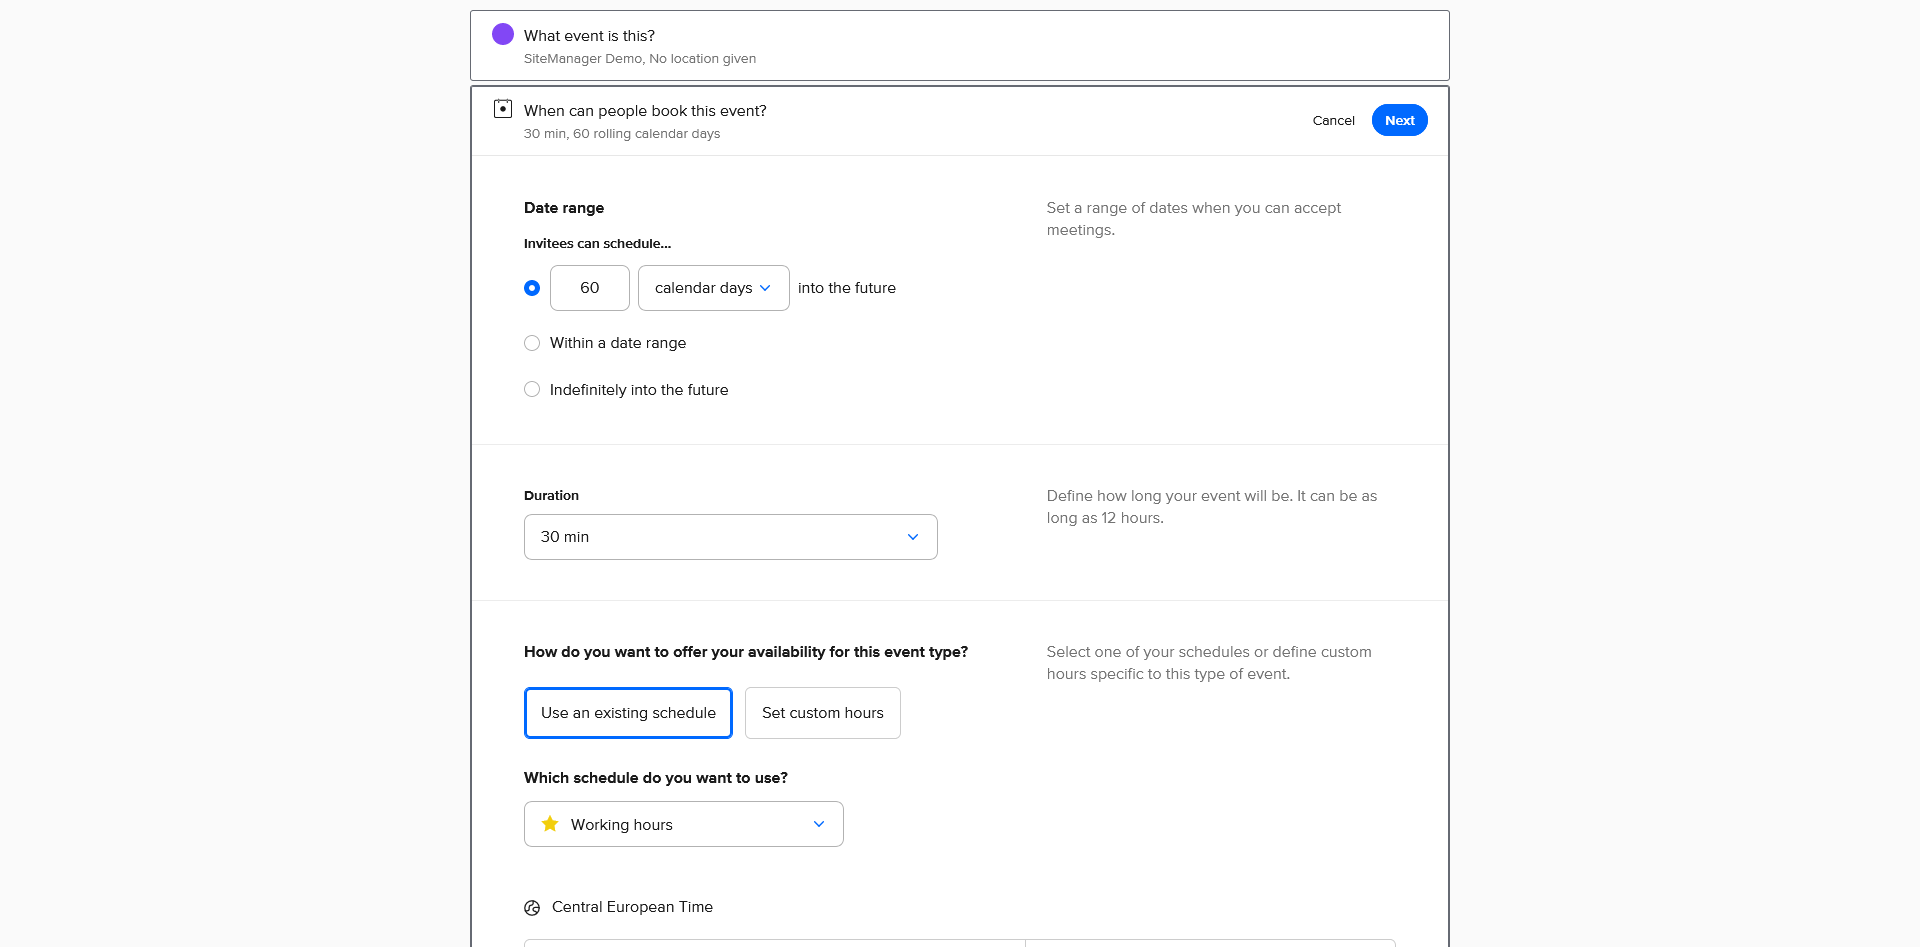
When we provided the details of the event, the last thing we have to provide, is the time people can book our event.
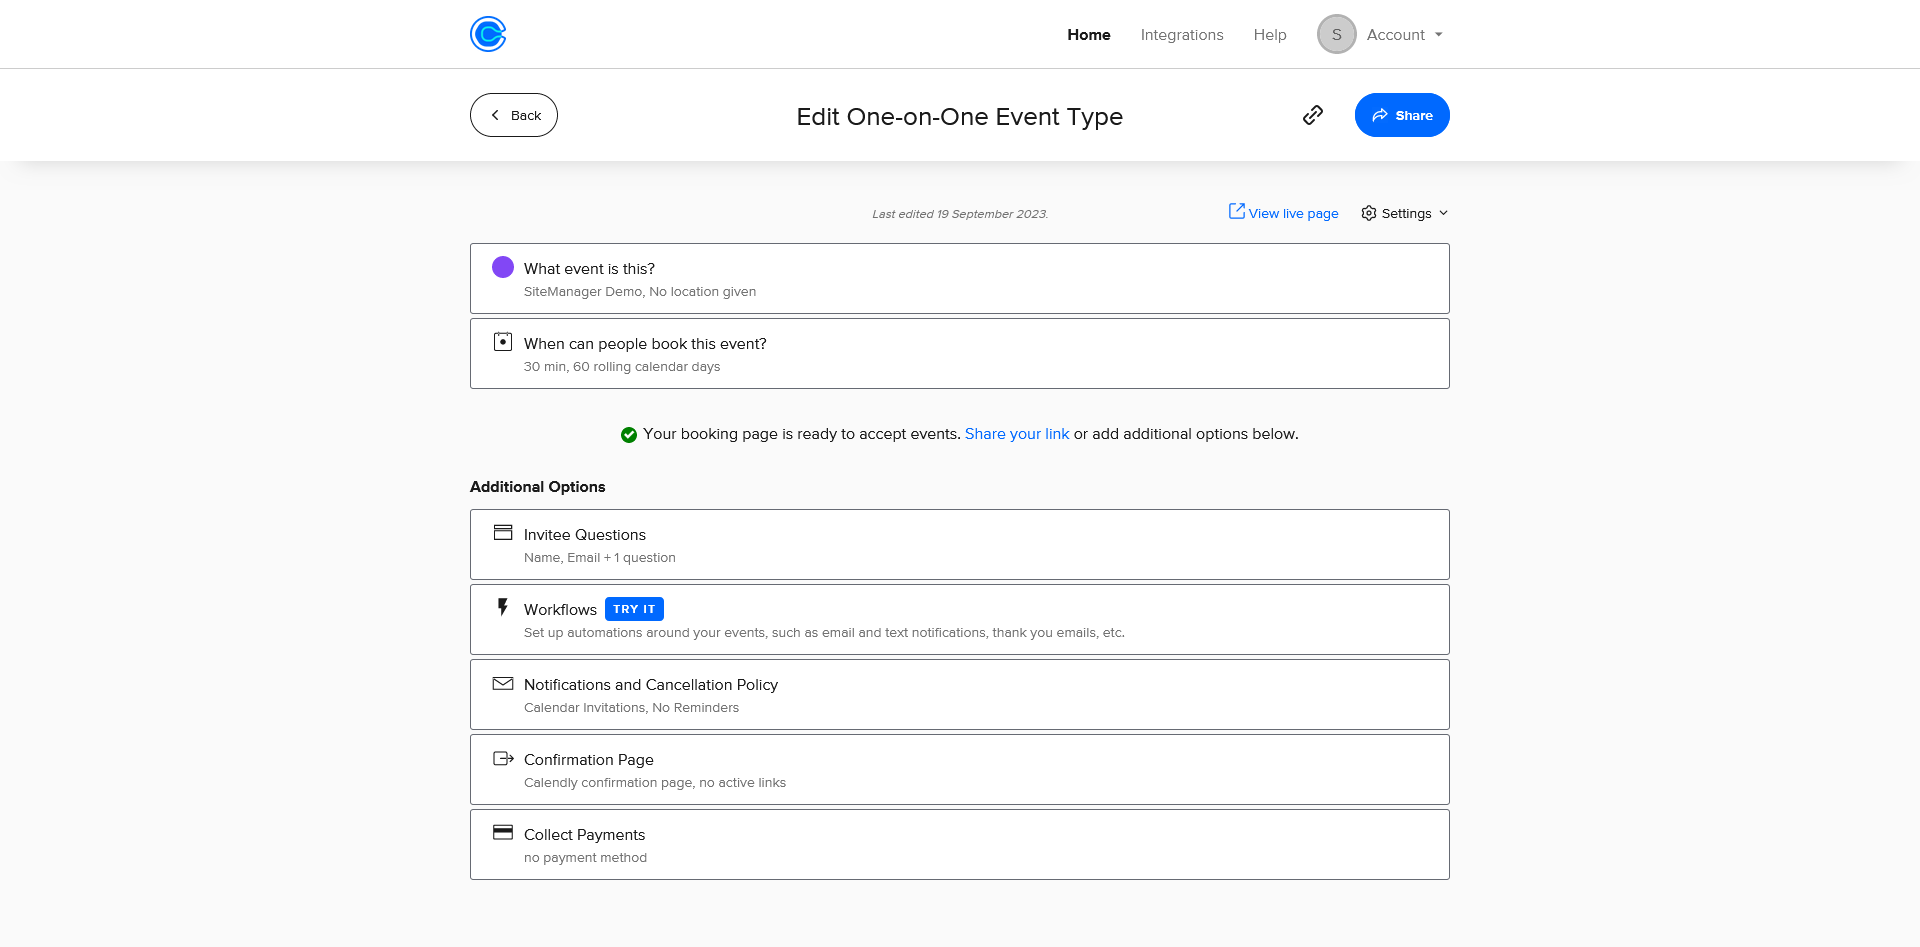
When we click next, we will be redirected to an overview page of our newly-created event! On this page we can click the share button to get started.
To add our Calendly Event, we need to head over to Add to website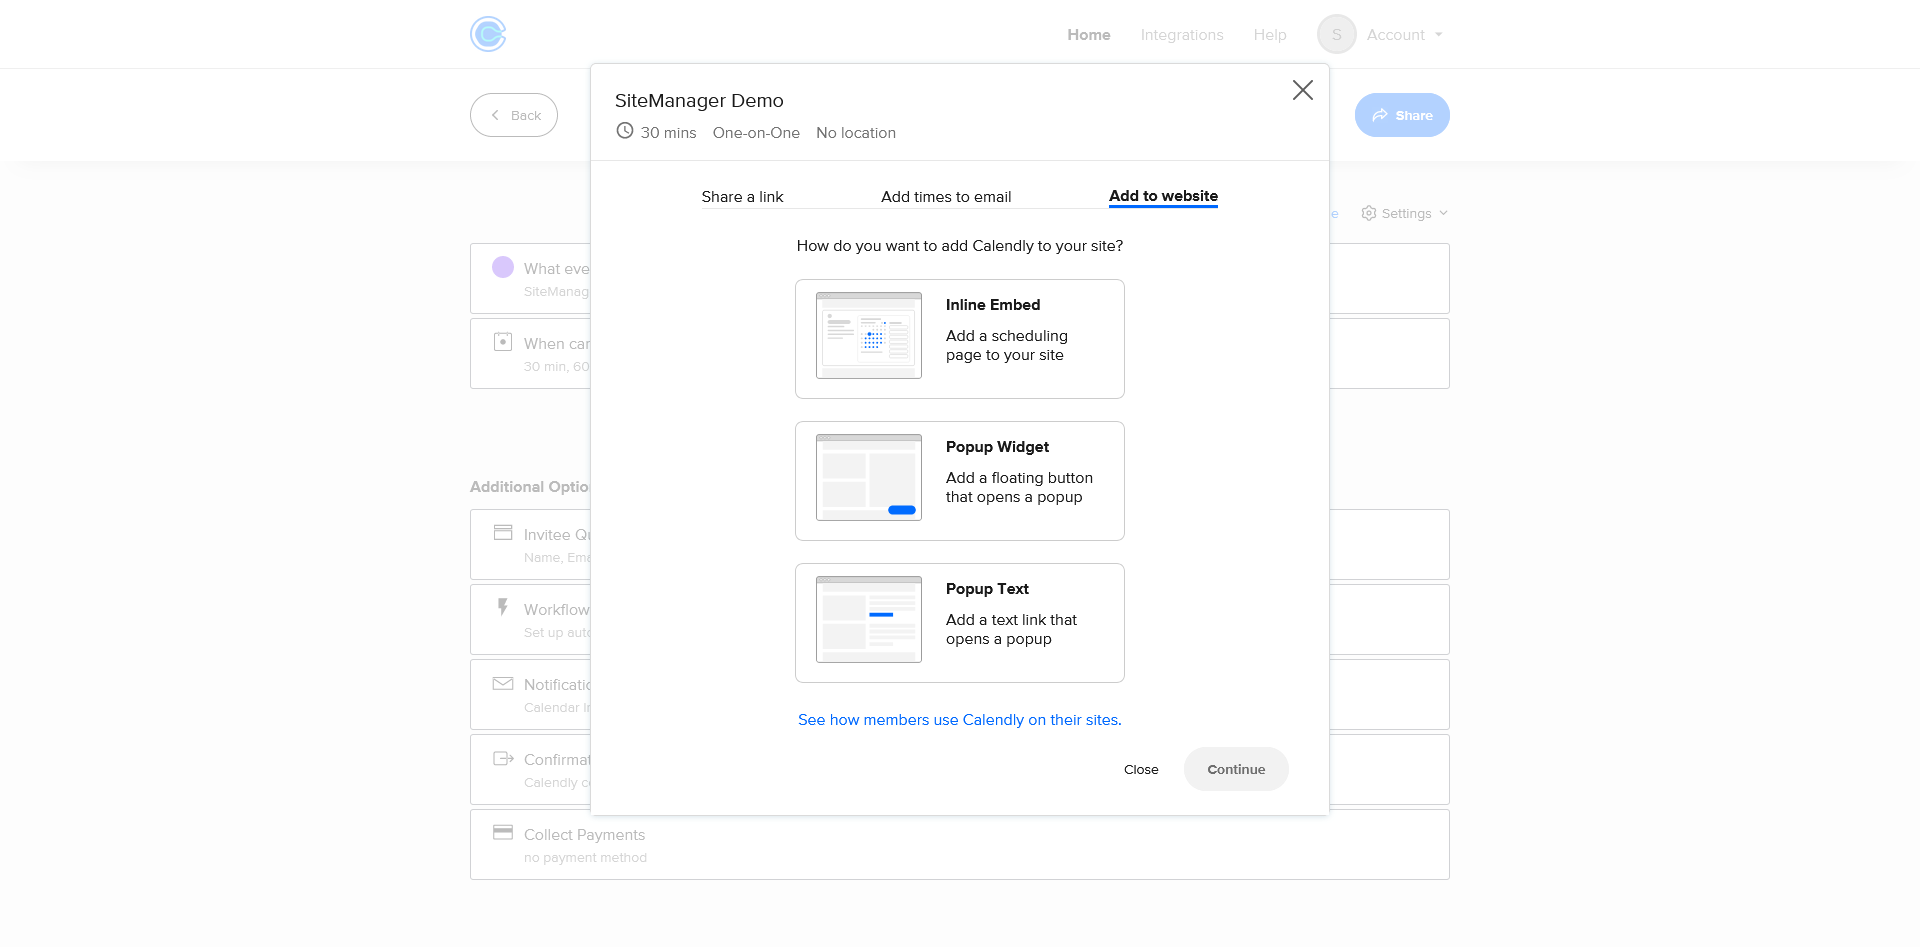
Calendly offers three types to showcase our event on our website. Let's pick Inline Embed for now. This will give us the code that we need to embed it.
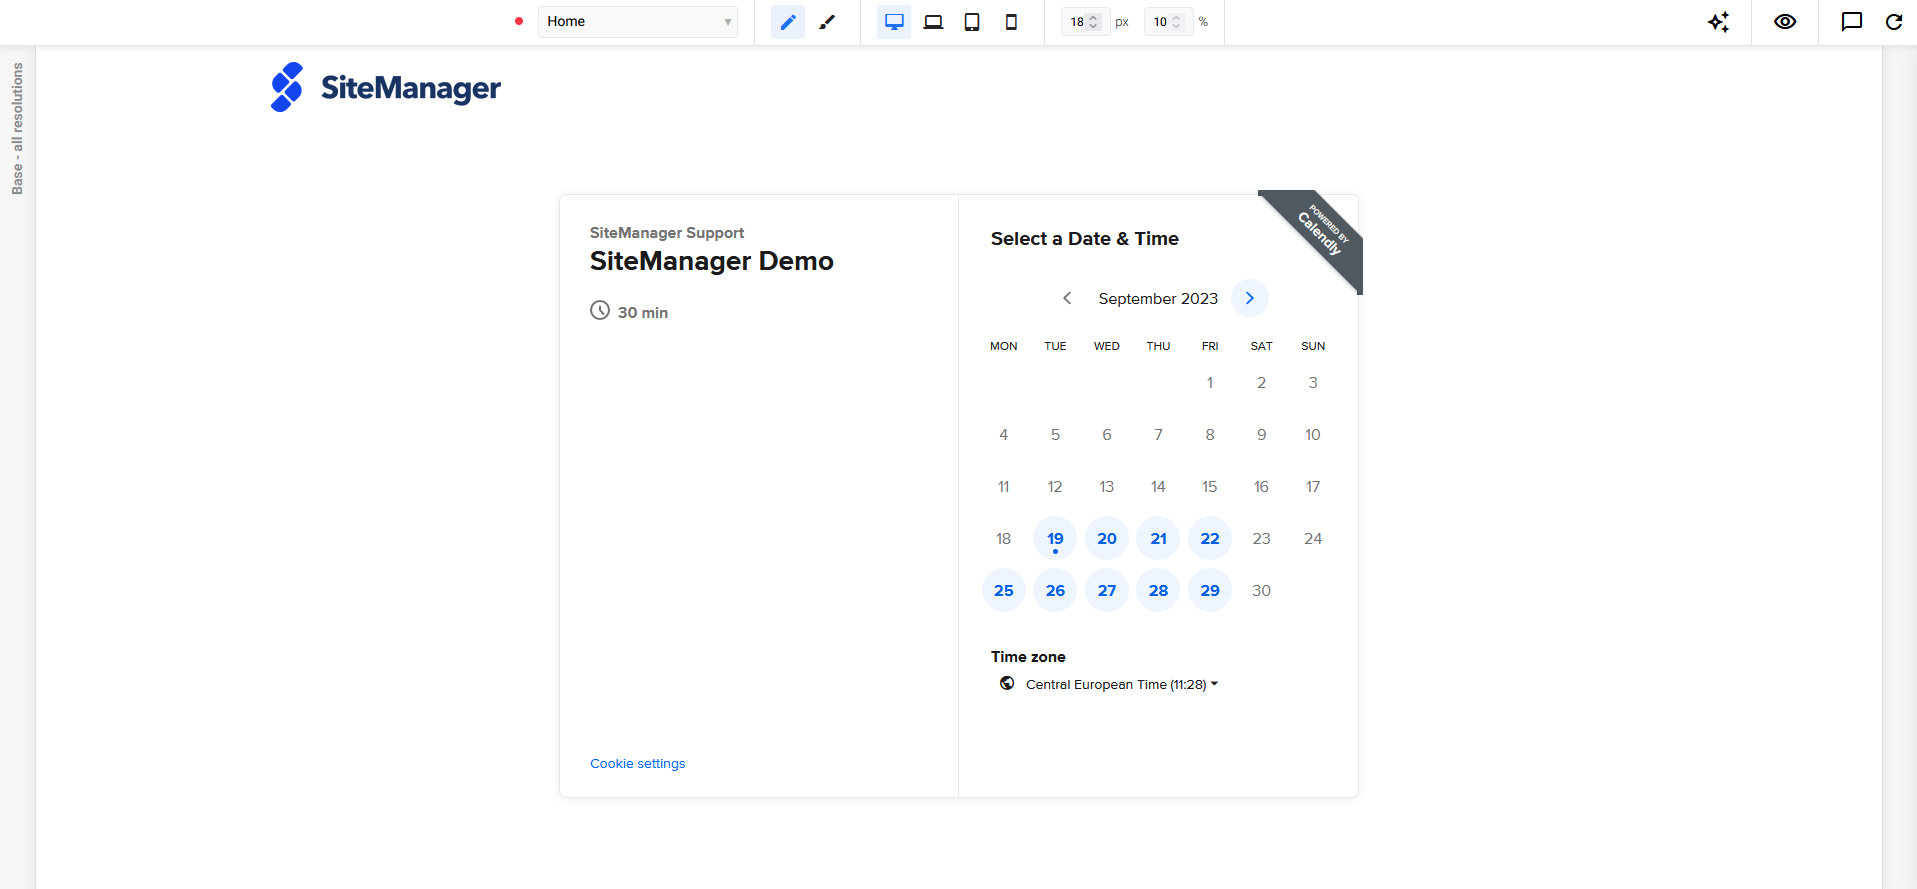
Adding the calendar to your website
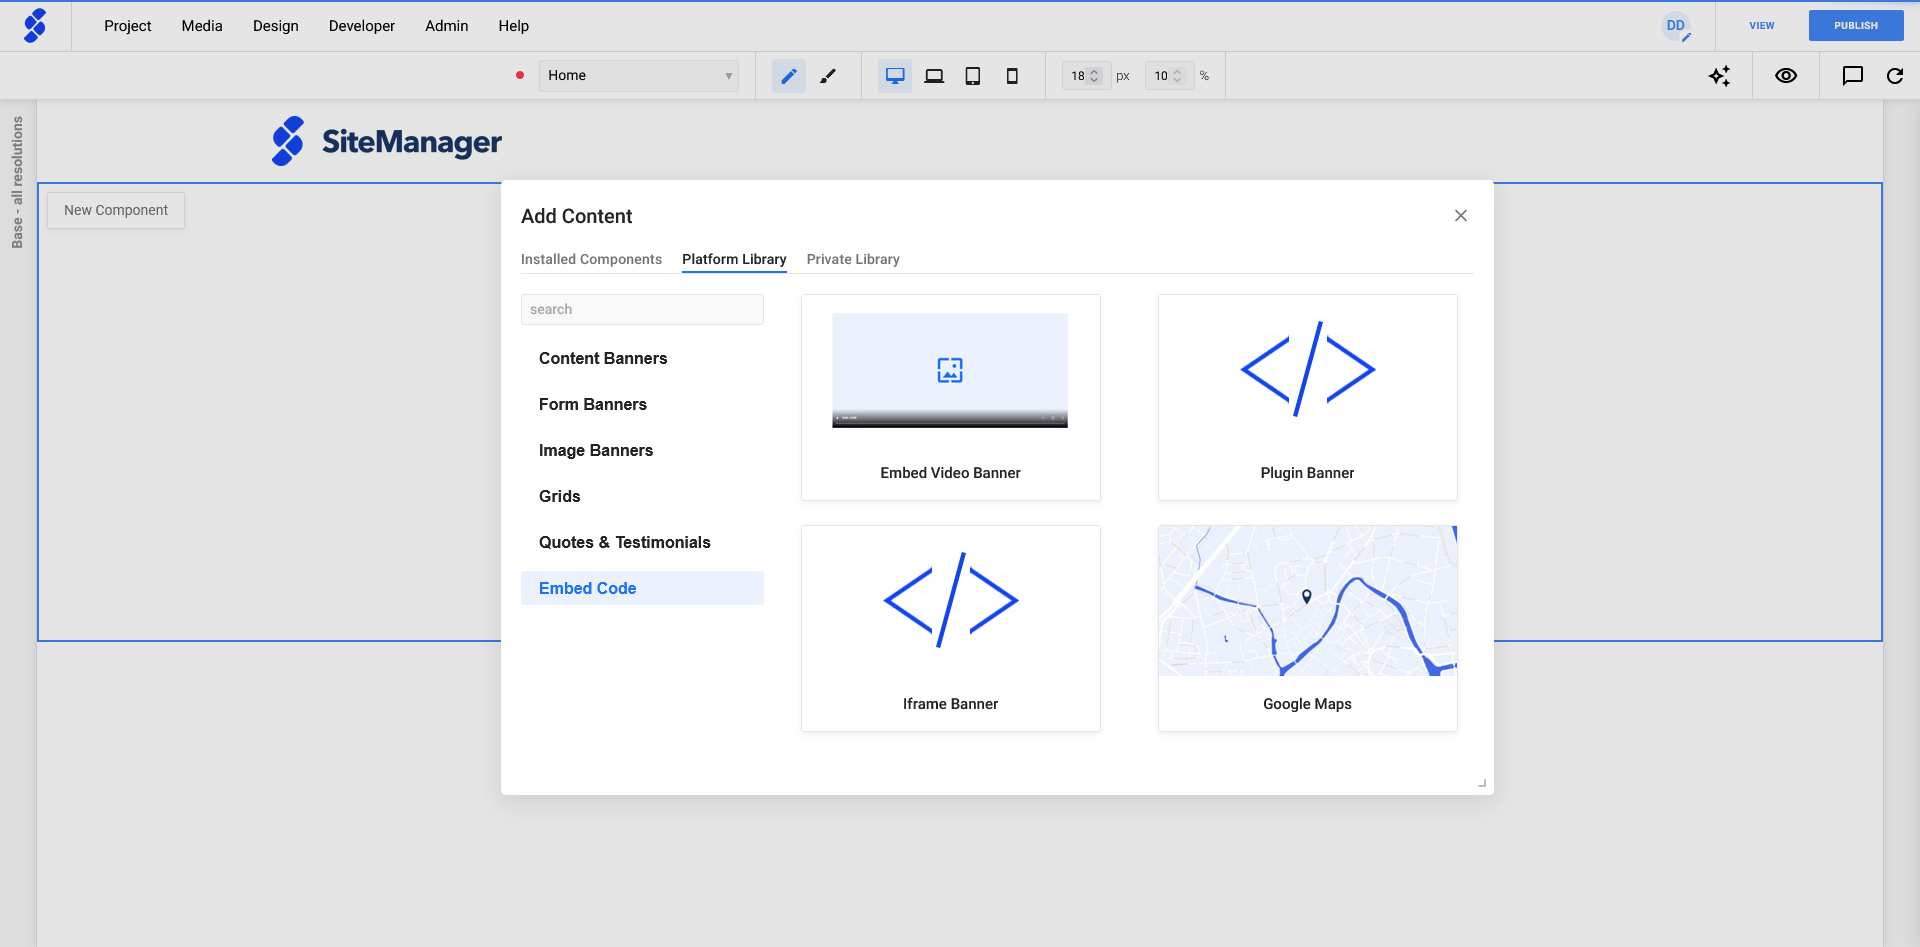
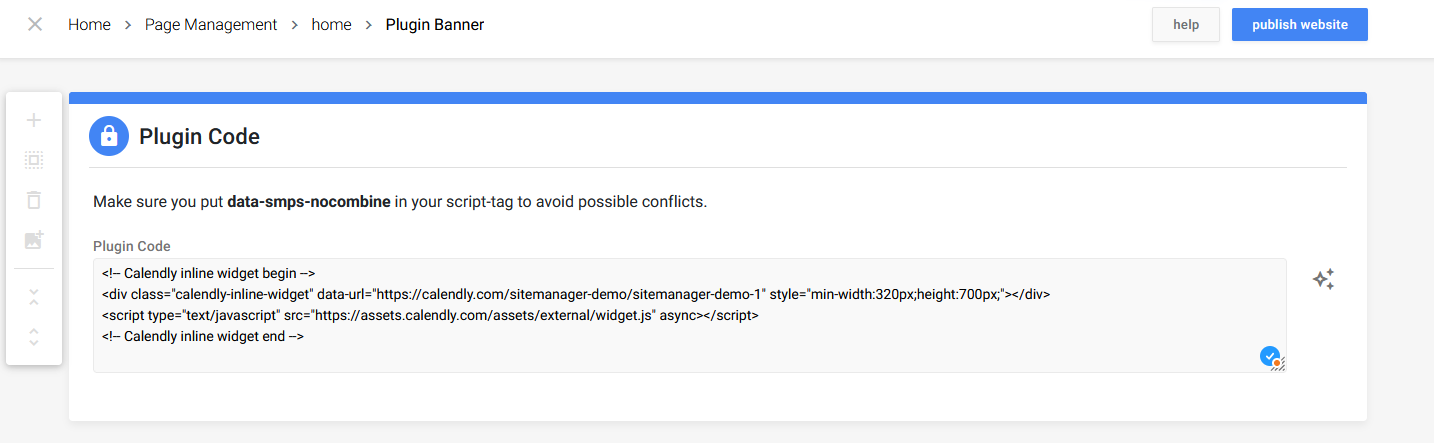
When we have copied our code, it's time to head back to SiteManager and add it to our project. In our project, we can use Plugin Banner to add the Calendly code.
Congratulations! You have successfully added a Calendly Event to your website! When you're ready, publish your website and users can now book meetings via your website!
For more information about Calendly, visit their website or their knowledge base.