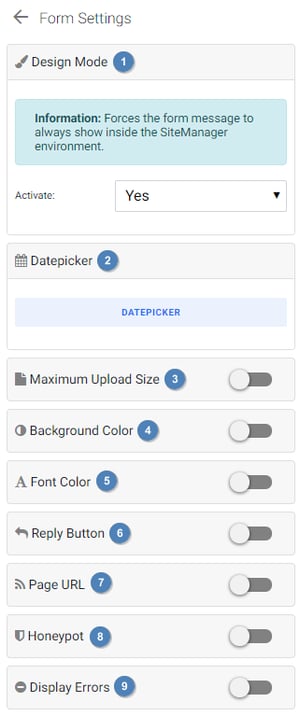
 Design mode: Activating this option will ensure that the thank you message will always be shown inside the SiteManager environment. Handy for styling purposes.
- Datepicker: All the options of the datepicker are gathered in this panel. Check out the dedicated article for more info.
- Maximum upload size: The maximum size (in Bytes) of the files that can be uploaded. Only applicable when you have an upload input in your form. The maximum size is 10.000.000 Bytes or 10 MB.
- Background color: The background color of the mail header. Only applicable when you have the email action added.
- Font color: The font color of the mail header. Only applicable when you have the email action added.
- Reply button: Whether to include a reply button inside the mail. Only applicable when you have the email action added.
- Page URL: Activating this option will show the URL of the page the form is sent from at the bottom of the mail. Only applicable when you have the email action added.
- Honeypot: Activating this option will add an extra layer of defense against spammers.
- Display errors: By default the generic error message that is filled in in the CMS will be shown when an error occurs. You can change this to show a specific error that will show the user what exactly went wrong.