In this article you will learn to install Flickr Gallery from the upgrade store, set-up the integration, and style the gallery with the SiteManager design editor.
A. Install from upgrade store
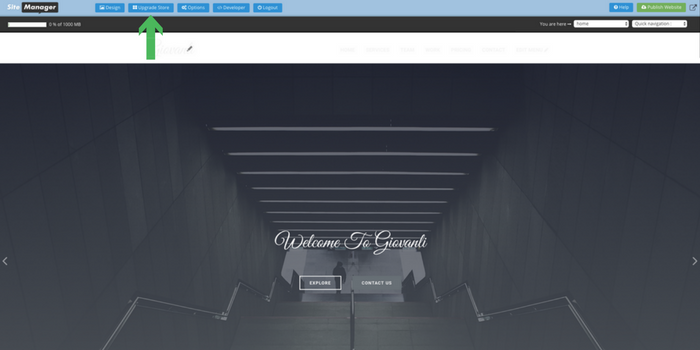
Step 1: Login to the project in which you want to install the Flickr Gallery. On the CMS homepage click the upgrade store button or add more elements.
The upgrade store is the place where you install additional components and functionalities that come with every SiteManager website. You can restrict access to the upgrade store for your clients.
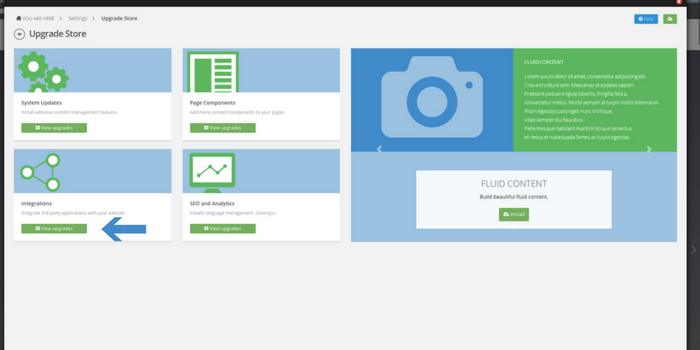
Step 2: Click on the category "Integrations"
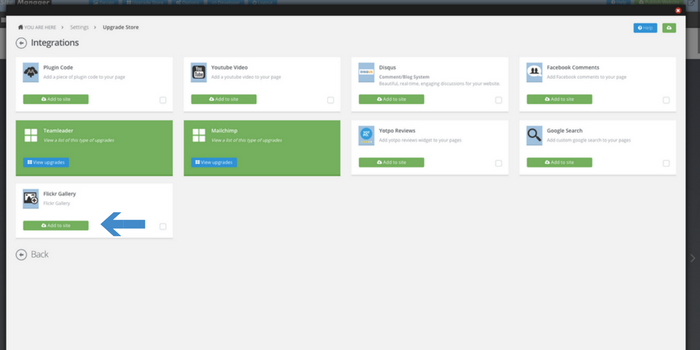
Step 3: Click on the "add to site" button on the tile Flickr Gallery.
B. Set-up the integration
Step 4: Create Flickr account or login to Flickr using your email and password.
Flickr: https://www.flickr.com
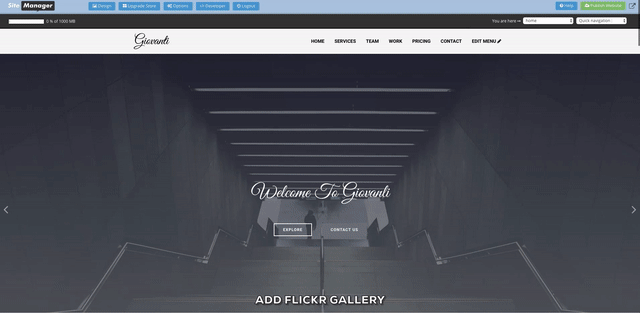
Step 5: Drag and drop the Flickr page component on the page you like.
Step 6: To retrieve your Flickr ID, right click to open the link in a new page.
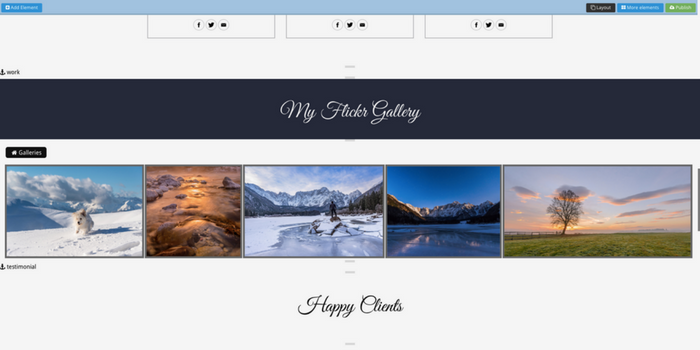
Step 7: Copy / Paste the Flickr id in the page component. You should see something like the image below.
(note: your album on Flickr must be public)
C. Design the Flickr gallery with the SiteManager design editor.
Step 8: Log in to the SiteManager design editor
Step 9: Click on the edit button of your layout to enter the design editor
Step 10: Render the page on which you installed the gallery, click the green style button of the gallery and start to design using the style panels on the right of the screen.
D. More information
Check our SiteManager YouTube Channel: https://www.youtube.com/channel/UC810UiLZD_sgjdPSykCDDJQ
Find more information about the Flick Gallery on our blog: http://www.sitemanager.io/blog/how-to-create-high-quality-responsive-website-galleries
We hope you will enjoy the integration!