IMPORTANT: Since 11/06/2018, Google changed its API policy. This means that you no longer can get an API key without the use of a credit card. However, the first $200,00 a month won't be credited and will be free of cost. See this page for more details about the updated pricing.
In this article the new method of implementing Google Maps is being instructed.
First of all you'll need a Google account in order to get the API key. The link needed to get the key is https://developers.google.com/maps/documentation/javascript/get-api-key
Click the blue Get Started button to start the procedure.
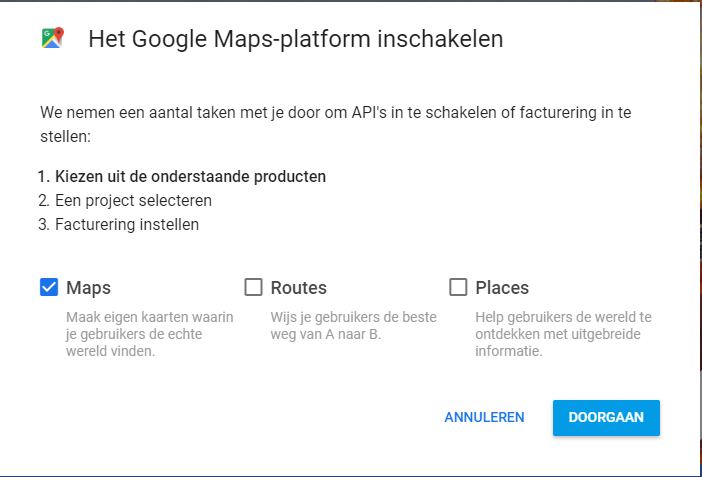
API settings
You'll first need to specify which Maps features you'll be using. In our case, selecting only the Maps module will be sufficient.
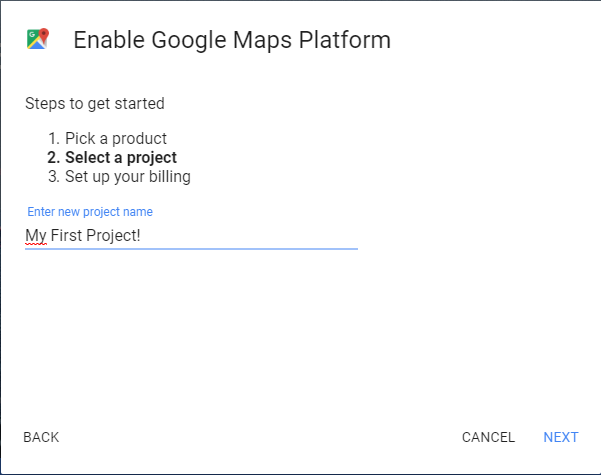
The next thing you'll need to do, is select a project. Normally you'll create a brand new project for each website. When creating a project, it's advised to use a name that is specific to the website. When adding multiple projects, it'll be easier to manage the different items later on.
Create billing account
Your project will be created and you'll be prompted to create a billing account. As stated before, creating a billing account is absolutely necessary in order for your API to work properly. If you've already set up a billing account before, you can obviously skip this step. It's just a matter of running through the setup wizard, where you'll have to fill in your personal information.
Adding credentials
To work properly with your project, the API key needs to have the right credentials. To do this you must navigate to the Google Console where you'll find your API.
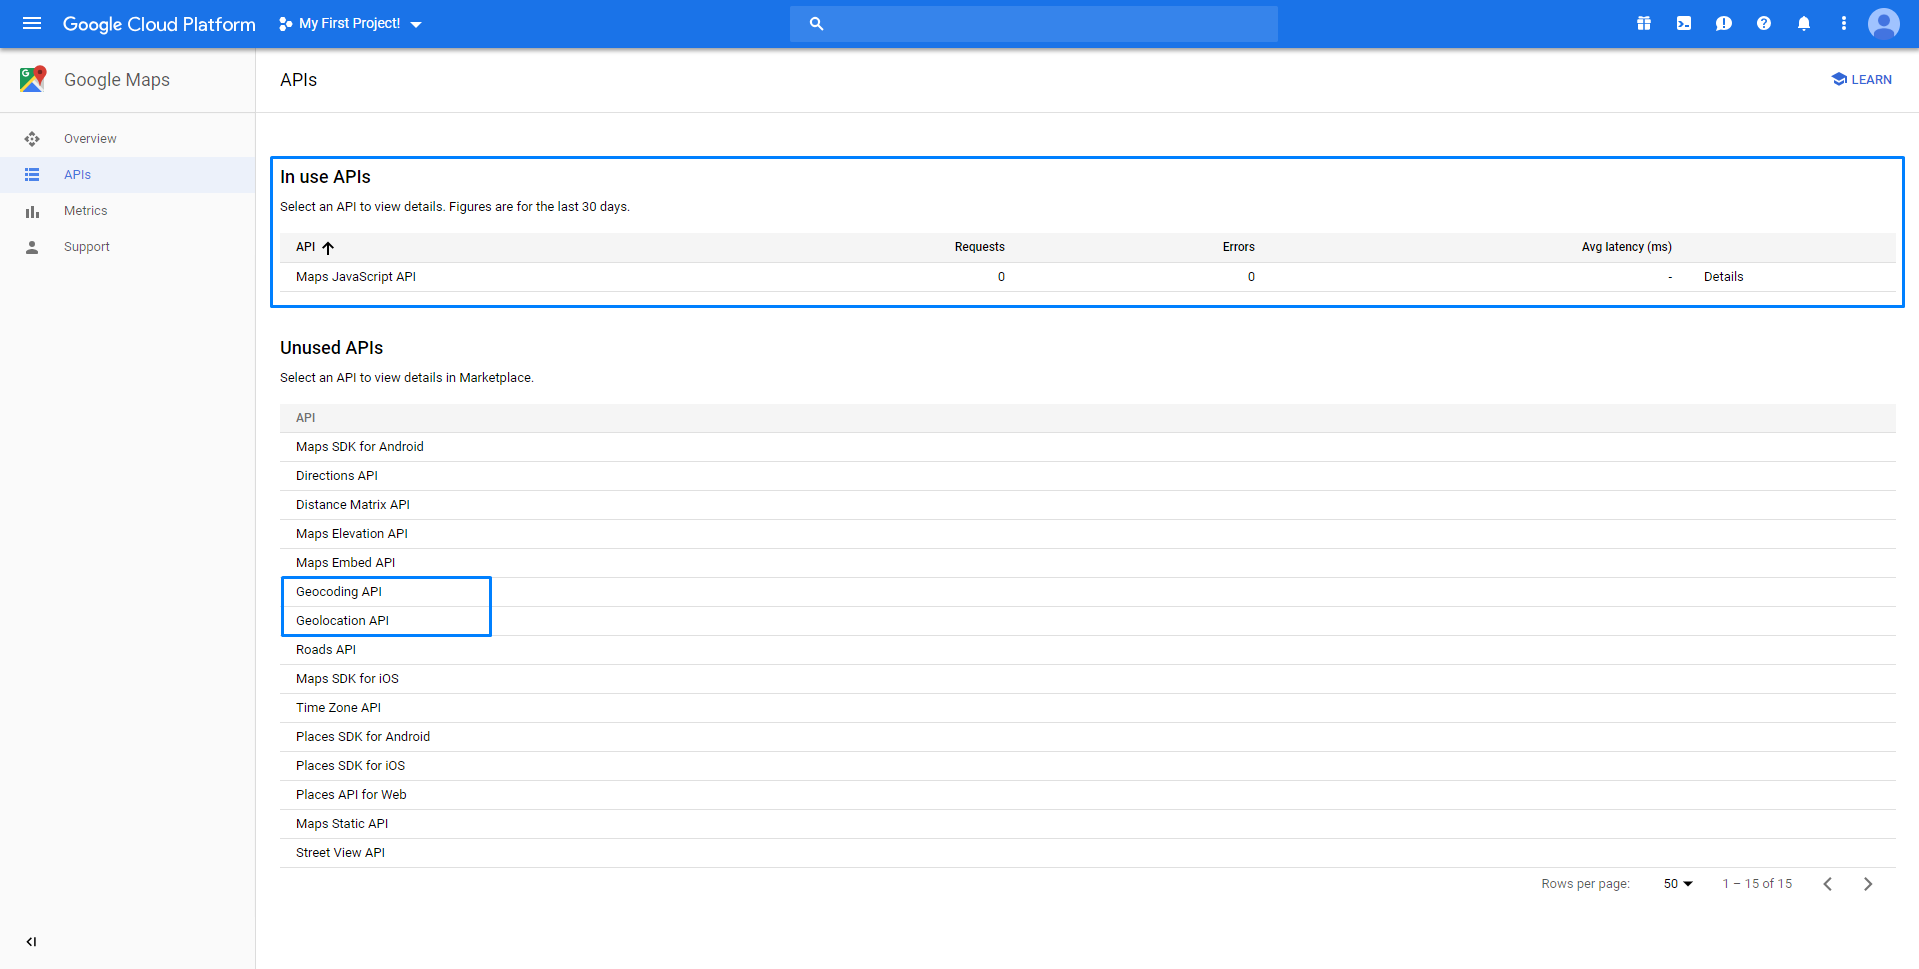
For the Map to work properly on your website, you'll need to install a total of three API's. The API's that are needed are 'Maps JavasScript API', 'Geocoding API' and 'Geolocation API'. Just click on each of the API's you need to install and simply enable them. They will be automatically added to your API key.
Now, select one of the installed API's and navigate to Credentials.

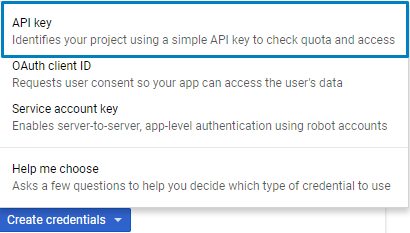
Here you'll see that you need to create credentials to access the API. When clicking the button, a pop-up will appear. This pop-up will ask you to choose the type of credentials. We're working with an API key, so we're obviously choosing the first option.
Now you'll see that the API key has been created. You now need to restrict the key so only your website can use this key. When integrating Google Maps in a SiteManager website, you will have to add four different URL's. Below you can find a screenshot and the four URL's you need to add.
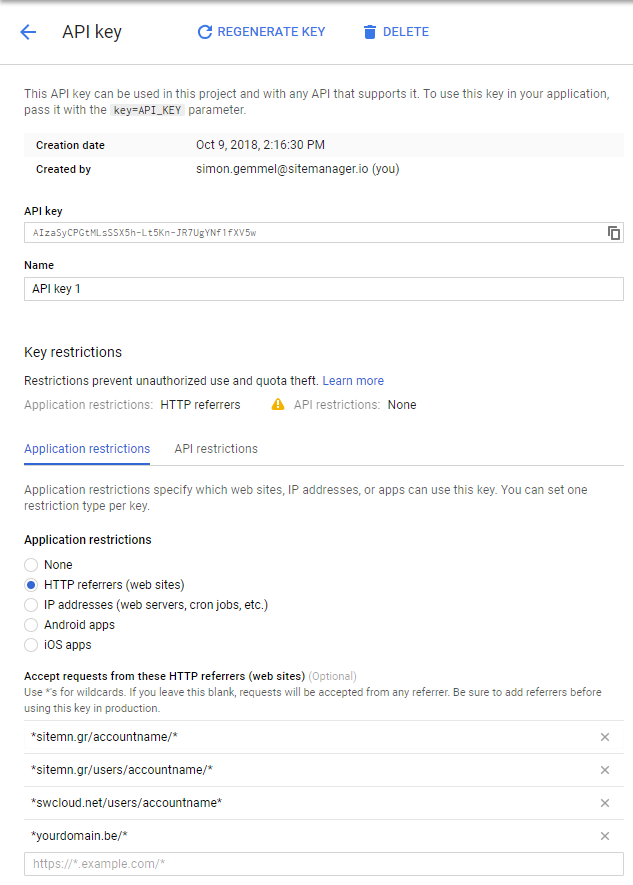
All you have to do is replace "accountname" into the name of the project in the first three URL's, the last URL is your own domain without www extension.
*sitemn.gr/accountname/*
*sitemn.gr/users/accountname/*
*swcloud.net/users/accountname*
*yourdomain.be/*
It's very important to include all of the asterisks (*) in the URL. This will make sure that all your pages and subdomains will be included too.
Implementing the API key in Sitemanager
The last step is to implement the API key in the Sitemanager platform. You can find the desired module in the upgrade center, in the subpanel integrations.

After you've installed the module, you'll be redirected to the API Keys & Tokens section. You can also find this section by navigating to your website settings and by choosing this same section. Here you can edit or fill in your API key.