- Knowledge Base
- Integrations
- Integrations
How to add an Instagram Feed to your website
⚠️ The Instagram integration will no longer work, we are investing this issue! However, in this article we cover an external platform that allows you to show your Instagram feed.
In this article
Step 1: Install the Instagram integration
Step 2: Add the Instagram Feed in the CMS
Step 1: Install the Instagram integration
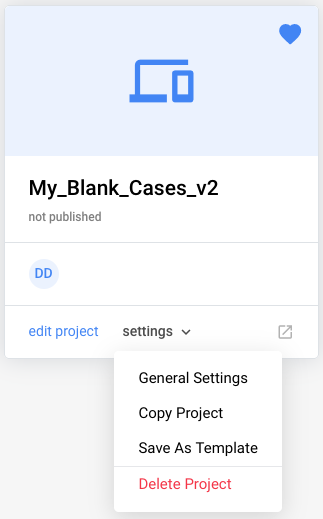
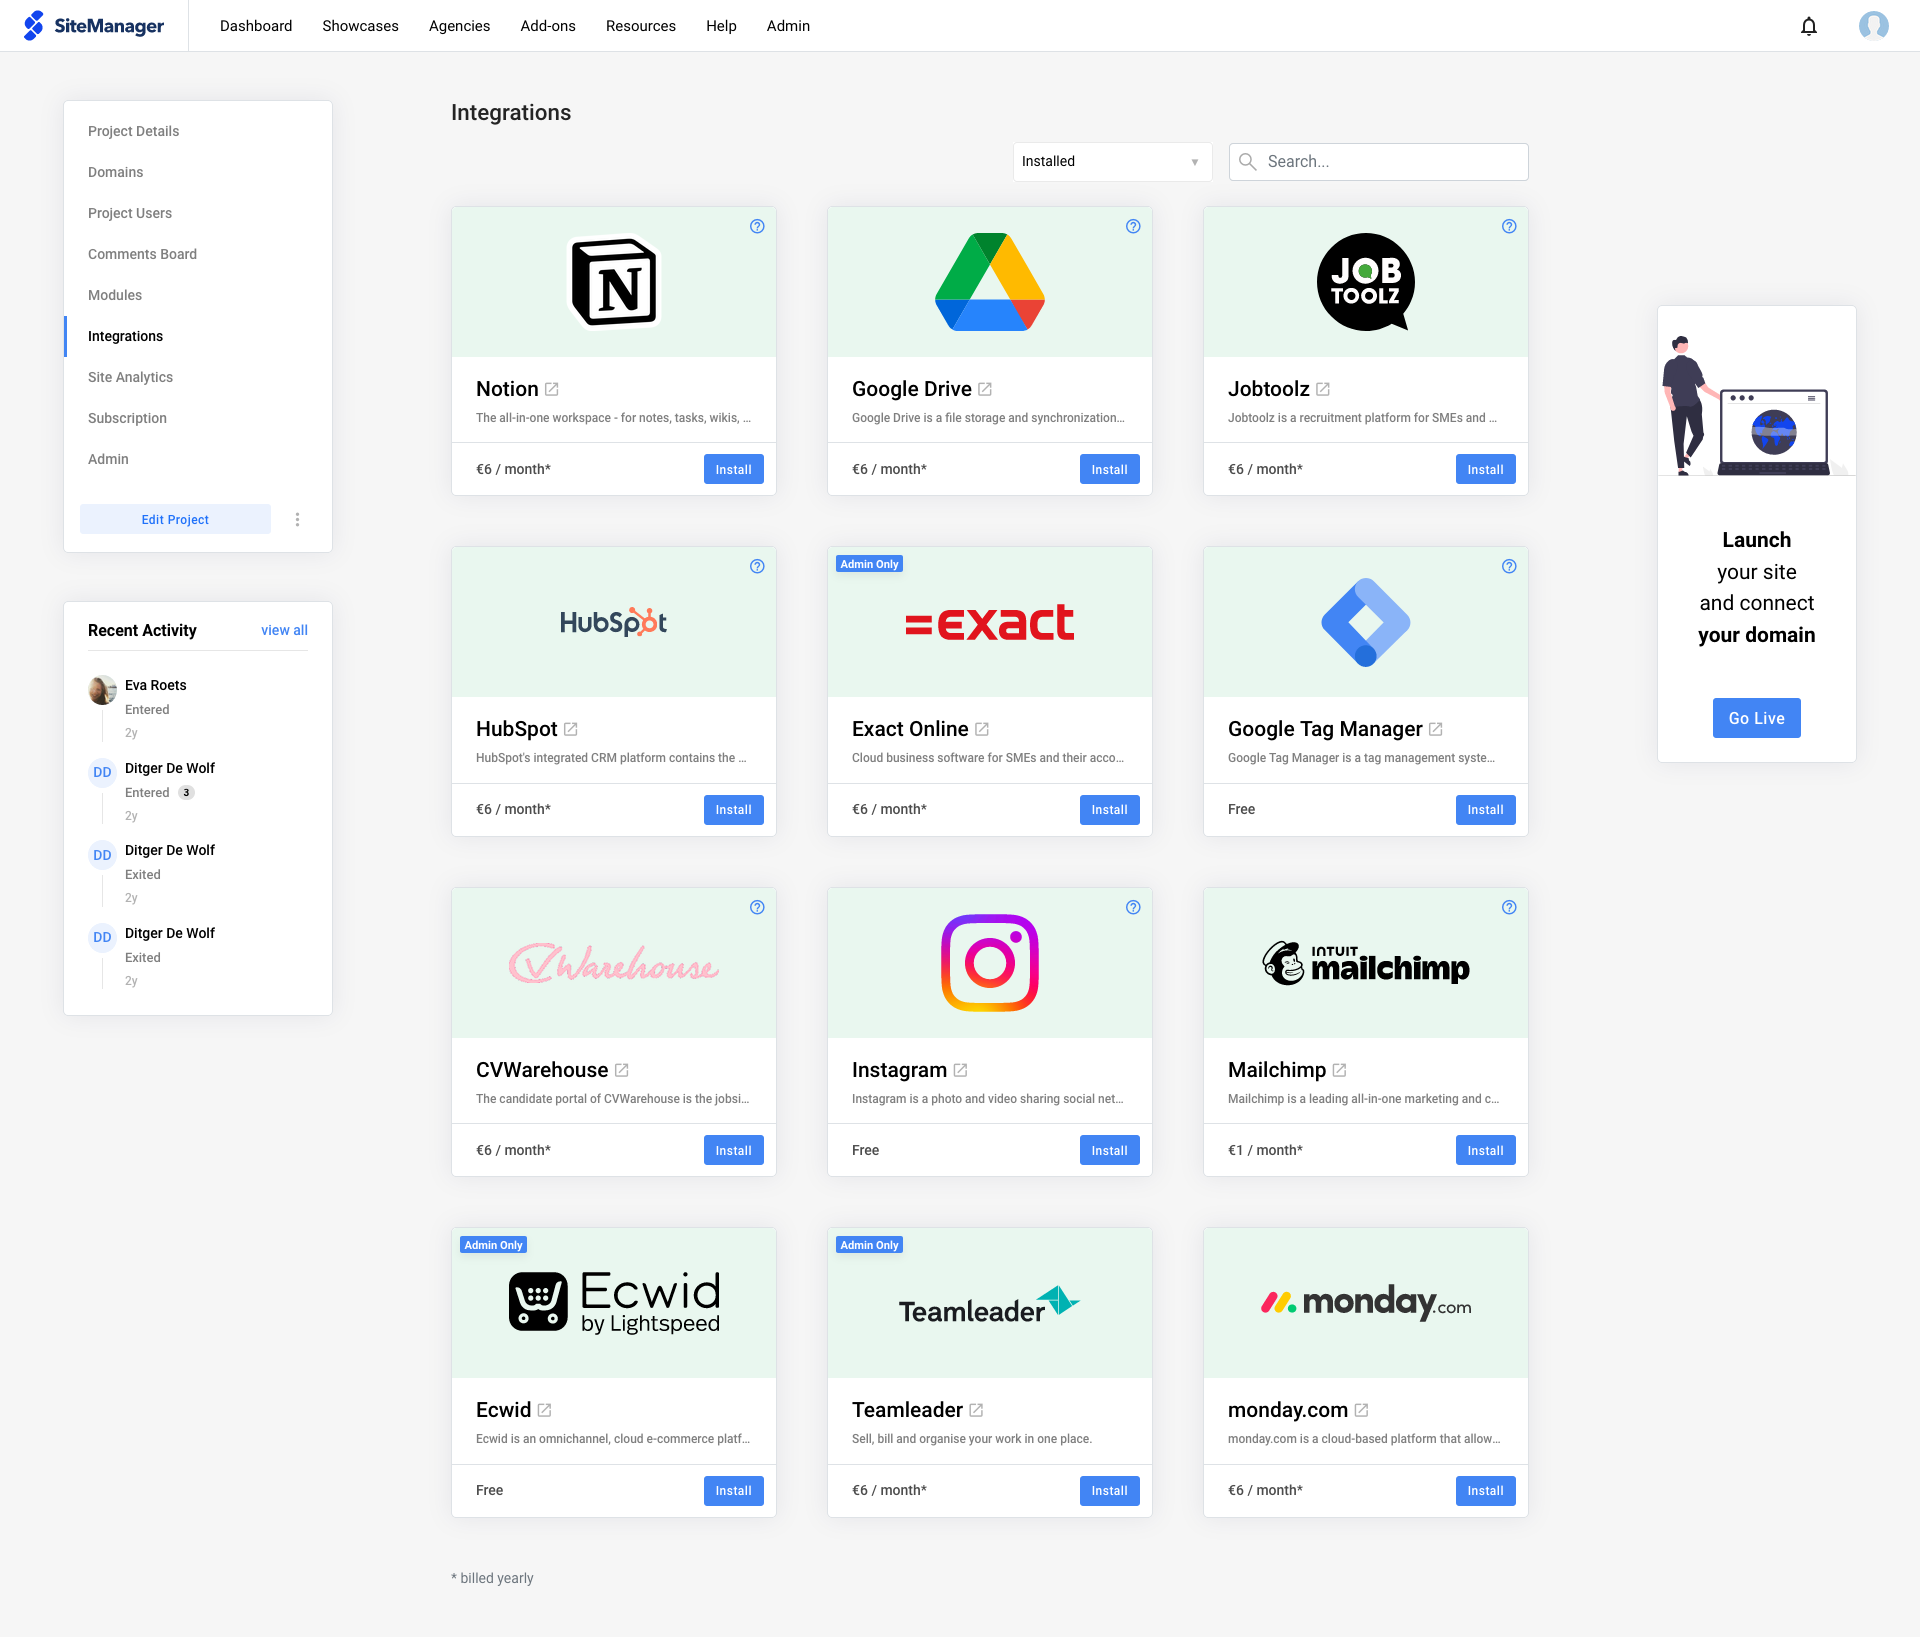
To install the Instagram Integration, we first have to navigate to the General Settings of the project.


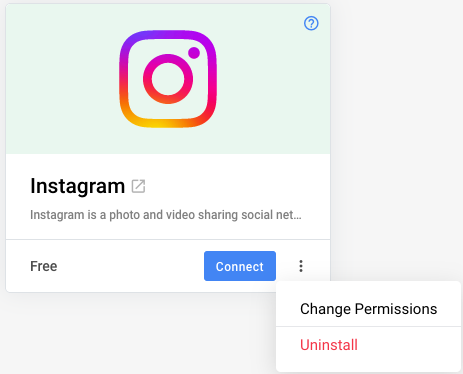
To link your Instagram account, simply click on the Connect button after installing the integration.

Using Change Permissions you can allow the user to link their account.
Step 2: Add the Instagram Feed in the CMS
- After adding the Instagram Integration, a new component will be available in the Grid Editor.
Step 3: Customize
After creating your Instagram Feed component, you can decide to leave the component as is, or tweak it with our design panels and functionality panel.

- Click the gear wheel in the top-left corner of the IG Feed component from the design view to access the functionality panel.
- Select the options that apply for you:
- Show caption: enabled by default and visible upon hover. However, style this as you like.
- Amount: render 6 (or less, if not available) of your latest images from the connected Instagram account by default on every click of the load more button (if enabled).
- Enable load more: show a button to render more images from your Instagram live feed. This is disabled by default.
