In this article
Step 2: Connect your Collections
Step 3: Reference to your Connected Collection
Step 4: Build a Dynamic List Item
Step 5: Populate the Dynamic List Item
Step 1: Add a Collection
To connect multiple collections, you need at least two different collections in your website project:
- Create a first and second collection.
Tip: Get started with how to add a collection here.
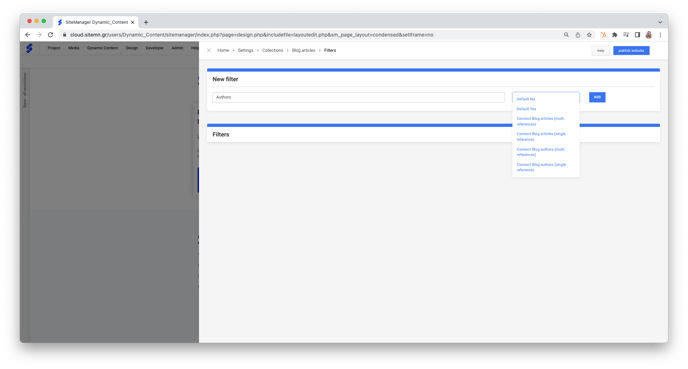
Step 2: Connect your Collections
- Access the collection management page through the Dynamic Content drop-down menu from the dashboard upper navigation bar.
- Select the collection to which you want to connect another collection.
Note: Connecting one collection to another collection is the same as setting up one of the collections as a filter.
- Click the funnel icon to access Manage Filters.
- Name your collection connection by filling out the label field.
- Select from the drop-down menu which type of selection you would like to establish
- Default No
- Default Yes
- Connect Collection Name 1 (multi reference)
- Connect Collection Name 1 (single reference)
- Connect Collection Name 2 (multi reference)
- Connect Collection Name 2 (single reference)
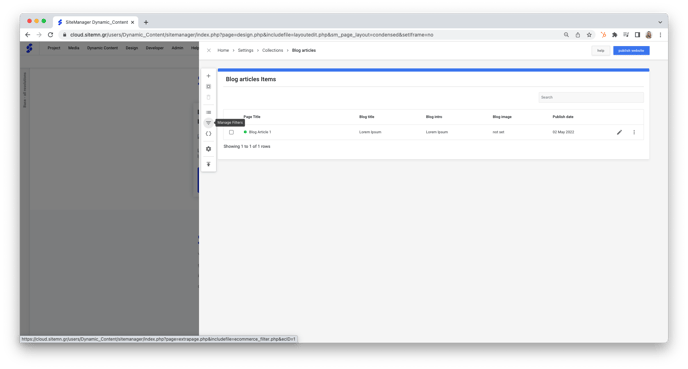
Step 3: Refer to your Connected Collection
- Navigate to the collection overview, using the bread crumb.
- Click the pencil icon to edit your collection items where you want to refer the connected collection.
- Click the gear icon to access Open Entry Setup.
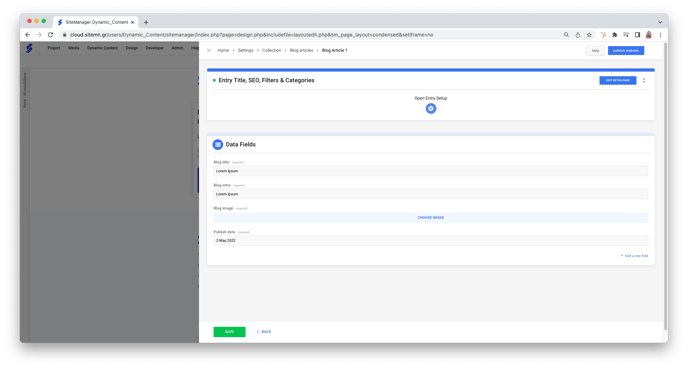
- Navigate to Filters in the right column.
- Select the collection item from the collected collection.

Step 4: Build a Dynamic List Item
- Add a dynamic component element that will correspond to your connected collection item, using the Dynamic List Structure.
Tip: Get started with how to build a Dynamic List Structure here.
Although the design and structure of your connected connection item is entirely subjective and personal, you can watch a guideline example below (starting at 35m45s).
Step 5: Populate the Dynamic List Item
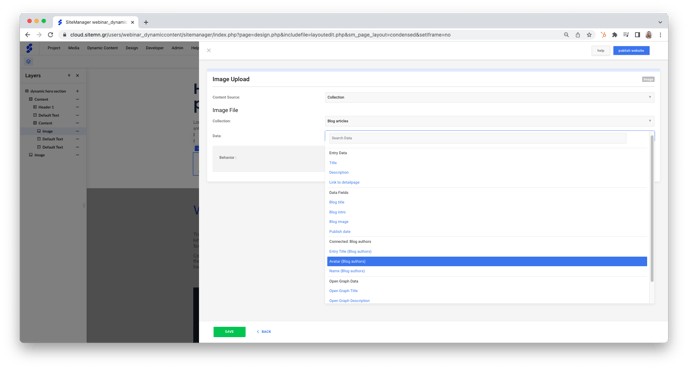
- Select the component element.
- With the right mouse button, select Manage Input Fields > Component Element (for example, Title).
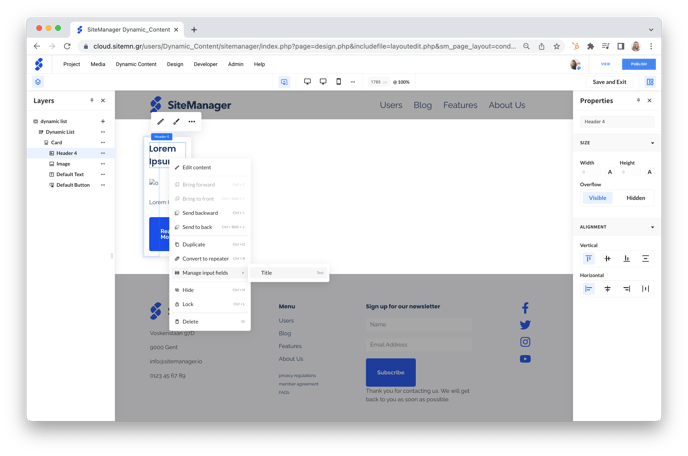
- In the content view of the Text Input Setup:
- Content Source: select Collection
- Collection: select which collection you would like to connect to.
- Data: select which connected collection you would like to retrieve content from.
- Open the Content CMS of your dynamic component by clicking the pencil icon and save.
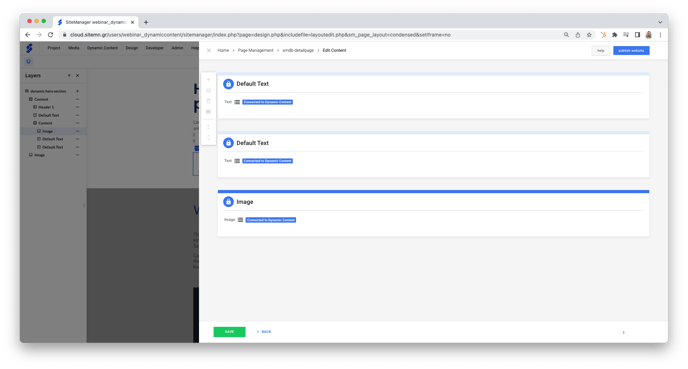
Caution: This step is less intuitive, so you may forget it. However, skipping this essential step will result in your content not being displayed.
- Repeat this method for each component element.