Information
The following steps will require the latest Advanced Form to be installed, this form will automatically add the following mentioned Apideck Vault to your Sitemanager Project.
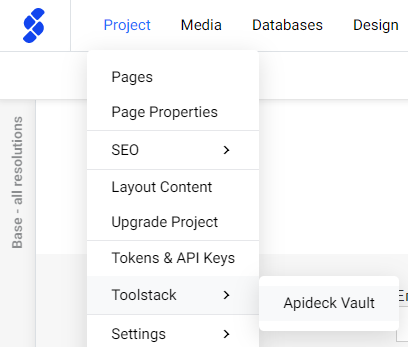
Connecting your account(s) with the Apideck Vault
To be able to submit your form to one or more service you will need to connect your account to the Apideck Vault found in your project's Toolstack.
Below is an example of the Apideck Vault, here all your services are stored which can be used inside our Sitemanager Form.
- Add button will add a service to the list of services
- List of all added Lead services and their status
- Enabled means the service is connected and ready for use
- Needs configuration means that the service still needs to be authenticated
- List of all added CRM services and their status
- The name of your project to which the Vault is connected
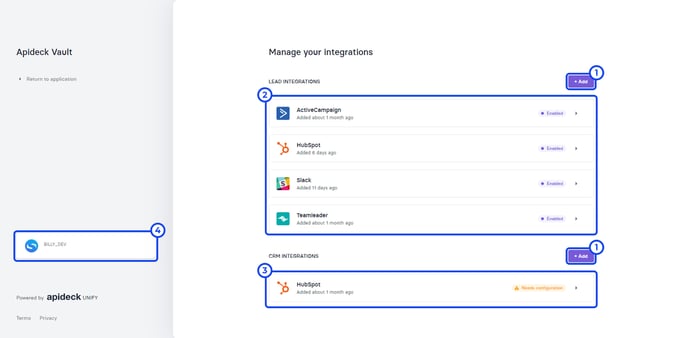
By clicking one of the services which isn't set up yet (Needs configuration) you can click the Authorize button to make connecting with said service. After this we can just close out the Vault tab and continue with the next steps...
Setting up the Form
Adding the Form Action
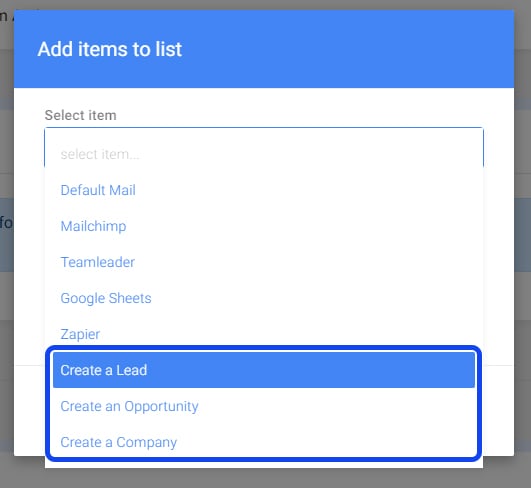
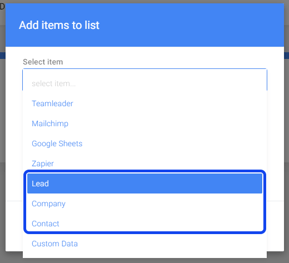
When adding a form action we can choose one or more of the following actions:
- Create a Lead
- Create an Opportunity
- Create a Company
Every action will come with a set of required fields for the form to have. If these fields are not added or configured right an error will be shown inside the CMS.
Note! Be sure to refresh your page inside the CMS to check if there are errors.
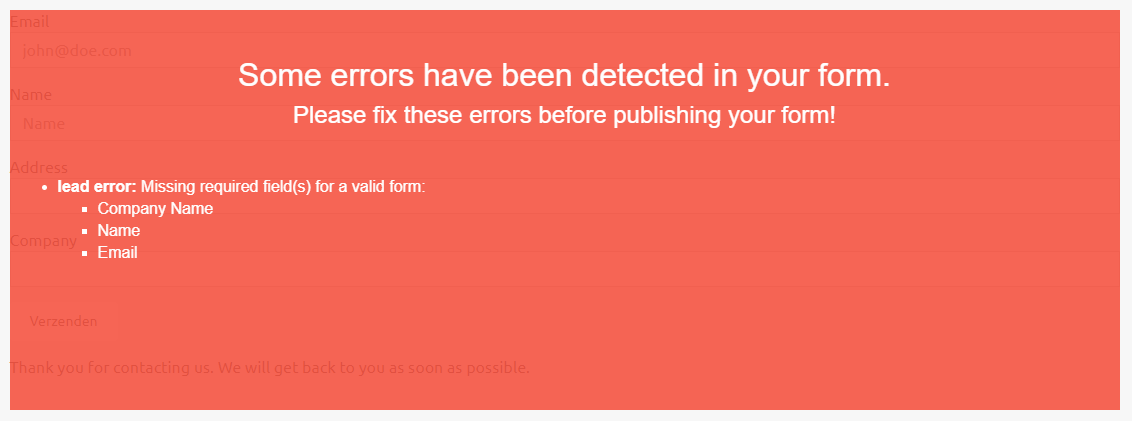
An example of Create a Lead without having our fields set up yet can be seen above. Since a Lead requires a Company Name, Name and an Email an error is thrown.
Configuring input fields
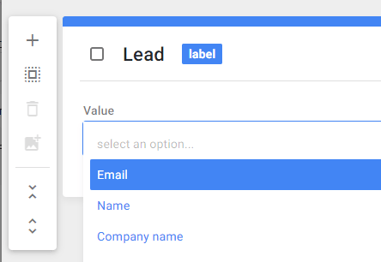
Inside our Input Data of our Email field we can add the option Lead to be able to connect the Email field to Lead data. After adding Lead input data we can select what data of lead this field resembles. In this case we want our Email field to be the Lead's email therefor we select Email in the dropdown.
After configuring the email field we will have to do the same for Name and Company Name. When we are done configuring the form make sure all errors are gone as shown below.