The Image Library allows you to upload and manage all your website’s images.
In this article
- Uploading images
- Deleting images
- Editing images
- Copying images
- Selecting multiple images
- Sorting images
- Searching for images
1. Uploading images
There are two main ways to add images to your project:
- Using the upload button in the smart toolbar
- Dragging and dropping images into your Image Library
In the smart toolbar
You can use the smart toolbar located at the left side of your Image Library. Click the upload button (+) located as the first button inside the smart toolbar. From here, you can select the images you want to upload.
Dragging and dropping
You can drag a single or multiple images right onto the Image Library and it will automatically upload all of your images.

Supported image file extensions:
- PNG
- JPEG and JPG
- GIF
- SVG
The maximum file size of an image when uploading is 20MB.
Please only upload images you have the right to use and distribute.
2. Deleting images
- Delete a single image
- Delete multiple images
Deleting single image
- Hover over the image
- Select the more button
- Delete the image and confirm
Deleting multiple images
- Hover over the images and select by checking the box in the top left corner
- Select the delete button inside the smart toolbar
- Delete the selected images and confirm
All instances of the image must be deleted from the project before you can delete the image from the library. If all instances are deleted, then from the Image Library you can remove it completely.
If not, the delete button won't be appearing when you select the more button of the image.
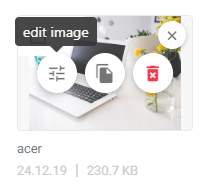
3. Editing images
- Hover over the image
- Select the more button
- Select the edit button to open the editor
- Edit your image and save to finish
All instances of the image used inside your project will be overwritten by your edited version. These changes are also applied on your live website.
4. Copying images
- Hover over the image
- Select the more button
- Select the copy button
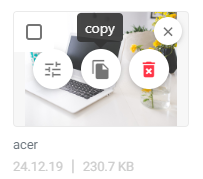
Everything will be copied from the original image. This includes the responsive sizes and SEO title & description.
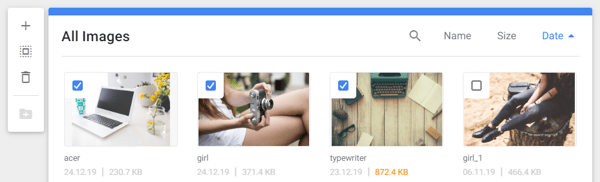
5. Selecting multiple images
- Hover over the images and select by checking the box in the top left corner
- Once you have selected one or more images, there will be several options available inside the smart toolbar
OR
You can use the smart toolbar located at the left side of your Image Library. Click the select all button located as the second button inside the smart toolbar.
PRO TIP
Holding Shift while selecting images, will select all images between the last selected and the current selected image.
6. Sorting images
Sort your images by Newest First, Oldest First, by Size Ascending, Size Descending or Alphabetical (A-Z or Z-A) in the top right corner of the Image Library. By default, your images will be sorted newest to oldest.

7. Searching for images
You can search and quickly find any image using the search bar in the Image Library. To use Search, click on the search icon in the top of your Image Library.
TIP
Learn more about the settings of your image's SEO.
TIP
Create albums to arrange your images.