Our Smart Content module has recently been renamed to Logic. All documentation will be updated with the new name in the future.
We are going to explain how to create personalised content with the Smart Content Module.
It is important you read the basic get started documents before you continue:
https://support.sitemanager.io/what-is-smart-content
https://support.sitemanager.io/installing-smart-content-premium-module
https://support.sitemanager.io/manage-smart-content
https://support.sitemanager.io/smart-content-configuration
https://support.sitemanager.io/implement-smart-content
https://support.sitemanager.io/smart-rules-in-the-sitemanager-cms
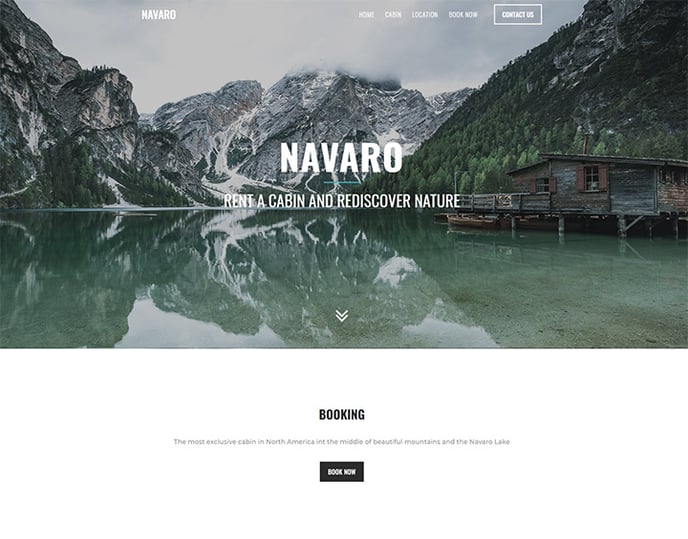
In our fictional example we have build a website for a company that is renting cabins at a lake in the mountains. We have already created a smart CTA section in the previous article: https://support.sitemanager.io/create-a-personalised-cta. Now we are going to do build a similar logic for the main background picture and tagline on the header of the site.
Step 1. Setup & Configuration
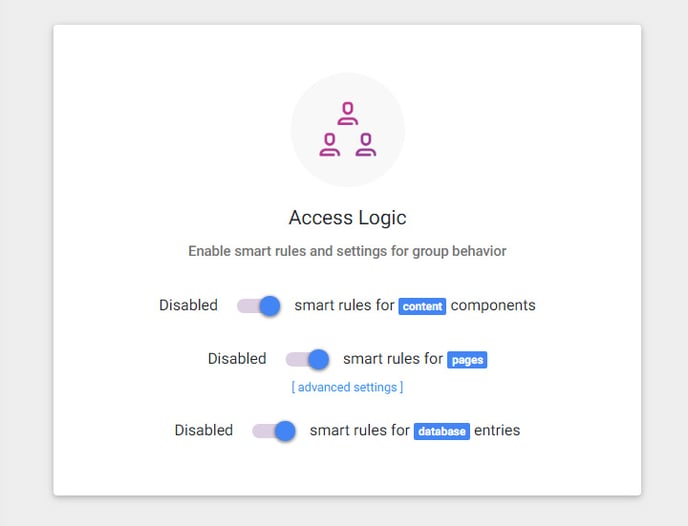
Go to the Smart Content Settings in the Code Environment
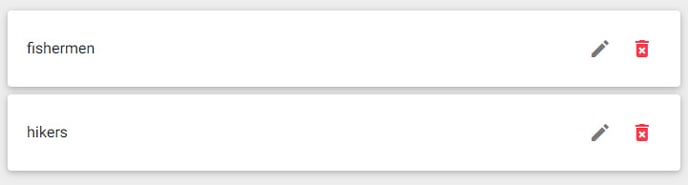
We will use the same two groups segments from the previous example: hikers and fishermen.
The configuration is similar to https://support.sitemanager.io/create-a-personalised-cta.
There is only one exception: we are going to use the Smart Content Input variable so it's not neccessary to enable the Access Logic for content components this time.
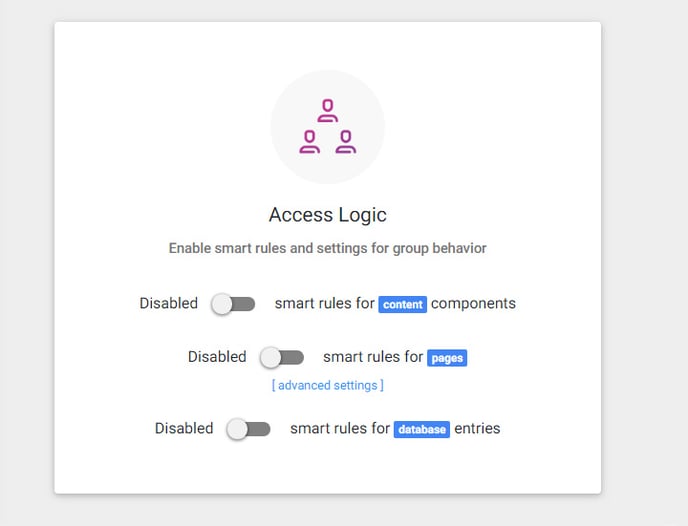
However if you want to use both options you can always enable them.
Step 2. Add Smart Content Input variable to Hero Slider
In the Swiper Slider element the CMS user can add picture and text elements. We are going to add the Smart Content Input to this element. This technique can also be used for page components and database components and is explained here: https://support.sitemanager.io/implement-smart-content (section 1.2. & 3.)
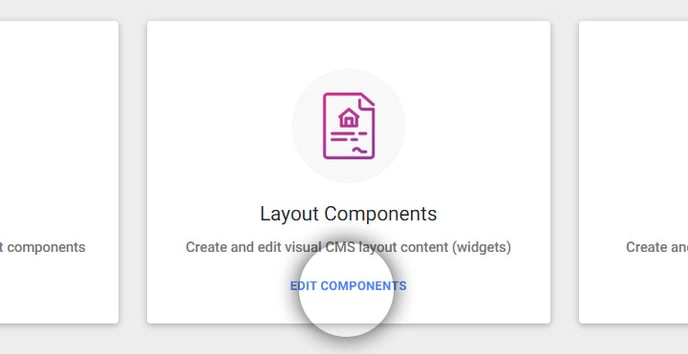
We go to the code environment to alter the form structure for the installed layout component: swiper slider.
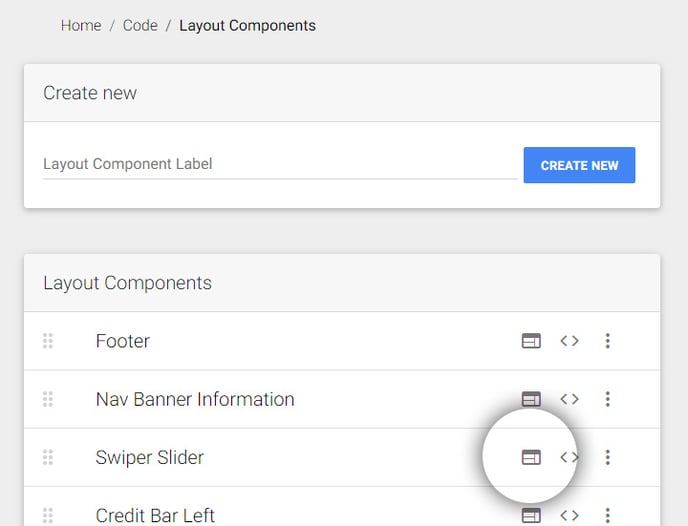
Click the form input section of the Slide input group.
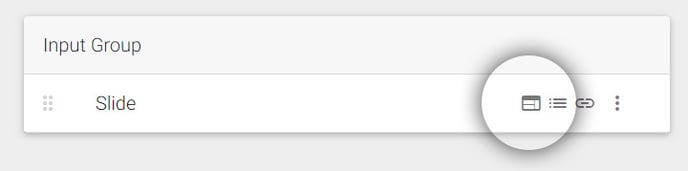
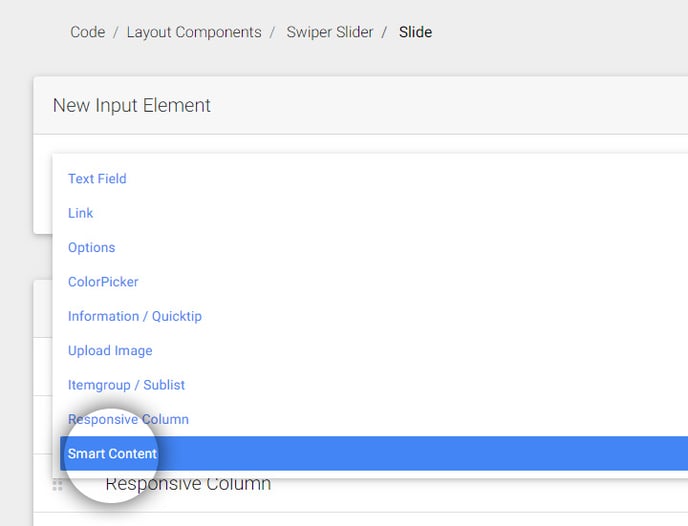
Add Smart Content as new input element to the Slide group.
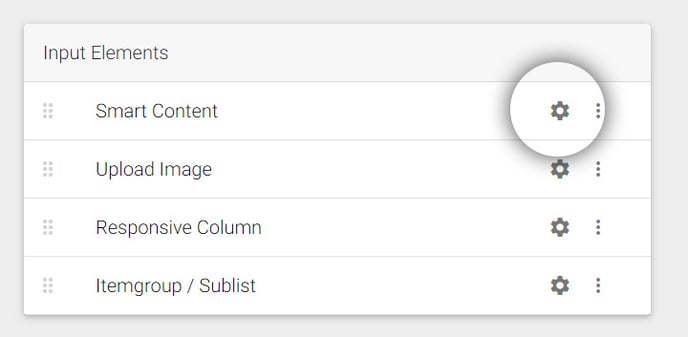
Click the gear icon to configure the smart content input variable.
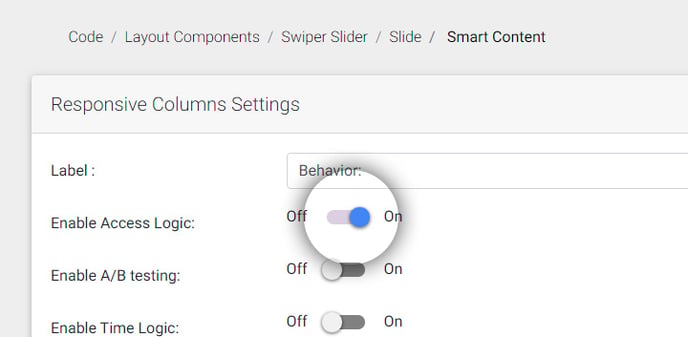
Type a name for the label: ex. Behavior. Make sure Enable Access Logic is selected & click save.
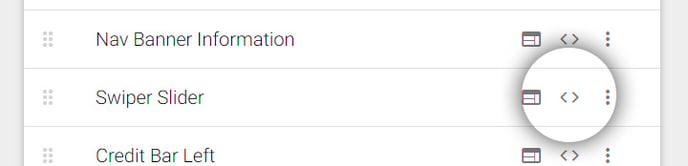
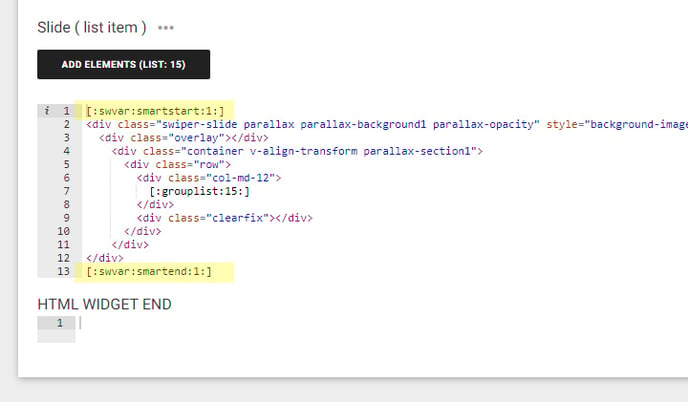
Go to the code editor of the Swiper Slider layout component.
Set the smartstart and smartend input variables around the swiper element
The configuration is done. The CMS user can now add smart rules to the Slide element.
Step 3. Add Smart Rules
Go to the Content (CMS) of your project and edit the layout component Swiper Slider.

We created a new slider for the fishermen group and add the logic rules as explained here:
https://support.sitemanager.io/smart-rules-in-the-sitemanager-cms
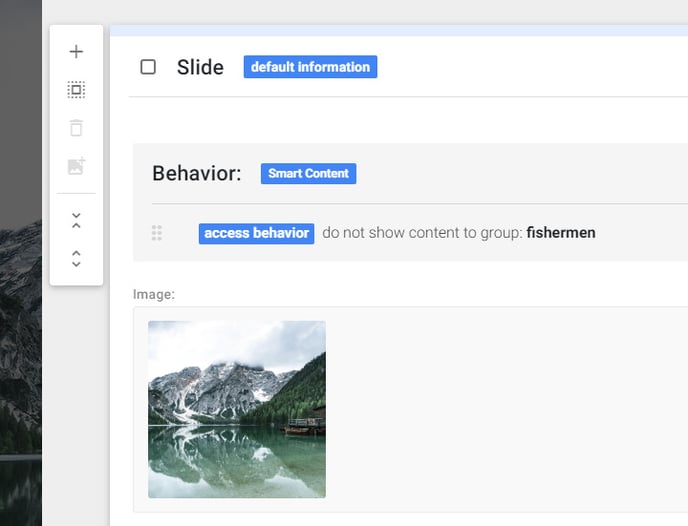
The standard slide is only visible to visitors who are not in the fishermen group.
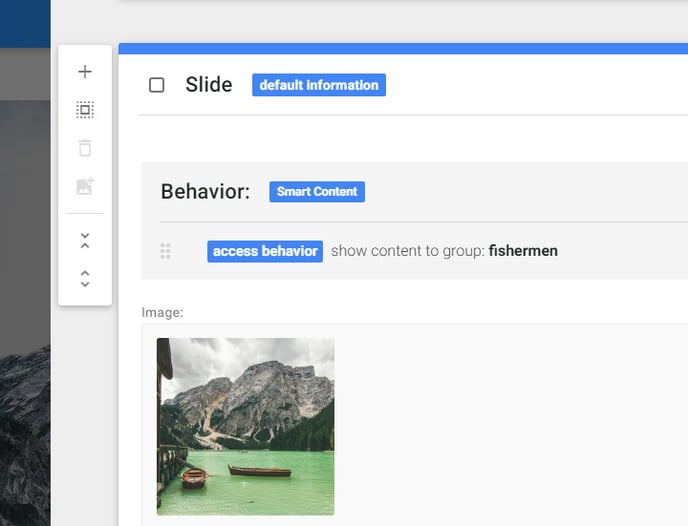
While this slide is only visible to visitors who are in the fishermen group.
Step 4. Publish & Test results
When we are done with adding the smart rules we can publish our website and test our smart content.
When you add the ?smc=fish to any url you will notice that the slider will change when visiting the homepage: