Learn how to use the Smart Content module to create password protected content for your website project.
Our Smart Content module has recently been renamed to Logic. All documentation will be updated with the new name in the future.
With the Smart Content module you can create password protected pages for your website.
Due to GDPR regulations we can't offer a full fledged login platform of our own yet. We recommend you integrate a platform like antumID or Amazon Cognito using Smart API.
If you haven't read the get started with smart content articles: you find them here:
https://support.sitemanager.io/what-is-smart-content
https://support.sitemanager.io/installing-smart-content-premium-module
https://support.sitemanager.io/manage-smart-content
https://support.sitemanager.io/smart-content-configuration
https://support.sitemanager.io/implement-smart-content
https://support.sitemanager.io/smart-rules-in-the-sitemanager-cms
In our example we are adding a download page to our website that is only available for our clients who have the login password.
Step 1. Smart Configuration
We go to the code application > smart content and create a private group for our login.
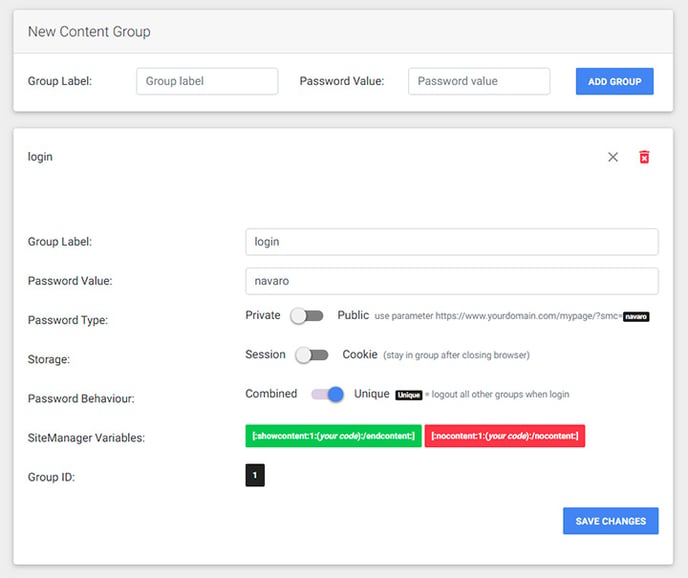
We made sure storage session is enabled.
We check the configuration for login forms and access logic.
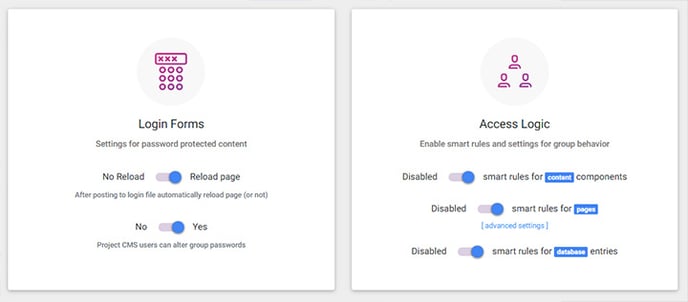
For login forms you can post directly to the login and logout file and use the reload option to automatically reload the page when the user is logged in. If you want to use a more controlled option using JavaScript, we recommend to set the option to no reload.
https://support.sitemanager.io/smart-content-configuration (step 3 and 4).
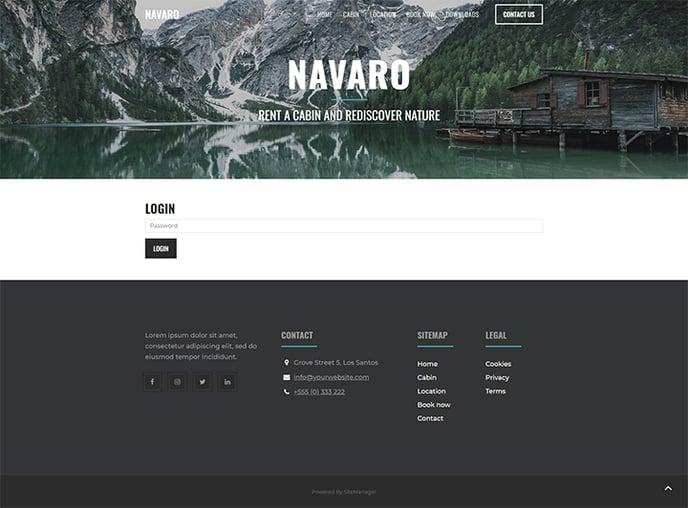
Step 2. Creating a login form
You can create a login form anywhere. You can build it inside a layout component when you have multiple protected pages.
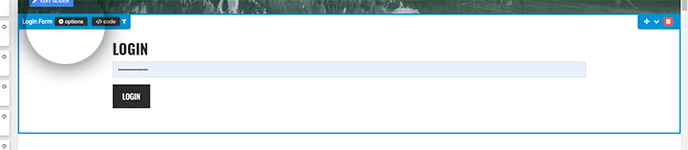
In this example we only have one protected page so we created a page component.
This is the example code of the login form we created. We used the reload setting so we are posting directly to swfiles/lib/protected.
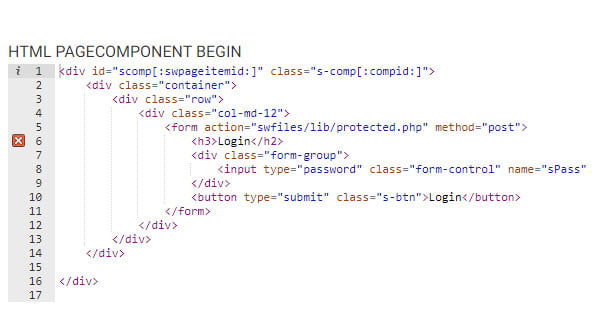
In the CMS we used the access logic rule to show this only to visitors who are not in the login group

Code example login form (with reload setting)
[:nocontent:id:(
<form action="swfiles/lib/protected.php" method="post">
    <div class="form-group">
        <input type="password" class="form-control" name="sPass" placeholder="Password">
    </div>
    <button type="submit" class="s-btn">Login</button>
</form>
):/nocontent:]
Code example login form (with jquery - no reload setting)
[:nocontent:id:(
<form action="#" id="loginFORM" method="post">
    <div class="form-group">
        <input type="password" class="form-control" name="sPass" placeholder="Password">
    </div>
    <button type="submit" id="sitebtnLOGIN" class="s-btn">Login</button>
</form>
<script>
    $("document").ready(function(){
        $('#sitebtnLOGIN').click(function(event){
            event.preventDefault();

            $.post( "swfiles/lib/protected.php", $('#loginFORM').serializeArray(), function( data ) {
                var logOBJ = $.parseJSON(data);

                if((logOBJ.status.type == "success") && (logOBJ.status.code == "100")){

                    console.log("log in success");

                } else {
                    console.log("log in error: " + logOBJ.status.message);
                }

            });
        });
    });
</script>
):/nocontent:]
Here we added the access logic directly inside the code using the [:nocontent:id:():/nocontent:] implementation
Step 3. Creating a logout button
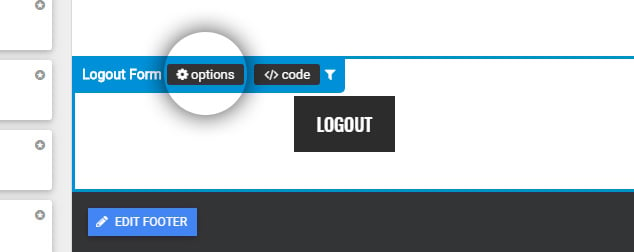
Similar to the login form we can code this button anywhere we want. In this example we build a page component. In most cases these types of buttons might be added somewhere in the header navigation.
Here is the code of our component. Since we are still using the reload option we post the form directly to the file.
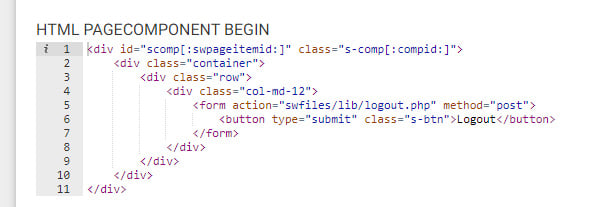
In a similar way as step 2 we added the access logic that this piece of content is only visible when the visitor has access to the group login.
Code example logout form (with reload setting)
[:showcontent:id:(
<form action="swfiles/lib/logout.php" method="post">
    <button type="submit" class="s-btn">Logout</button>
</form>
):/endcontent:]
When you logout you will logout from all your groups if you want to logout from a specific group you can add it's id as a parameter (sID)
swfiles/lib/logout.php?sID=1
Code example logout form (with jquery - no reload setting)
[:showcontent:id:(
<form action="#" id="logoutFORM" method="post">
    <button type="submit" id="sitebtnLOGOUT" class="s-btn">Logout</button>
</form>
<script>
    $("document").ready(function(){
        $('#sitebtnLOGOUT').click(function(event){
            event.preventDefault();

            $.post( "swfiles/lib/logout.php", $('#logoutFORM').serializeArray(), function( data ) {
                var logOBJ = $.parseJSON(data);

                if((logOBJ.status.type == "success") && (logOBJ.status.code == "100")){

                    console.log("logout success");

                } else {
                    console.log("logout error: " + logOBJ.status.message);
                }

            });
        });
    });
</script>
):/endcontent:]
Here we added the access logic directly inside the code using the [:showcontent:id:():/endcontent:] implementation
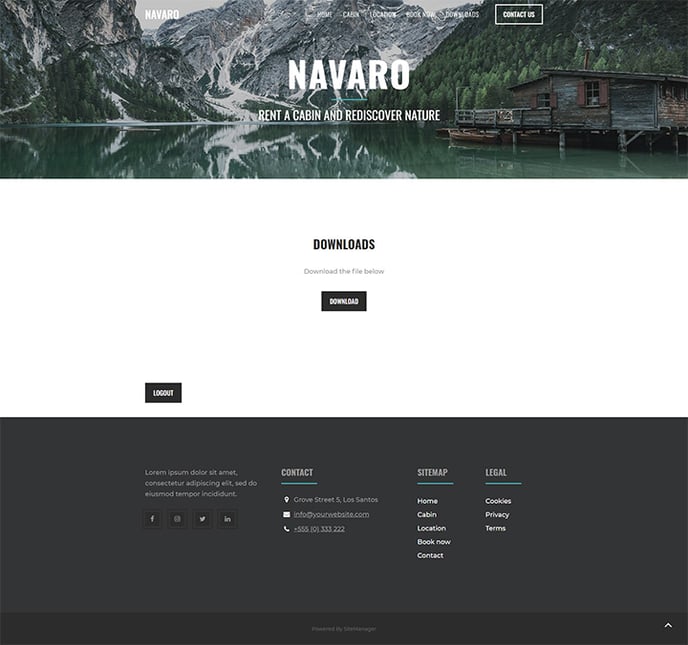
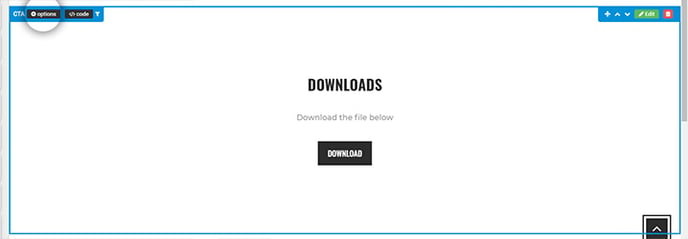
Step 4. Protected content
To create protected content we simply use smart rules (access logic) or add the function [:showcontent:id:():/endcontent:] to the code of our protected components.
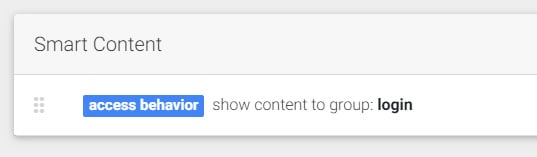
In our example we created a page component with the download button and added access logic via the options button.
Access behavior: show content to login group
Step 5. Publish
Once the website is published you can test the login form.