Warning: The modal on itself cannot be used to handle cookie consent on your website. It is important to first activate the Cookie Settings module in your project.
Step 1. Design Application
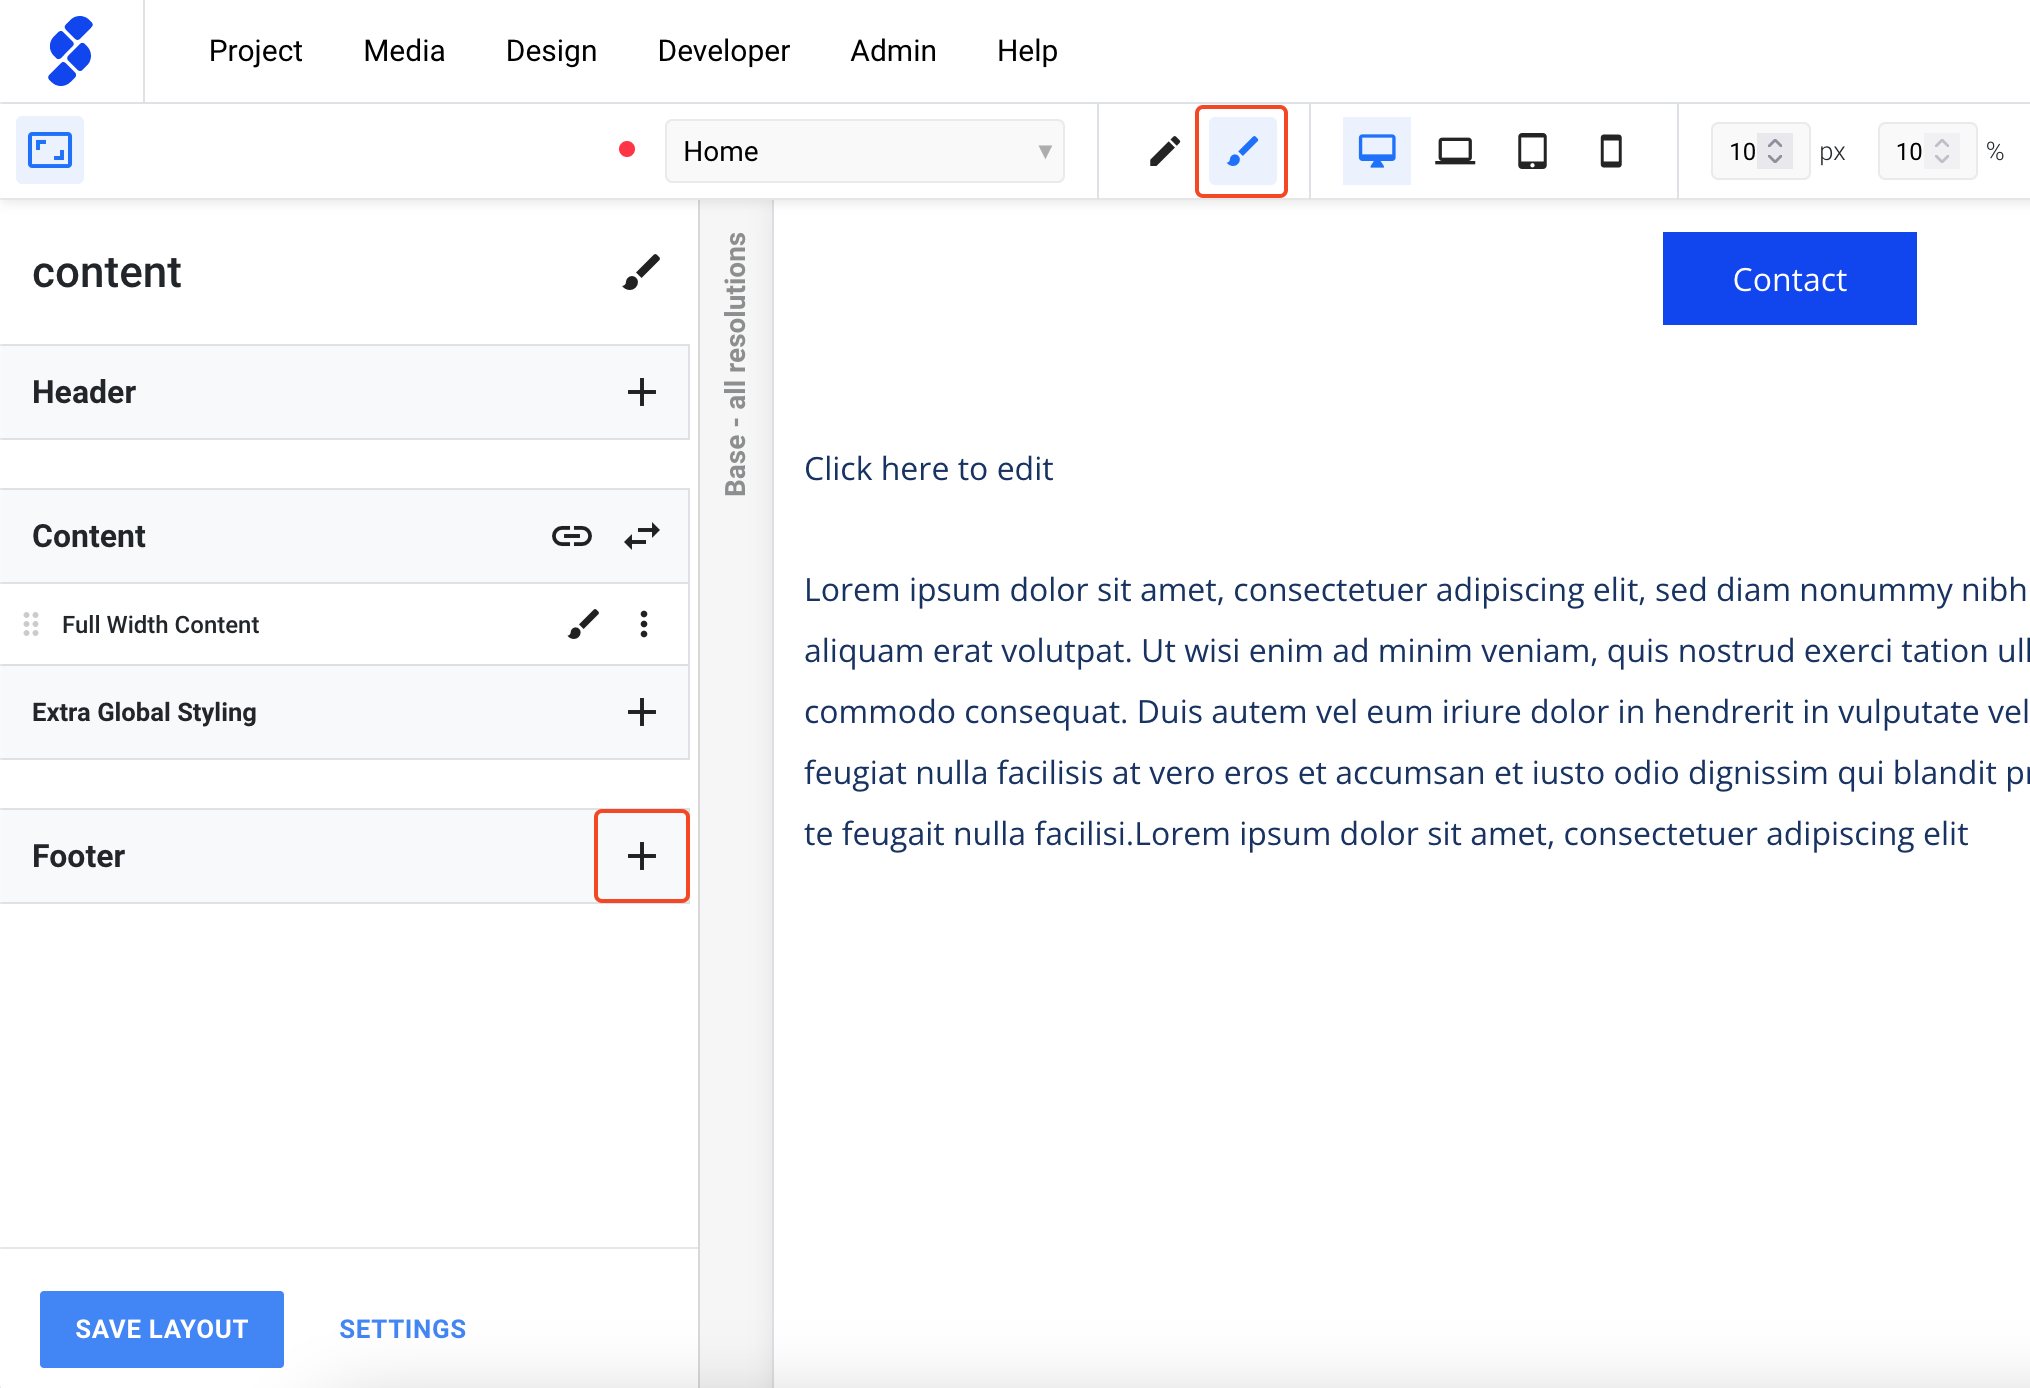
After activating the Cookie Module we need to install a Cookie Banner. First we have to navigate to the Design view. A layout component can be added to the footer using the "+" icon.
Step 2. Adding a Cookie Component
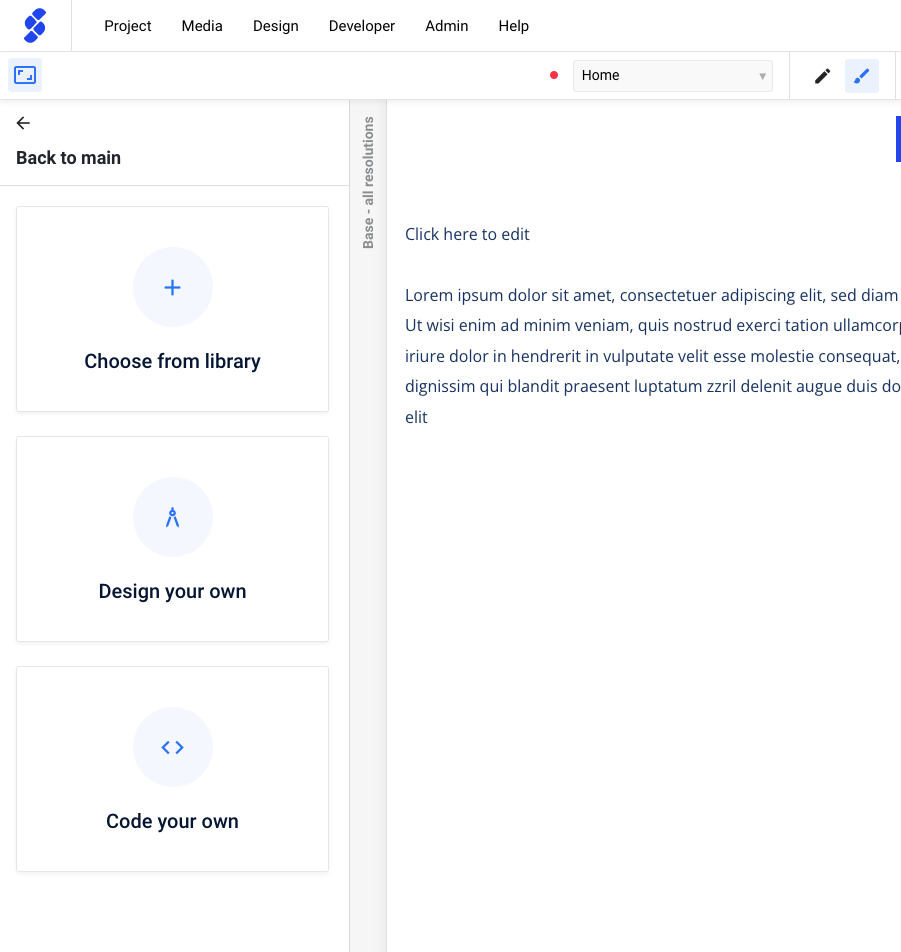
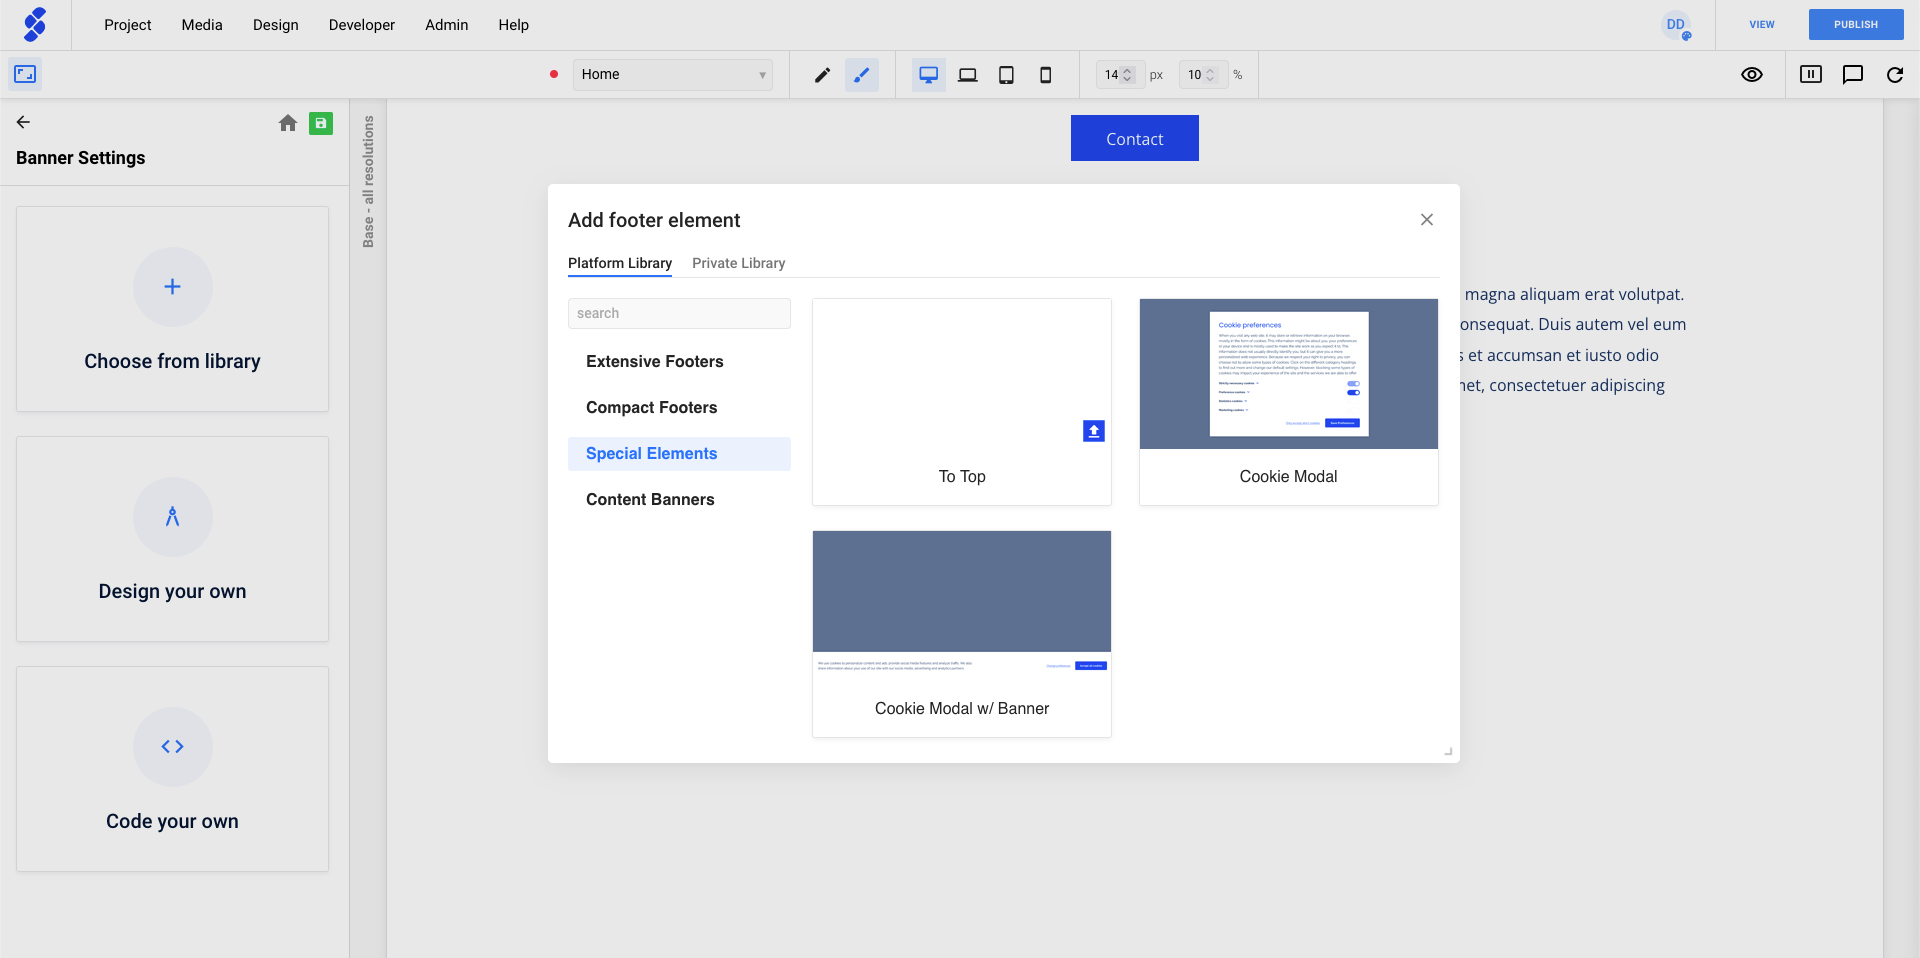
We can then use the Choose from library. This will show you the premade Cookie Components; Cookie Modal & Cookie Modal w/ Banner.
Notice: After installing one of cookie components, you will notice that the Cookie banner or modal will not be visible. This something that can be changed in the functionality panels.
Step 3. Saving pre-set content
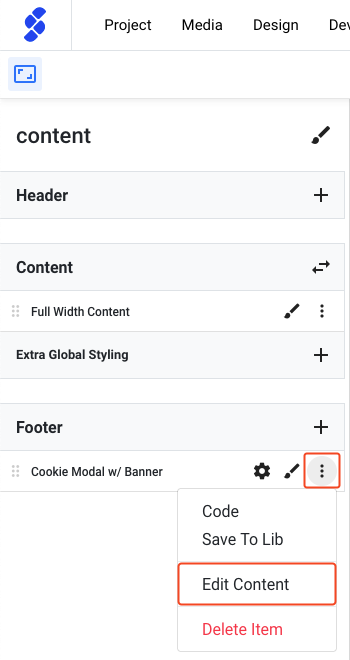
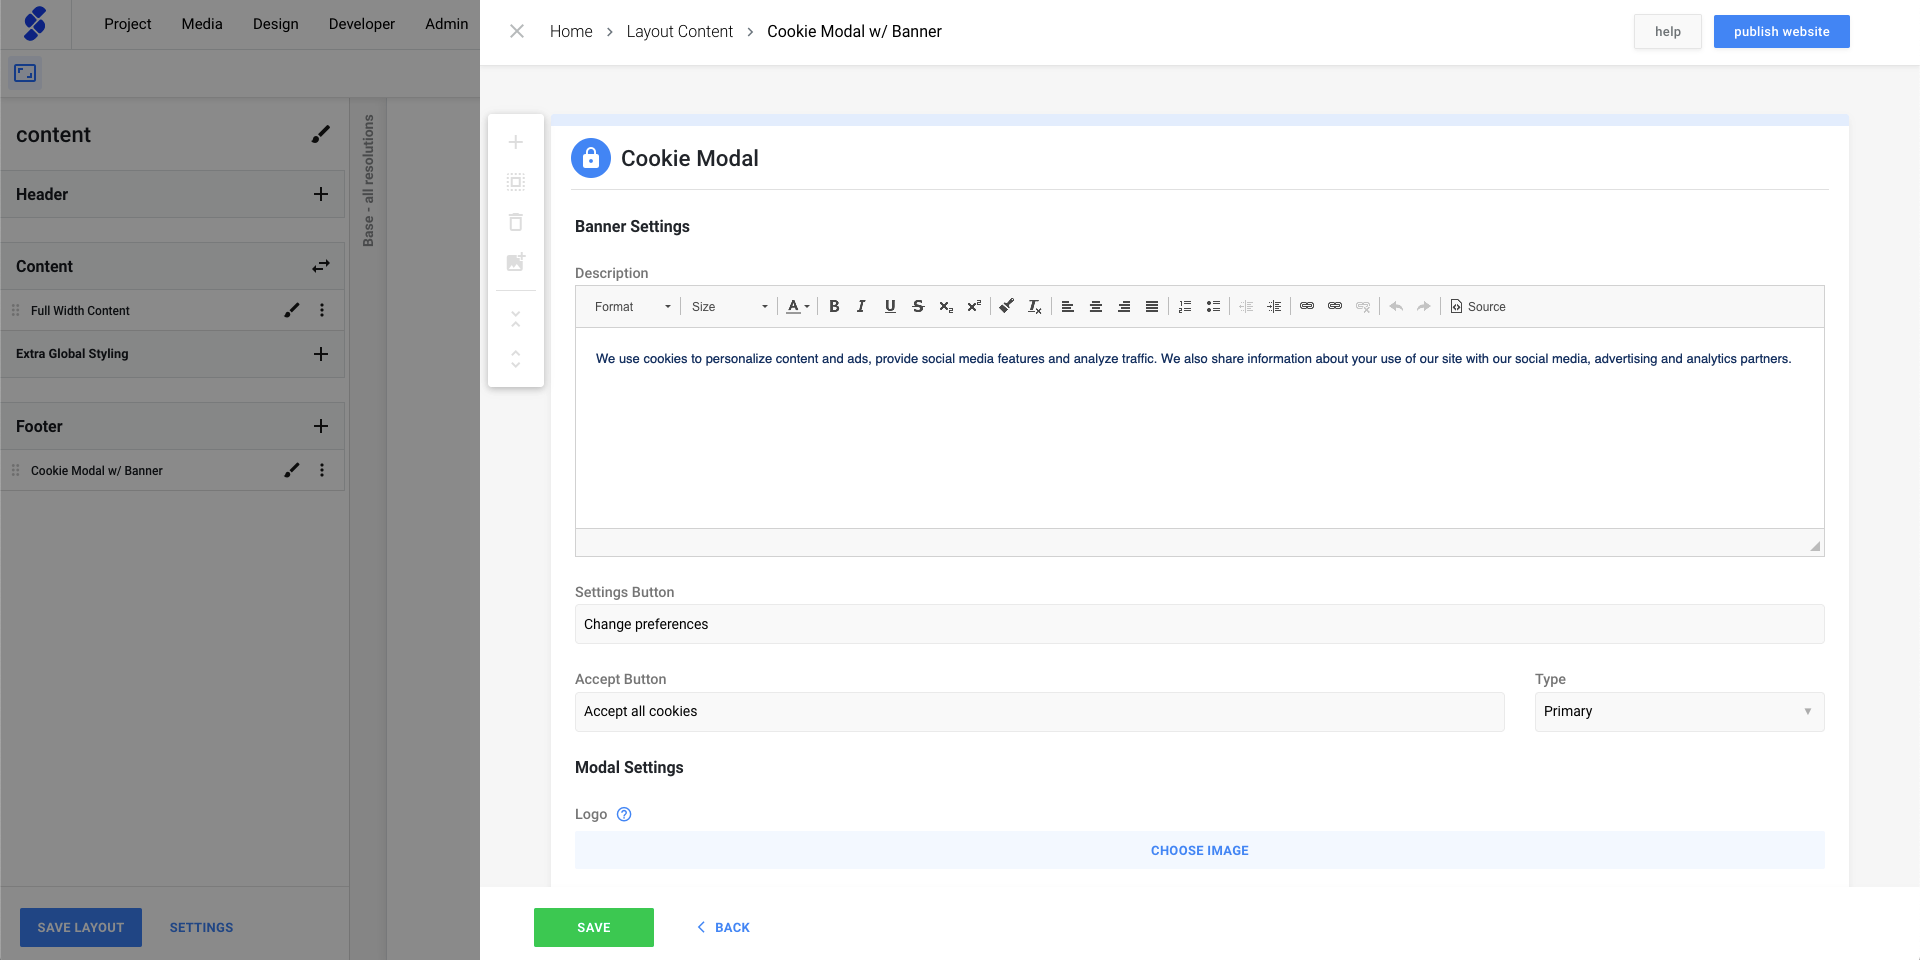
The Cookie Modal & Cookie Banner both contain prefilled content. To make that content visible we first need to save the Content of the component. We can open the content panel using the "options" icon and clicking on Edit Content.
When the panel is open, all that needs to be done is clicking on Save.
Step 4. Edit content & styling
When correctly installed, the modal will have a default look & feel with pre-set content. Learn how to change these settings by following the Manage the Cookie Modal guide.
