Text Field, Link, Options, Color Picker, Information, Upload Image, Responsive Columns, Itemgroup / Sublist, Database list, Smart content.
There are different input types you can add to the CMS form linked to your code block.
https://support.sitemanager.io/en/input-fields-page-components
Click the gear icon to open the properties page of the selected input field.
Below are all types with their unique properties.
1. Text Field
There are 3 types of input for a text field
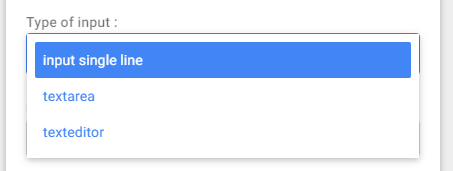
Input single line: show a default text input field
Textarea: shows a textarea
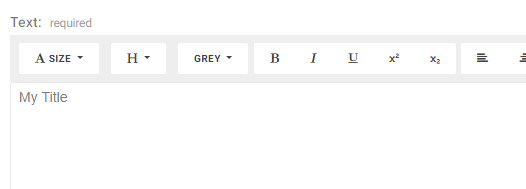
Texteditor: shows a text editor with formatting options
The following properties are optional (not applicable to the texteditor)
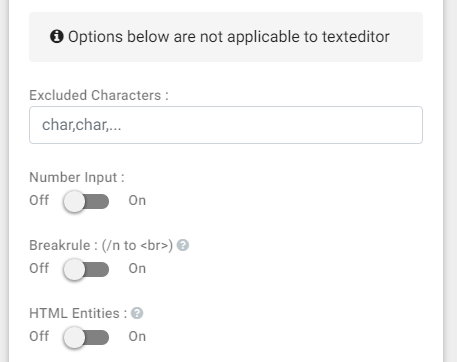
Excluded Characters: These characters can not be used in the input field. Use a comma to exclude multiple characters.
Number input: When active will convert the input from text to number
Breakrule: when active will transform the new line /n to <br> htmlcode
HMLT Entities: When active will convert all applicable characters to HTML
CMS examples Text Field
Single input:

Textarea:
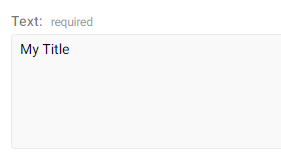
Text editor:
2. Link
Let the CMS user set a link
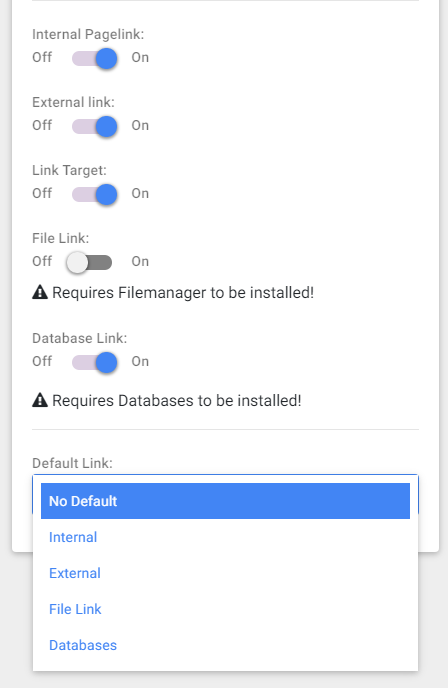
Internal pagelink: allow the CMS user to set a link to an internal web page
External link: allow the CMS user to set a link to an external web page
Link Target: allow the CMS user to set the target window
File Link: allow linking to a file from the file manager. (note: Filemanager needs to be active on this website)
Database Link: allow the CMS user to link to a database detail page. (note: databases with detailpages need to be active on this website.)
Default Link: what type of link is active when the CMS form is first loaded.
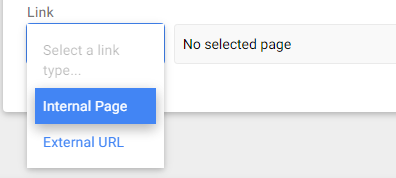
CMS example Link Input
In this example, the CMS user can choose between internal and external pages.
3. Options
Let the CMS user pick a predefined option from a list.
There are 3 types of lists you can use

Dropdown: shows the options in a dropdown list
Radios: shows the options in a radio group
Toggle: shows a switch. (only available with 2 options)
Create Options:
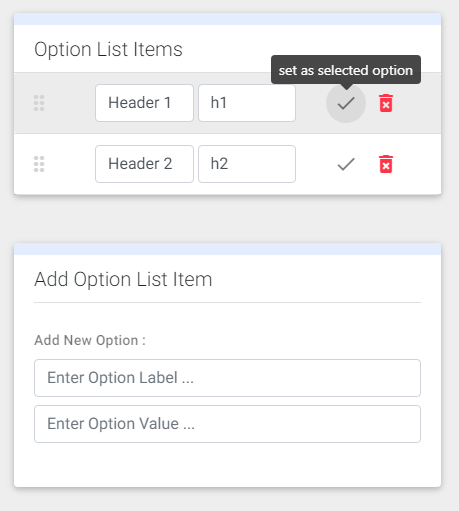
You can see all available options and pick the selected option when the CMS form is first loaded.
To add a new option simple set a new option label and value.
Click save to add the new option to the list.
CMS example options
Dropdown example:

Radios example:

Toggle example:

4. Color Picker
Let the CMS user pick a color value:
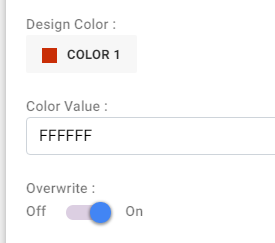
Design Color: The color picker will start with the colors defined by the design app.
Color value: You can also choose the option to not use the design colors and set a custom color value.
Overwrite: allow the CMS user to not use the available colors from the design app and pick a custom color.
CMS example
Example of picking a design color with the overwrite switch active.

5. Information
Sometimes you just want to add some additional information to the CMS form.
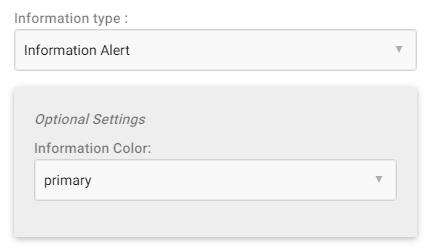
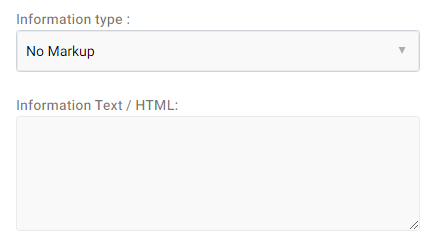
Information Type: you can choose between no markup or an alert box.

For the alert box, you can choose the color type.
Information Text/ HTML: type in the message you want to show in the CMS
CMS example Information
example of no markup:

example of primary alert box:

6. Upload Image
Allow the CMS user to select an image file from the image library.
https://support.sitemanager.io/manage-your-images
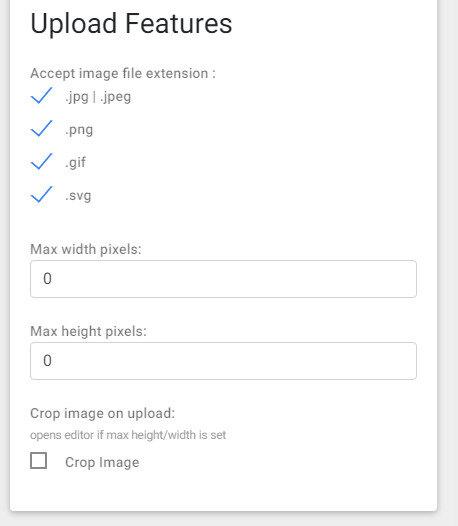
Accept extensions: jpg, png, gif or svg files
Max width: what is the maximum width of the image? (pixels)
Max height: what is the maximum height of the image? (pixels)
Crop Image: Activate if width and height is set to crop image to these dimensions exactly.
Additional image sizes
You can add up to two different image dimensions.
Set the max-width and height and crop option.
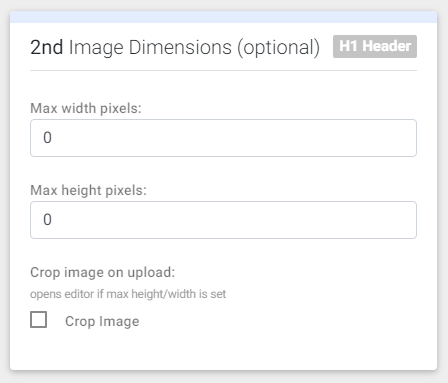
This is used mostly when you need multiple sizes of the same picture. For example for a picture lightbox.
With the image library, you also have access to the mobile and tablet version of an uploaded image. https://support.sitemanager.io/image-settings#responsive
CMS example Upload Image
Pick a image from the image library. You can also upload images to the library.

7. Responsive Columns
Let the CMS user set a Bootstrap column, offset and visibility.
This input field can only be used in projects with a Bootstrap library.
Settings:
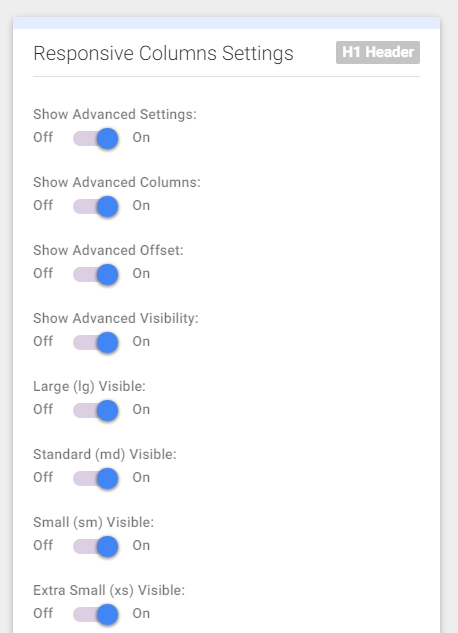
Show Advanced Settings: Allow the CMS users to set the properties for all Bootstrap breakpoints.
Show Advanced Columns: Allow the CMS user to set the column width value when advanced settings are active.
Show Advanced Offset: Allow the CMS user to set the offset value when advanced settings are active.
Show Advanced Visibility: Allow the CMS user to set visibility when advanced settings are active.
Large (lg) Visible: Is the large (lg) Bootstrap breakpoint visible?
Standard (md) Visible: Is the standard (md) Bootstrap breakpoint visible?
Small (sm) Visible: Is the small (sm) Bootstrap breakpoint visible?
Extra Small (xs) Visible: Is the extra small (xs) Bootstrap breakpoint visible?
Default values:
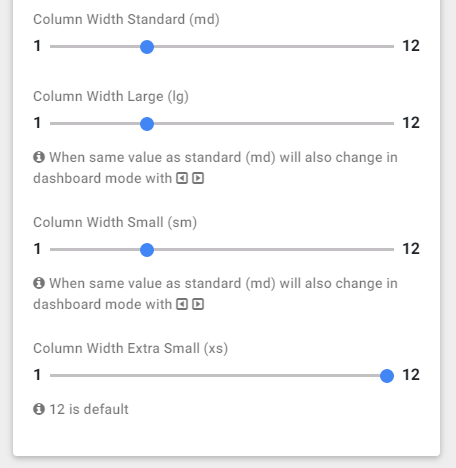
Set the standard column width for all 4 (md, lg, sm, xs) bootstrap breakpoints.
CMS example
Example how the CMS user can set the column values in the CMS.

8. Itemgroup / sublist
This is a very special input field. With the itemgroup/sublist input field you can create a new level in the CMS form. In this level you can add new code blocks that will be grouped together.
Itemgroup/sublist is used in components with more complex structures. Example: masonry, form builder, database detail pages, ...
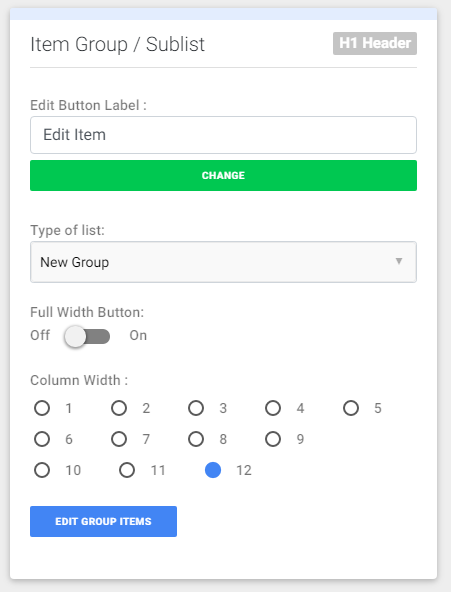
Edit Button Label: The name of the group shown in the CMS.
Type of list: You can either create a New Group or link to an existing group inside the component.
Full-width button: show the Edit button as wide as the column width.
Edit Group Items: Click to create and edit code blocks attached to this group item.
9. Database List
This is a special input field used when databases are active on your project.
With a database list input field, you pull code from the database entry to show in a list on your page.
10. Smart Content
This is a special input field used to add smart content rules in this code block.
More information can be found here:
https://support.sitemanager.io/implement-smart-content
https://support.sitemanager.io/smart-rules-in-the-sitemanager-cms
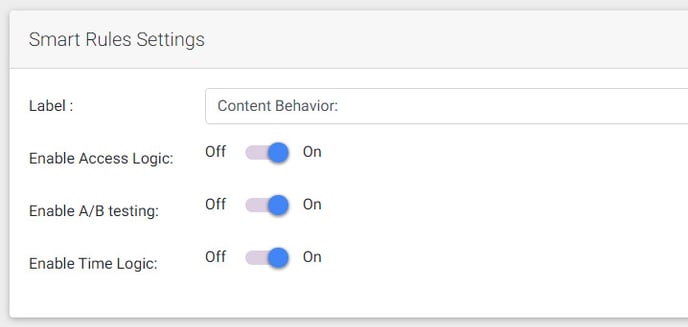
You can set which smart rules can be used.
